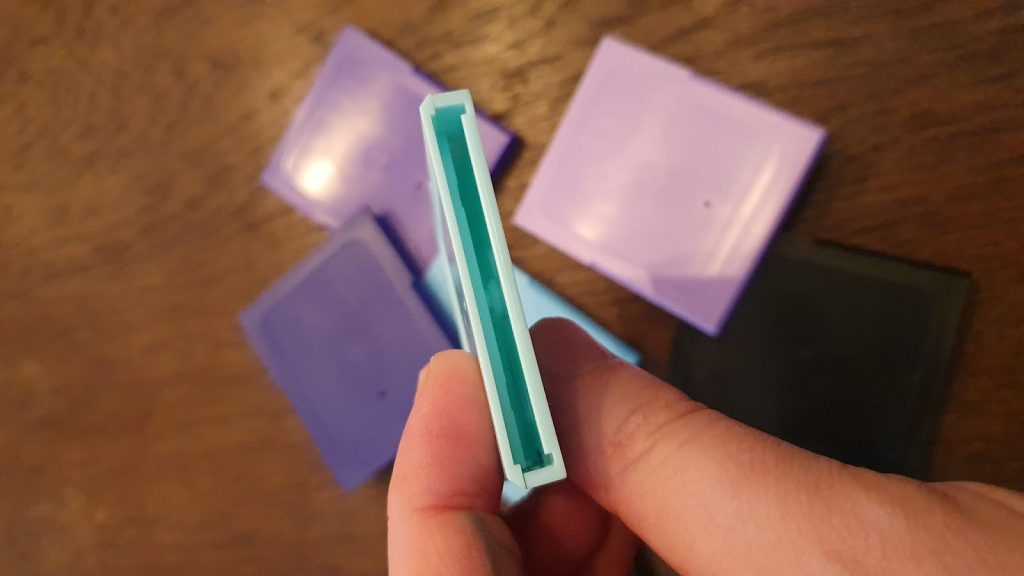
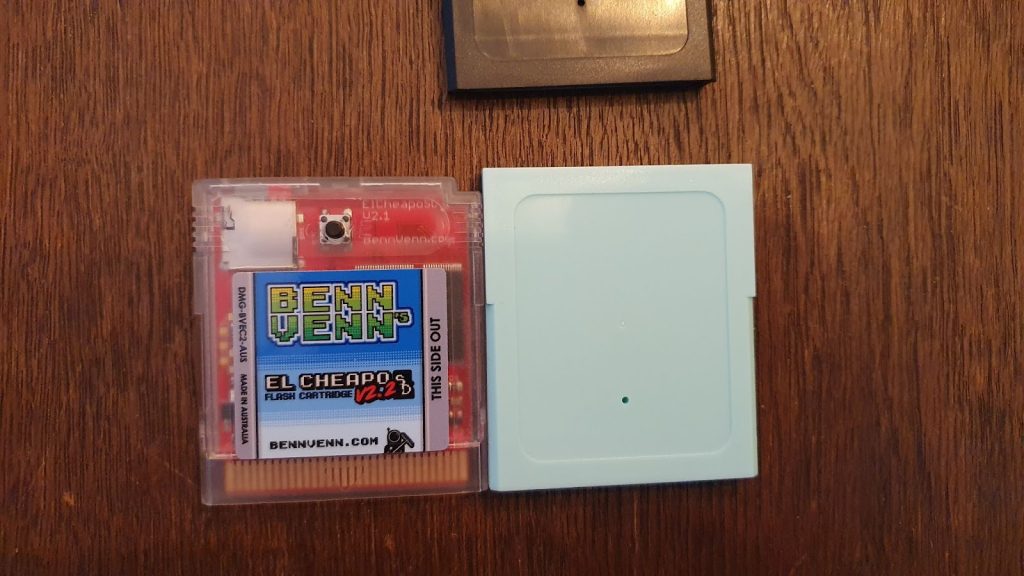
If you release your Game Boy game in a physical form, then the outside can be almost as important as the inside, i.e. the game itself. No one really wants to buy a physical release for 60 bucks + shipping if it looks cheap. One key element of your physical release is the game’s cartridge, which can come in many different colors (think of Pokemon Yellow), but they can also be customized to fit your game studio name. From very cheap to very expensive, there is a whole range of quality and possibilities your game cartridge shell can have.
Versions
Before I tell you about all the different custom shells you can get or make, we first have to talk about the two main versions there are.
Inside our cartridge shells goes the cartridge PCB (Printed Circuit Board): the heart and brain of the cartridge. These can come in different shapes and with different boreholes for the screw that holds the cartridge together.
So with all the following information, you have to keep in mind that the shell has to align with your cartridge PCB.
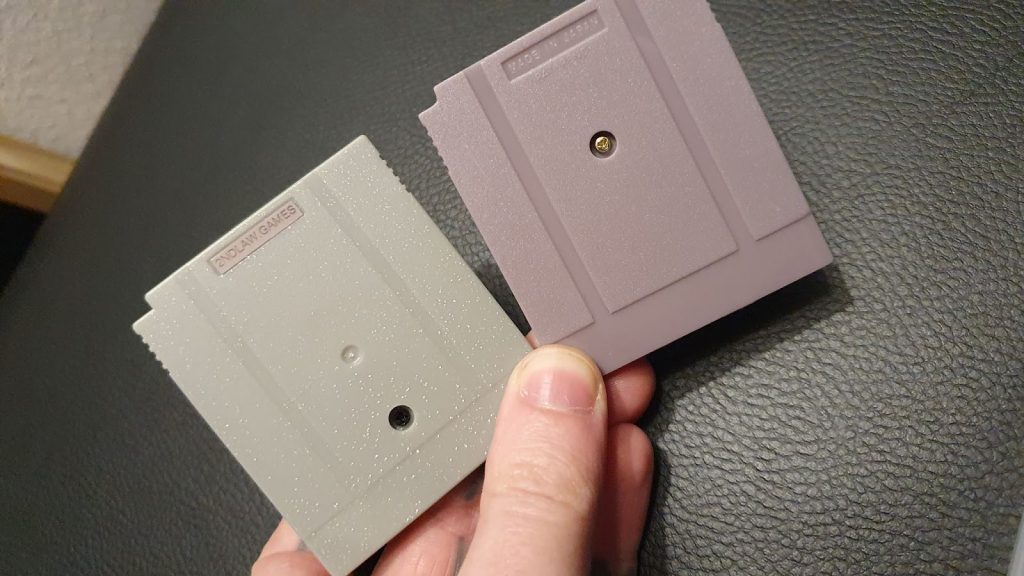
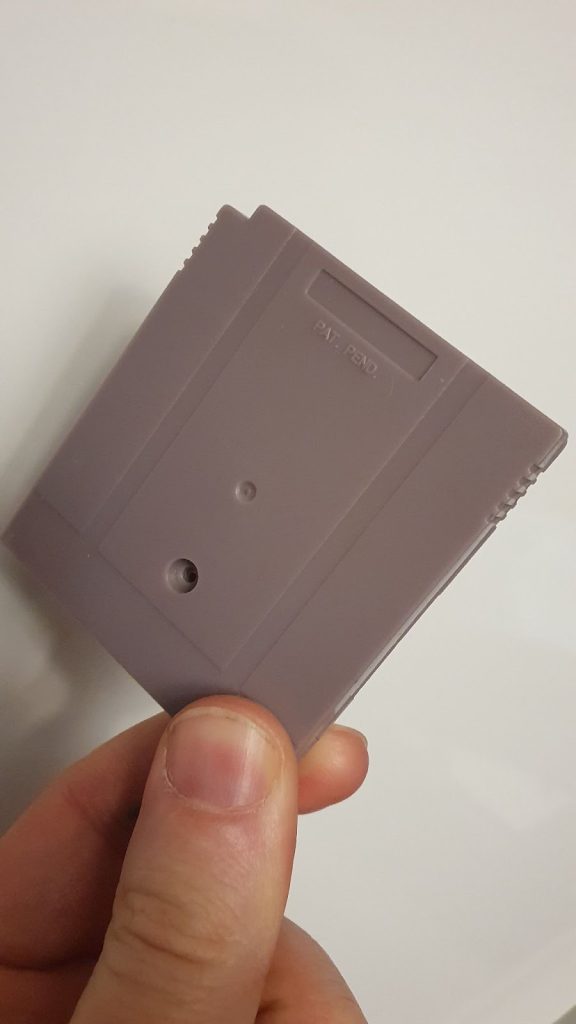
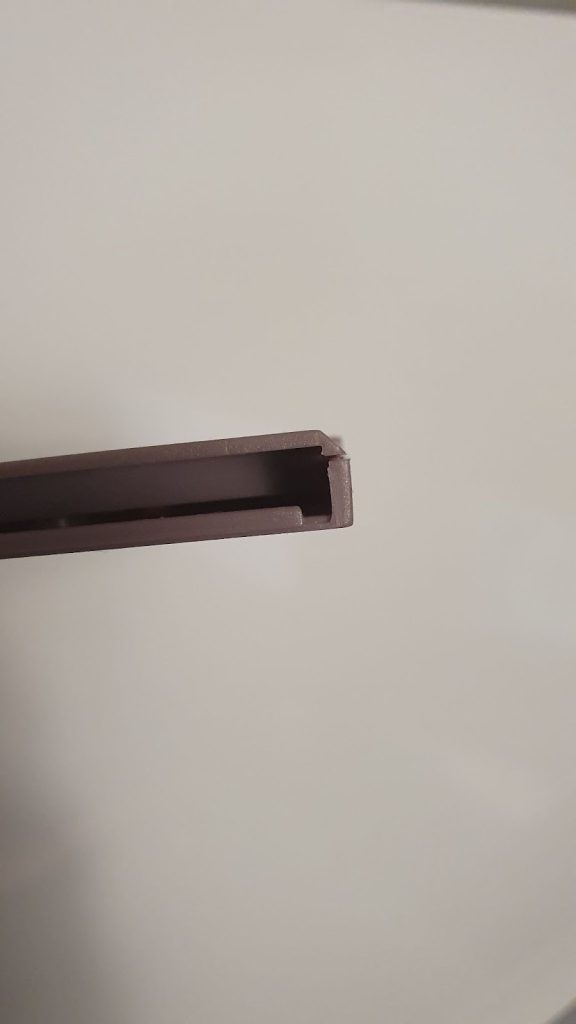
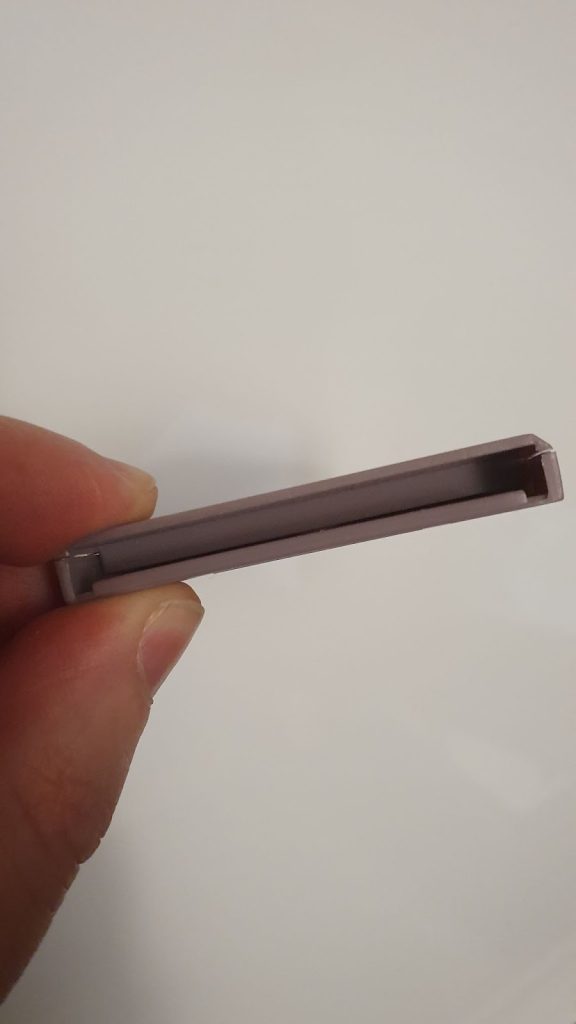
Right: shell with screw at the middle of the shell, mostly used for smaller bootleg PCBs
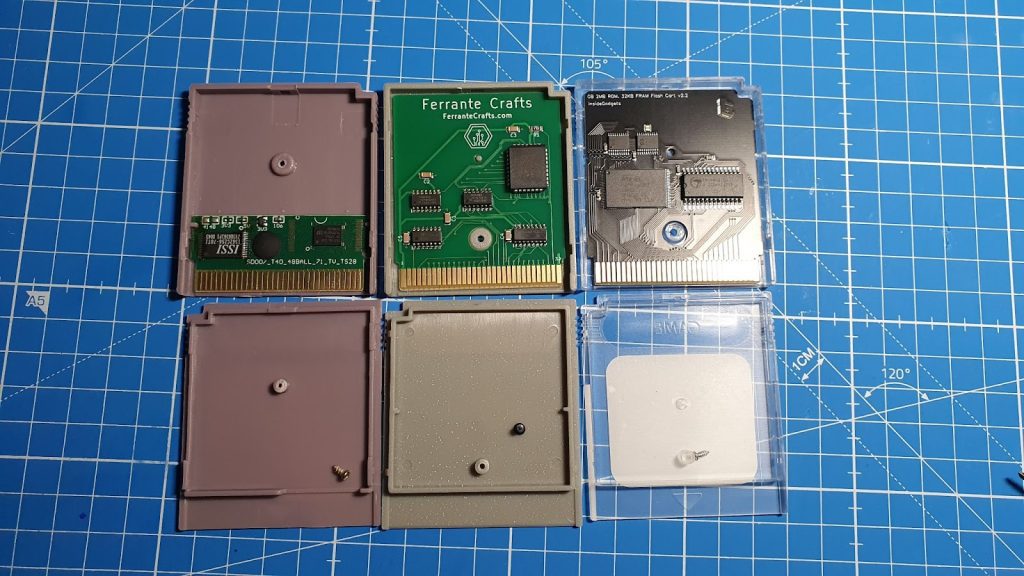
The “GAME”
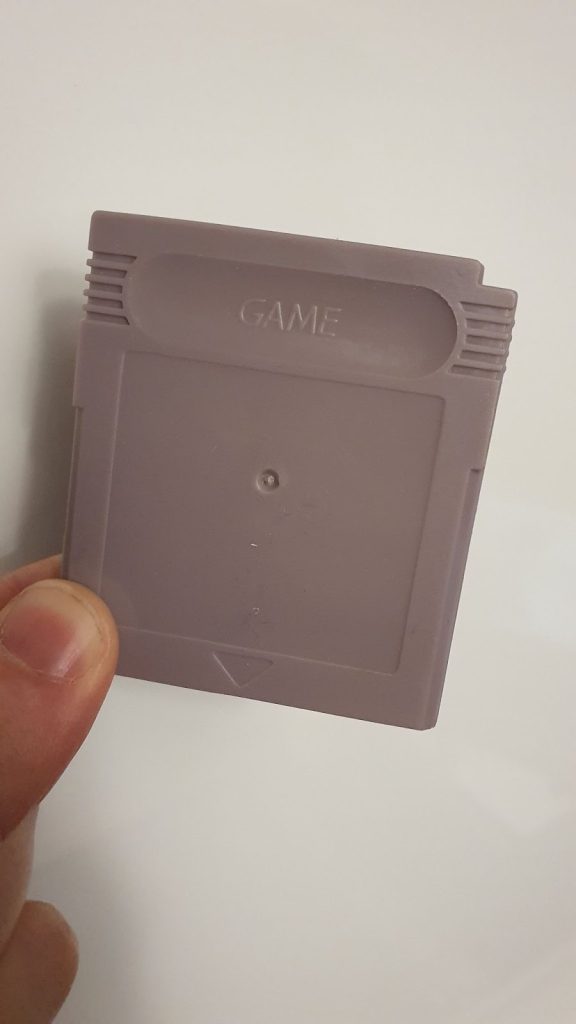
Let’s start with the absolute bare minimum. A trusty companion for smaller GB indie game releases: I call it the “GAME”.
A cheap but sturdy enough shell, most often found on bootleg games or sold individually. These shells cost somewhere between 10 cents and 3 bucks each, depending if you order them from sites like AliExpress or from a local online shop. These are widely available in many different colors, including translucent shells. They’re also the most used shells for GB Studio made games, however, these are far from the best when it comes to build quality.
Similar reproduction shells exist with the famous “Nintendo Game Boy” written on it. And I know, the appeal is strong to use them for your game, as all officially released Game Boy games had those shells, it would look more “legit”. But I would be very careful with using them for your game. It could lead to a copyright debacle for you if your game sells well and gets noticed by Nintendo. Better not risk waking sleeping dogs!
One step further
Some stores sell completely blank shells, which means there is nothing written in the top part of the shell. These seem to be of a higher overall quality. Not having any text in the top of the shell enables you to put your studio name or logo on it, using a sticker.
On one hand this makes your game feel a bit more dedicated and special; having your name or logo written on it, you can even go all crazy with the top sticker, making it shiny or holographic. On the other hand, some people do prefer the look and feel of the nostalgic “original”, or at least something that comes close to it.
These shells cost around 3 to 5 bucks each, which itself is a hefty price tag, and I personally wouldn’t use these particular shells anymore since they all appear to be sourced from a company that has controversy over their design practices. That’s why I only briefly mention these shells here.
Fully Customizable
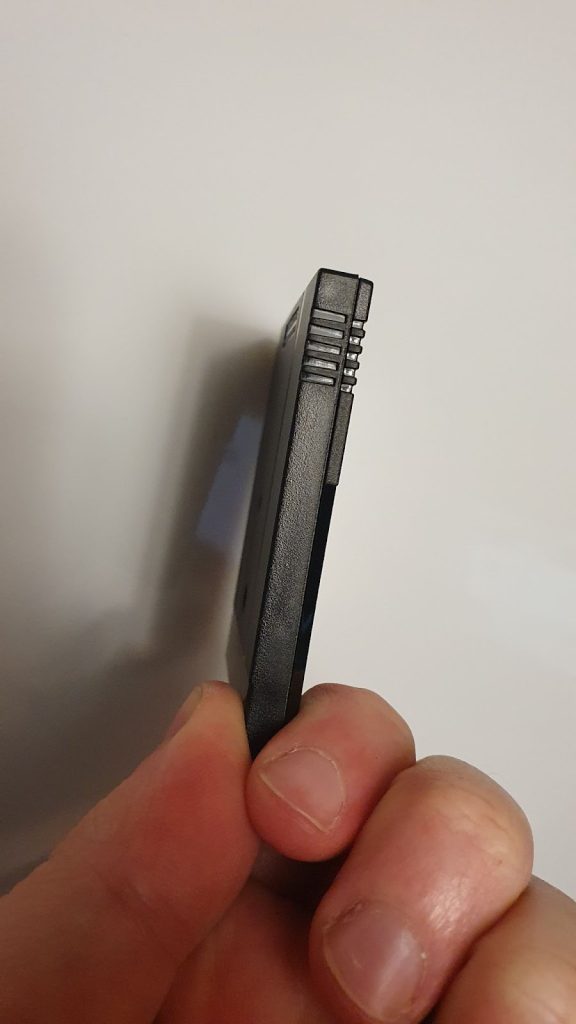
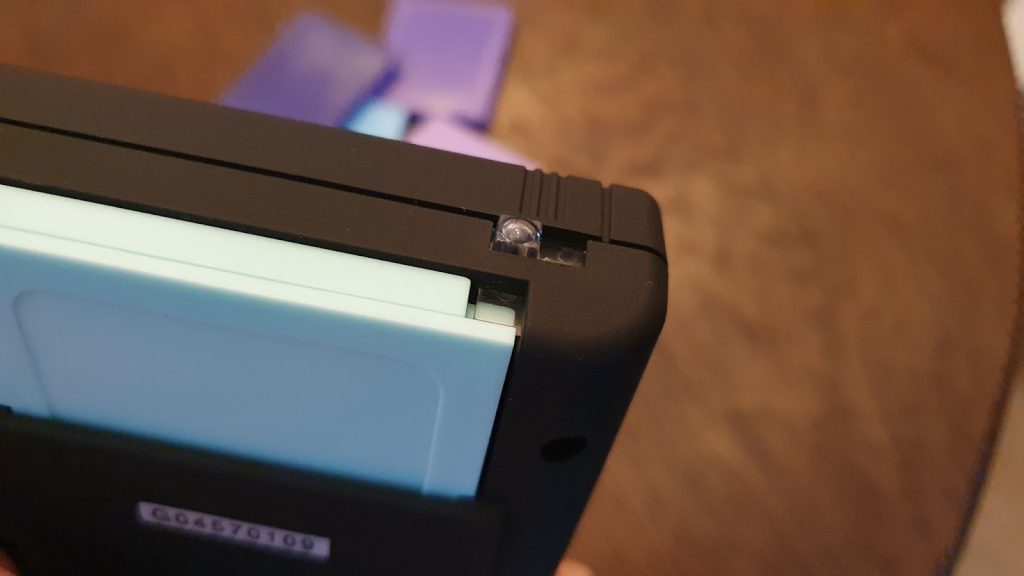
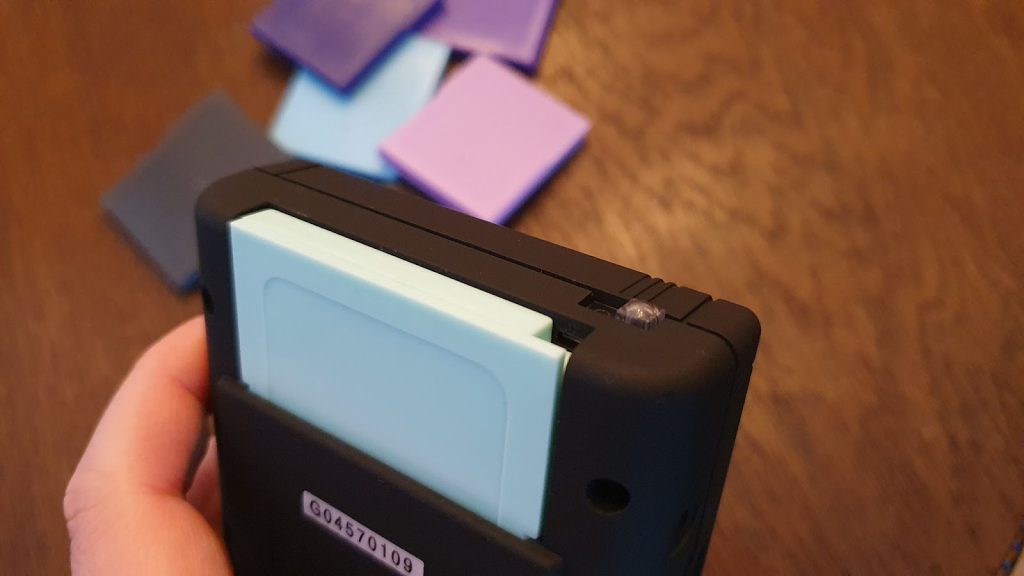
I just recently stumbled upon the cartridge shells from Kitsch-Bent, which have a different approach regarding the overall design of the shell. It has a tall front without a dedicated head (that originally was designed to have a better grip on the cartridge), featuring plenty of space for a bigger sticker. This way you can be more flexible in designing and branding your own games, which can result in more professional looking game cards. Though, not having the “original” shape can be a downside for some people. It also features a notch at the top corner, so it can be used in classic Game Boy DMGs and Pockets as well as a Game Boy Color or Analogue Pocket. For me personally, this is the best pick if you want high customizability or branding for your cartridges for smaller quantities with a still affordable price of around 2 bucks per shell (not including shipping costs and taxes).
3D printing
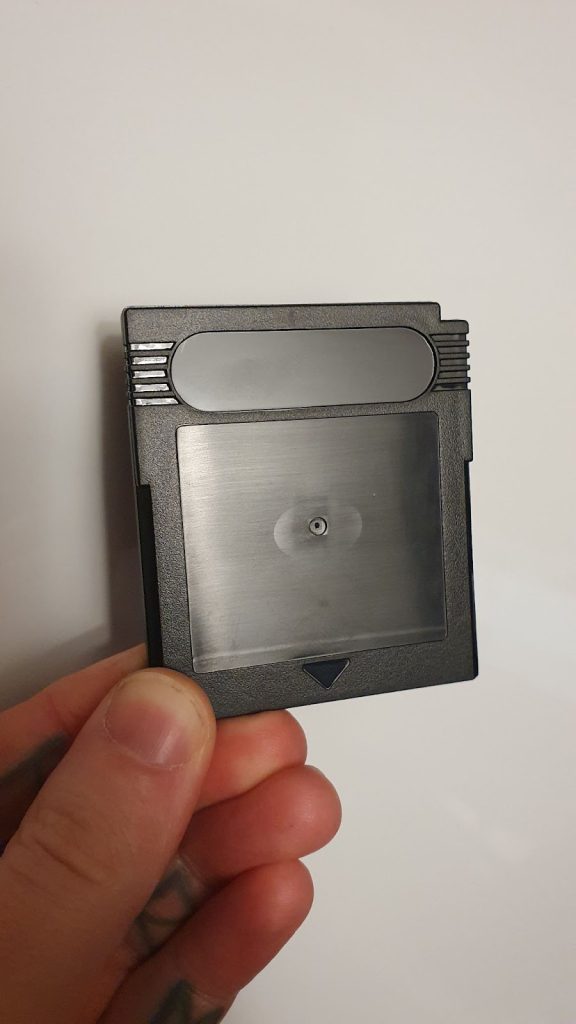
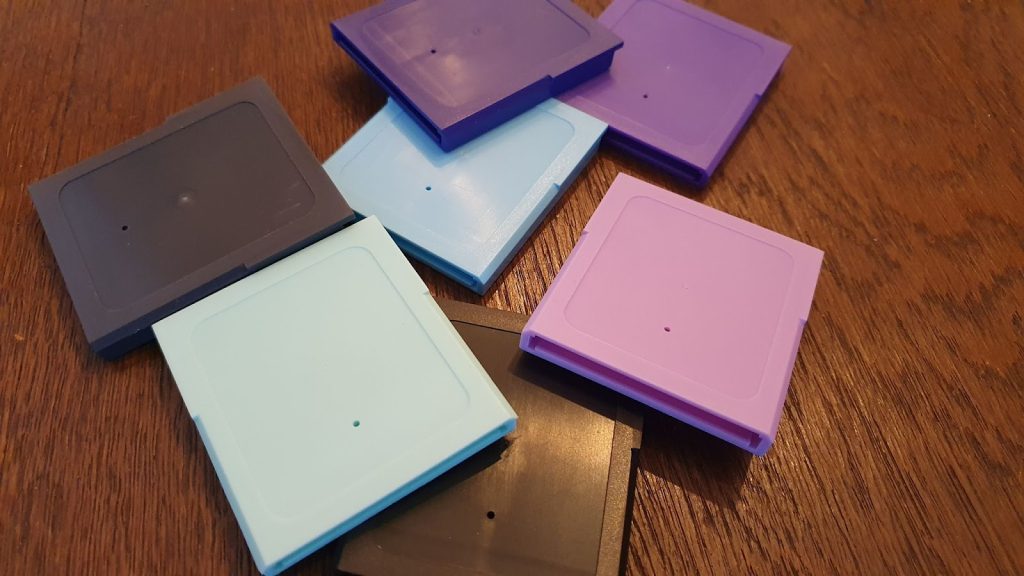
Of course, you can always go the 3D-printed route and make the shells yourself! If you already have a 3D printer, this could be an easy option, designing the shell with your studio name on it and printing it.
There are two common ways of 3D printing nowadays: FDM and SLA printing. FDM is the kind of 3D printer most people are familiar with. It prints by squeezing out molten plastic, layer after layer. These layers can be easily spotted with the naked eye, which always looks a bit too “self made”. That’s why this 3D printing method is more common for building prototypes or parts for bigger objects. They are sturdier and more scratch resistant as well.
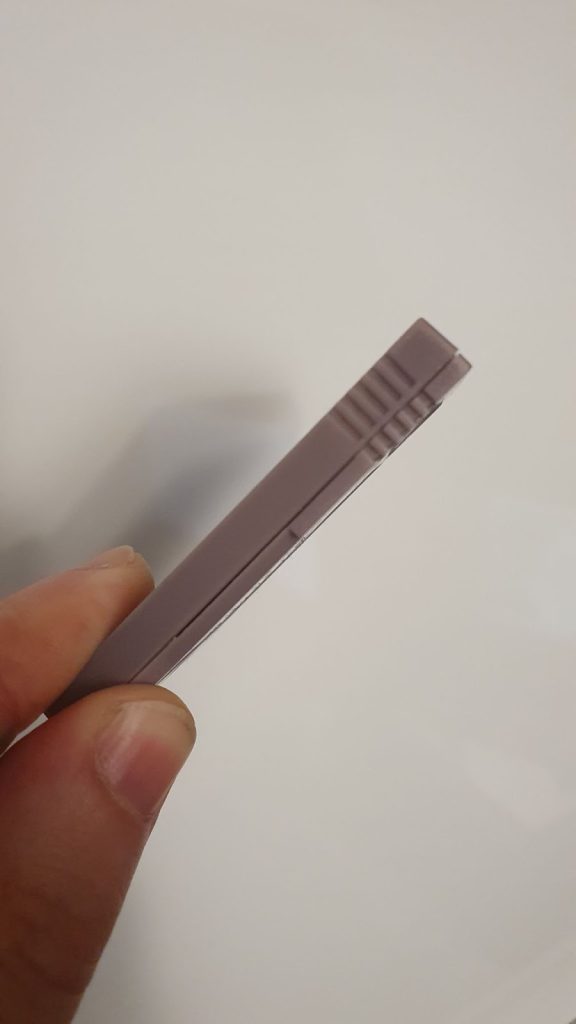
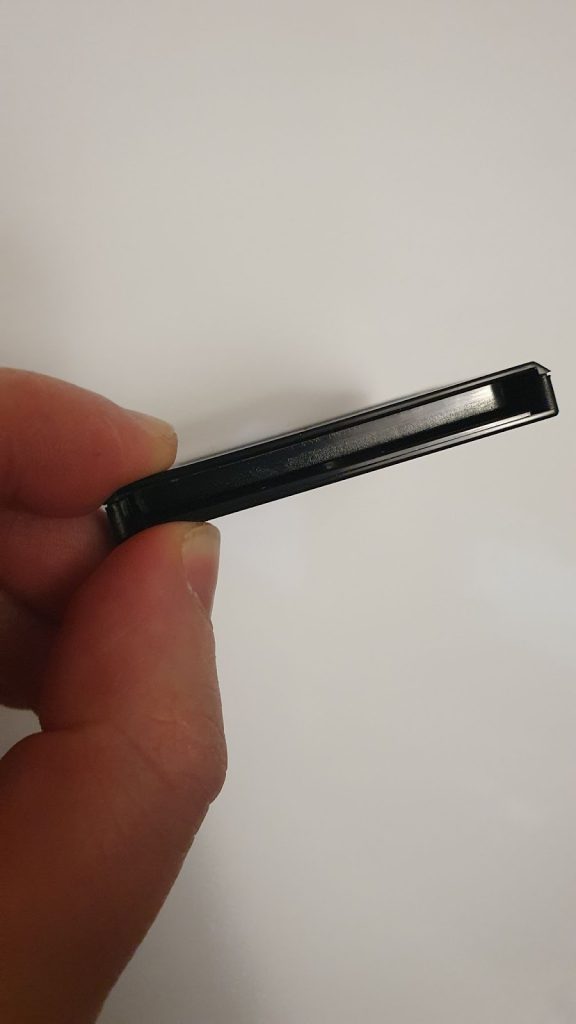
If you want to have the best quality, then you should take a look at SLA, commonly known as “resin printing”. Here layers are printed as well, but they are way smaller, mostly around 0.035mm. That’s achieved by using UV sensitive resin, that is being hardened by a display that shows an image of the current layer in UV light. Compared to FDM printers with a usual layer height of 0.2mm, that’s a huge boost in print resolution, as you can see from a prototype I printed myself here:
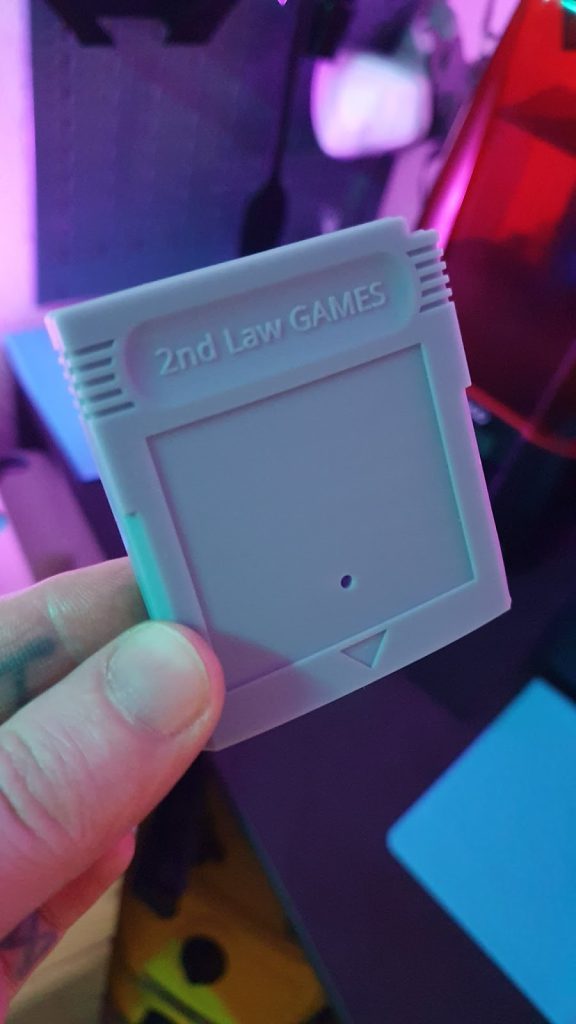
However, 3D printing comes with a caveat: it is slow! Regardless if you’re printing with filament or using resin printers, depending on the printer bed (the surface the printer prints on), you can print around 2 to 8 shells simultaneously (you need the front and the back side of the shell) in about 3 to 6 hours. Which will cost you around 50 cents per shell, including material costs.
So although you can get professional results with 3D printers, once you’ve spent the time fine tuning them and getting the setup just right (which is a journey of its own), you’re highly limited in time. Services like PCBWay do offer SLA printing, and that’s what I would probably suggest when you want to go the 3D printed route, as it saves you a lot of time that can be spent on developing your game or other related tasks. It’s quite a good pick for smaller, limited quantities, but doesn’t match the sturdiness of an injection molded shell and is more prone to scratches, which doesn’t look as good after inserting the shell 5-10 times into a device.
Aluminum
Some manufacturers like Boxy Pixel have created Game Boy cartridge shells CNC drilled out of anodized aluminum. These of course look absolutely pretty and are of very high quality. The caveat is, obviously, that these are made out of metal, which is conductive. Thus, a notice on the product page indicates that it could not work with some cartridges which have a battery soldered to them. Shorting a battery, even such a small one, isn’t going well for electronics of all sorts.
On top of that, a price tag of 18 bucks a shell is the opposite of offering your game at a price that is affordable for most people. You can also order your own designed ones from PCBWay.

Custom Injection Molding
This technique is the major league! Because it’s how Nintendo themselves created their Game Boy game cartridge shells. The process of injection molding is quite simple to understand as well: you have a mold for each half of the shell, kind of a negative of them created out of metal, which will be filled with molten plastic through one or more points in the mold. The plastic cools off, and voila: a shell!
By the way, the points where the molten plastic is injected into the mold is where you get those little nobs from on the cartridge shells. So if you’re designing your own shell for later 3D printing, you don’t need to include these, as they don’t serve any function.


With this technique, you could make yourself high quality and sturdy shells for your game, complete with your own logo and in any color imaginable (and available by the manufacturer). But of course, there is also a caveat lurking here! Because it’s the most upfront costly process of them all.
Most of the costs come from creating the mold itself. There are many grades of quality you can go through, which define the clearance between both parts of the shell, so the material of the mold is also a factor to calculate. The higher the quality of the material, the more shells you can produce with it, but also the higher the price of the mold. Also your file for the shell should conform with and be handleable for the manufacturer, or else there could be a mistake that will only be visible to you once you’ve paid for the mold and the minimum order quantity (MOQ). So it is best to 3D SLA print your designs first, and check for visible flaws. Molds also don’t last forever, so after a few thousand shells are produced, the mold has to be made (and paid for) again.
I have worked my way through some manufacturers through Alibaba.com in China, to get some hard facts about costs, which ended up at 2,000 USD for the mold (cheapest of the cheapest), a minimum order quantity of 5000 shells (per color) which then costs 0.16 USD per shell = 800 USD, and on top, at least shipping to Germany, shipping costs ranging from 650 USD for very slow and 1,580 USD for very fast shipping. So we’re around upfront costs of 3,450 USD at best, NOT including tax (which one has to pay on top of that of course), for your first 5000 custom shells, that are on the same level of quality as the “GAME” shells.
You can put more money into the mold, and the clearance process, to get better quality shells, but that will set you back another few thousand bucks.
Some lucky people, like Dana Puch, the creator of The Shapeshifter series, with good connections to China’s manufacturers, and a pool of money from his first Kickstarter success, already did this and sold their games with their studio name on the shell, which adds a special quality boost to the overall presentation of their game.

And there you have it, all the common ways of wrapping your game cartridge PCB and how much it usually costs.
Editor’s Note: We also reviewed Retromodding’s cart shells in a previous article.

Martin first went into making GB Studio games with his playable portfolio of his own personal website. He is generally interested in a very broad band of topics, and adds new things to the skill list all the time. Being born in the late 80s, the original Game Boy DMG-01 was his first gaming console, and so he kind of has a nostalgic romance with everything around it.
