
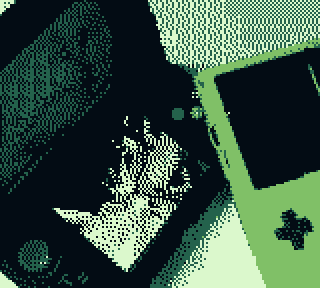
Let’s say you have a photo you want to use in your GB Studio game. It’s a really nice photo you took of the sunset, or maybe it’s a photo of a big, bright moon. No, of course, it’s a photo of a New 3DS and a Game Boy Color, both running Pokémon.
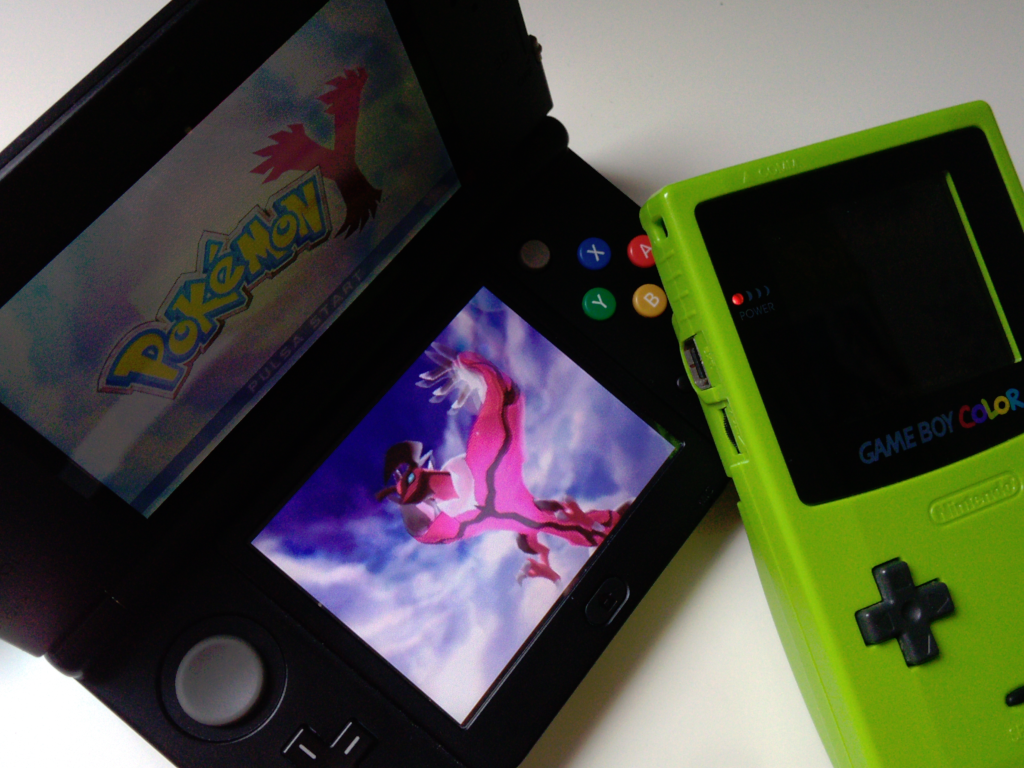
It’s a very nice photo, definitely my favorite. It’s so nice, I wish I could just drop it into my assets folder and add it to my GB Studio game.
Sadly, you can’t just drop that photo and have it magically work. While GB Studio takes care of converting PNG images into usable code for the Game Boy, the images you include still have to fall within specific limits. This article will show you, step-by-step, how to make an image GBS-friendly using GIMP (GNU Image Manipulation Program). I chose this software because it’s free and it’s perfect for this task, but there are several other image manipulation applications that can do the same. Check out our Resources page to see them. If you want to follow along with this specific tutorial though, go download and install GIMP now.
When you open GIMP, you should see a window similar to this one:
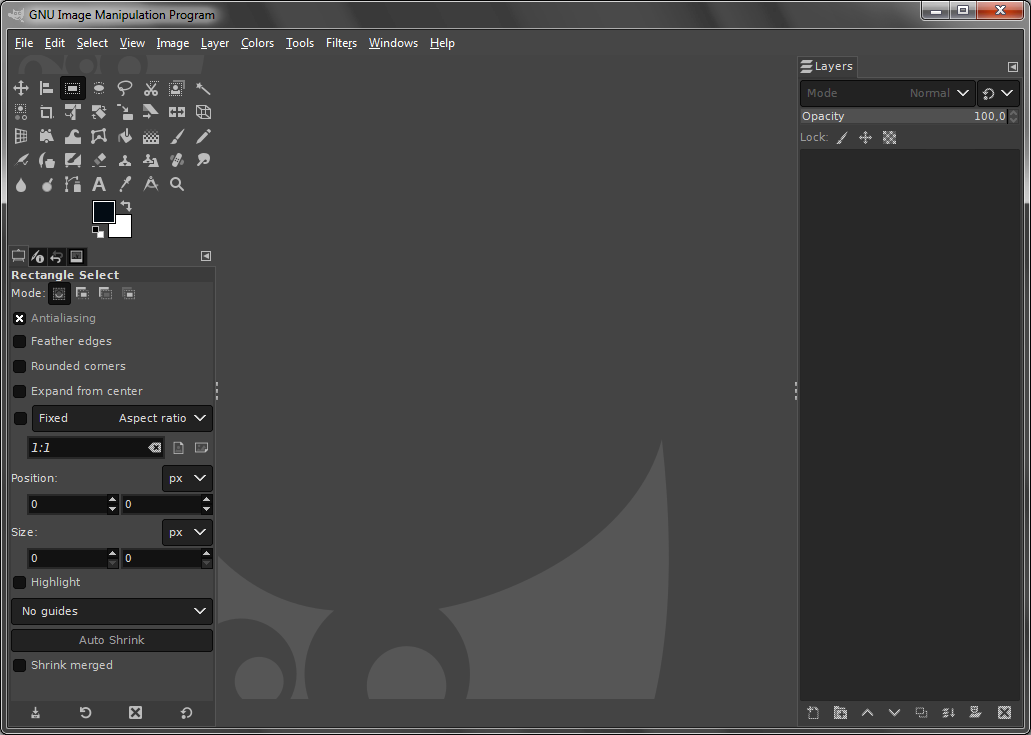
Depending on the version of GIMP you’re using, it might look slightly different. It might be in light mode, with separated windows or with different icons. I’m using the latest version as of the writing of this article (2.10.22), so you might want to use that one.
Load/Open the placeholder scene that you find in an empty GB Studio Project’s assets/backgrounds folder. It should look like this:

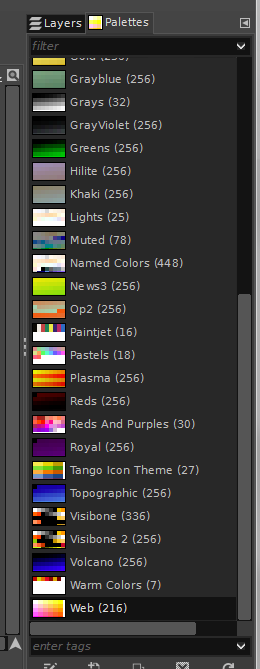
After loading the image in Gimp (you should see it at the center of the window), go to the top menu and click Window > Dockable Dialogs > Palettes. On the right side of the screen, you should see a menu like this:
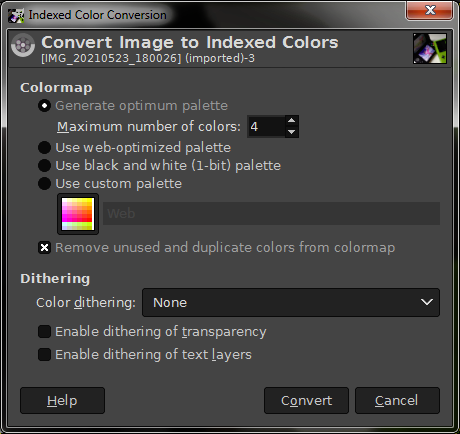
After that’s opened, convert the image to a palette. On the top menu, click Image > Mode > Indexed. If it’s already set to Indexed, ignore this step. A smaller window like this should pop up if it’s not:
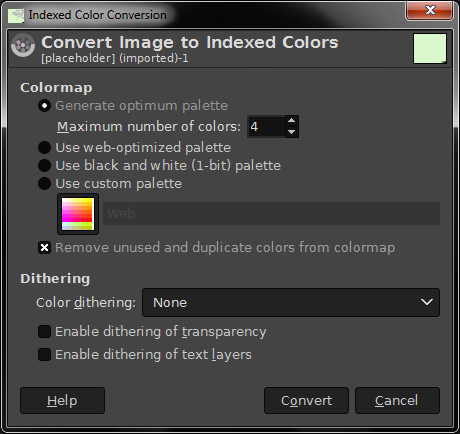
Make sure the maximum number of colors is 4 and click Convert.
Now click Windows > Dockable Dialogs > Colormap. You should see the colors you need to use for GB Studio images.

Go back to the Palettes tab, right click and press “New Palette” or press the “+ file” icon on the bottom of that window. A new tab will show up that is blank. Name that new palette you’re making whatever you prefer. Now go back to the Colormap tab, select the first color. Go to the Palette Editor tab, and add that color using this this button:

Keep selecting the other three colors and adding them until all of them have been added. If you head to the Palettes tab, you will see the new complete palette.
Now, open/load the image you want to convert, then crop and size it to your liking. To size it, go to the menu bar and select Image > Scale Image… Try different Interpolations to see what works best, but I’ve found Linear works well in most cases. A single Game Boy screen is 160 x 144 pixels, but you can make images much larger if you plan on moving the camera around, provided you stay within certain limits, more on that later. It’s now time to index this image, which will apply the palette. You have some options to get the best results in the window that appears when you go to Image > Mode > Indexed:
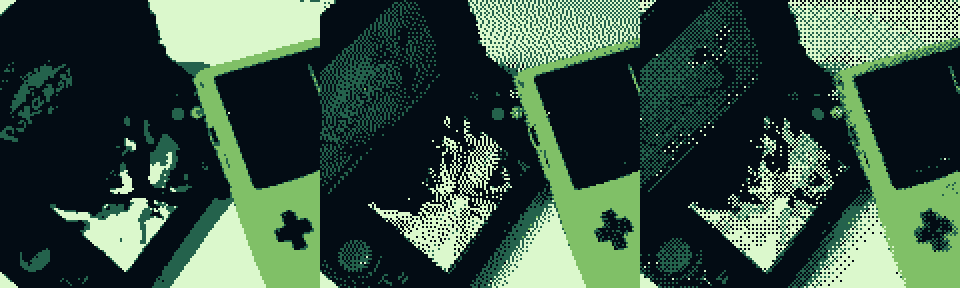
To use the new palette we created, check “Use custom palette” and select it from the dropdown. This will make the image use those familiar GBS colors. As for dithering, it’s really up to you, some methods might look better or worse, depending on the image. Here’s a comparison:
We’re not done yet, GBS might have some problems trying to process this image because of how “powerful” it is (tile counts, the problem is tile count). To solve this problem, you need to manually reduce the number of tiles. I wrote an article a few months ago explaining tiles, so you might want to check it out. At the end of the article I wrote some tips on how to reduce tiles and not make the image look different or worse. Basically, remove tiles with few pixels and copy very similar tiles. If your image has way too many details, consider removing some elements.
That’s pretty much all you need to know to start converting images to a GBS friendly format. There are other methods out there (like simply “tracing” over an image), but this is the one I use, and it works really well for me. Also, once you create the palette, you don’t need to do it again, just index your images with it and optimize the end result. You can use photos you’ve taken yourself, sketches you’ve scanned or digital collages/composites and other reference materials found online. https://sketchfab.com/ is a great source to find 3D objects that can be manipulated for reference too.
a/k/a “Anima” – Game Developer Wannabe, Average Internet Enjoyer, Human Being. (he/him)
