In modern games you typically select your language at the beginning, or it is detected automatically and the system selects the language.
The limitations of the Game Boy are present in this topic as well, as developers had to figure out other ways of supporting multiple languages. A common practice is to release the game on different cartridges with one language per cartridge / rom. So you had “Pokémon Blue” for English-speaking folks, and “Pokémon Blaue Edition” for German-speaking folks (the one I had as a kid).
Since space on cartridges is very limited, there would’ve been no way of providing more than one language for Pokémon games on one cartridge.
But if your game is smaller in scale (like a short puzzle or arcade game), and you can afford the space on the cartridge, then it’s a different story.
In this article, I’ll guide you step-by-step through the process of creating your own multi-language mechanic to support multiple languages on one rom.
Step 1: Preparation
First you should decide which languages you want to support.
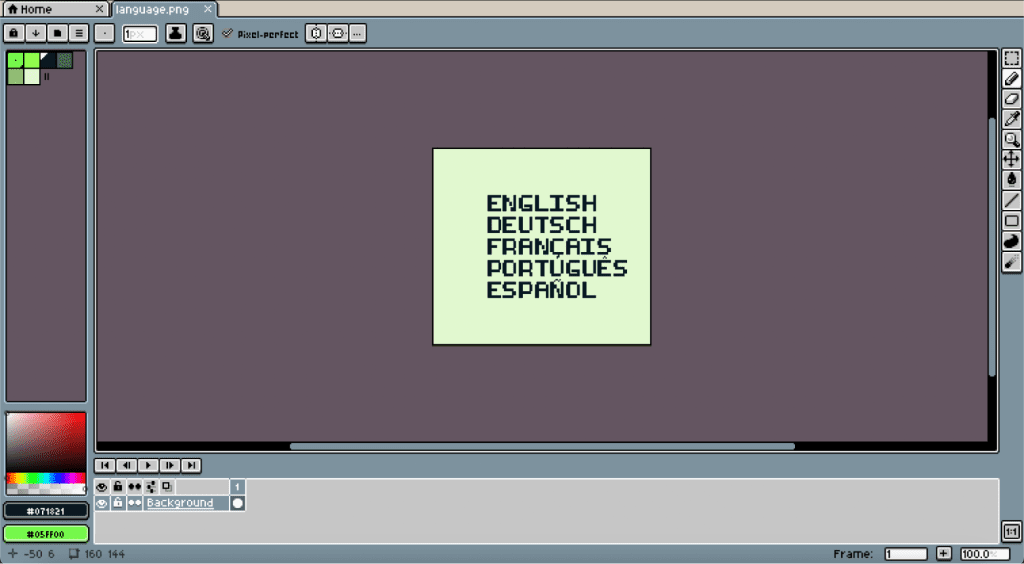
In my example, and in my game “Fuse Dash,” I decided to support English, German, French, Portuguese, and Spanish, to cover a large portion of people around the world.
If your game is for Game Boy Color only, then you can even work with country flags (which are harder to differentiate with the 4 colors DMG palette).
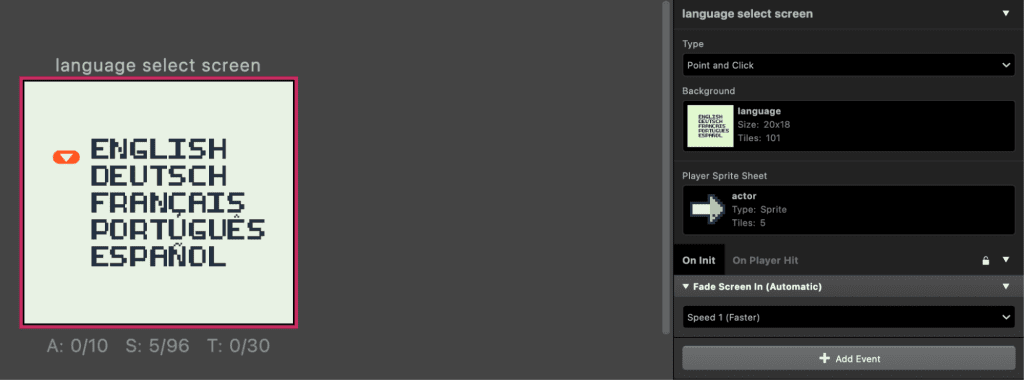
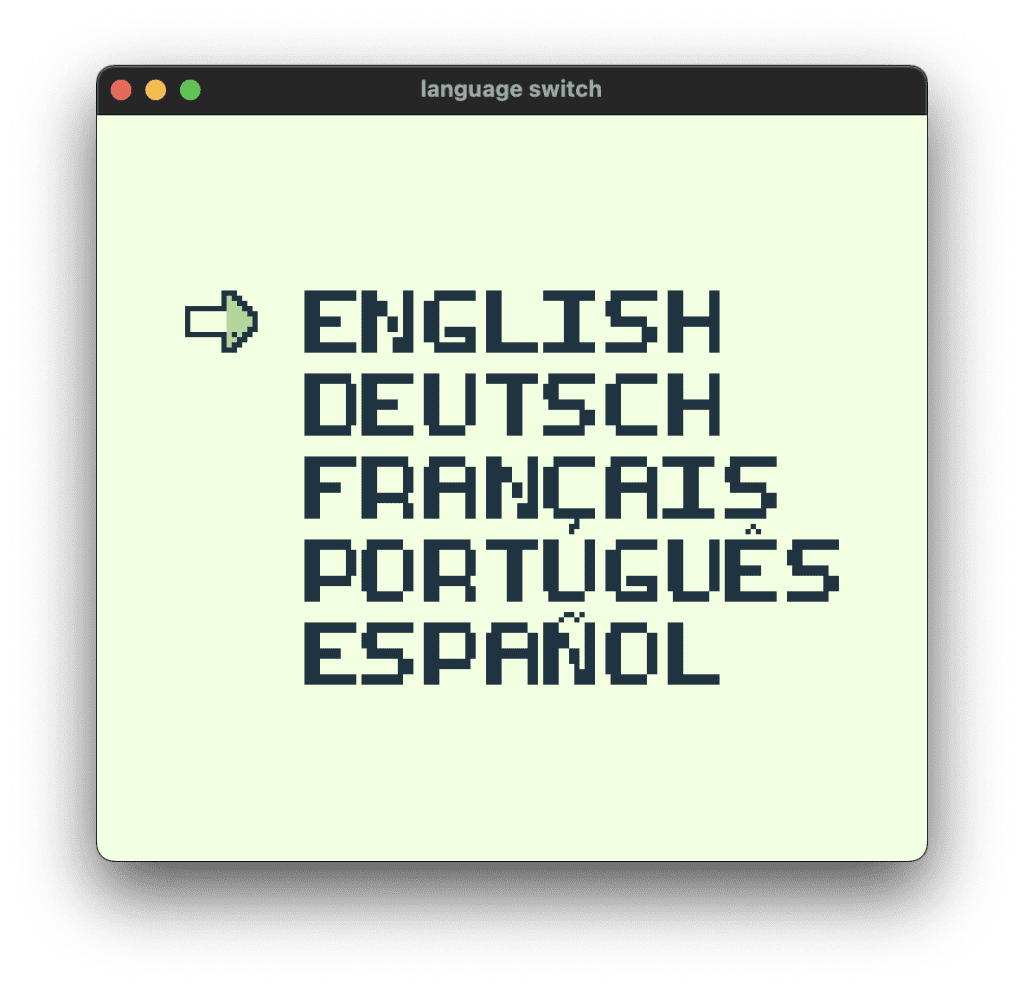
Create a language select background in the pixel art program of your choice.
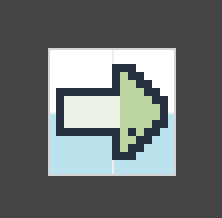
Now create an actor sprite that you can use as your cursor.
For this example project I used the arrow that comes with every new GB Studio project (as of version 3.2.1).
It’s best to select “Fixed Direction” in the animation type of the sprite, so you don’t have to handle actor facing directions later.
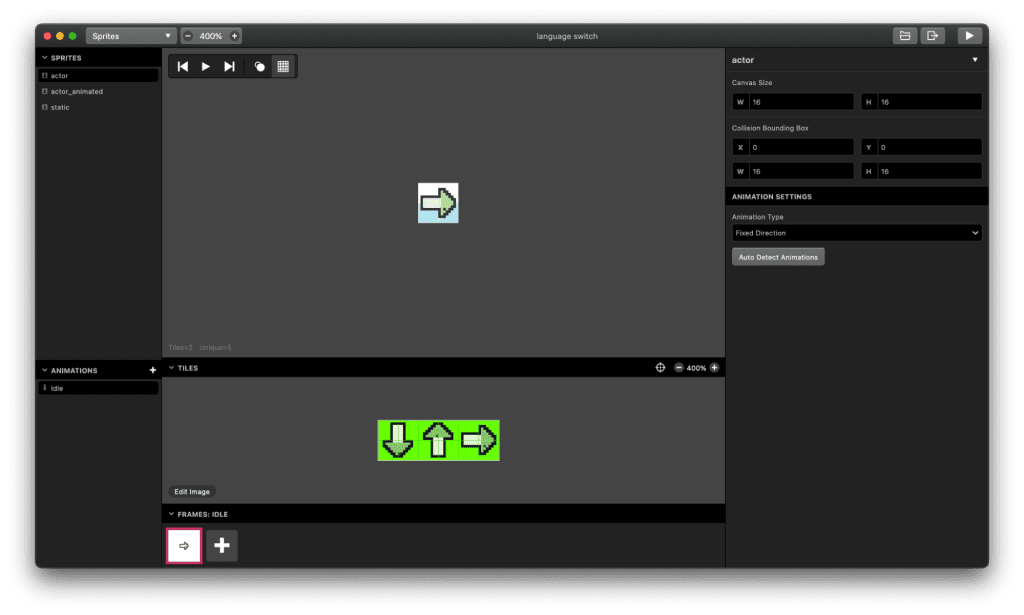

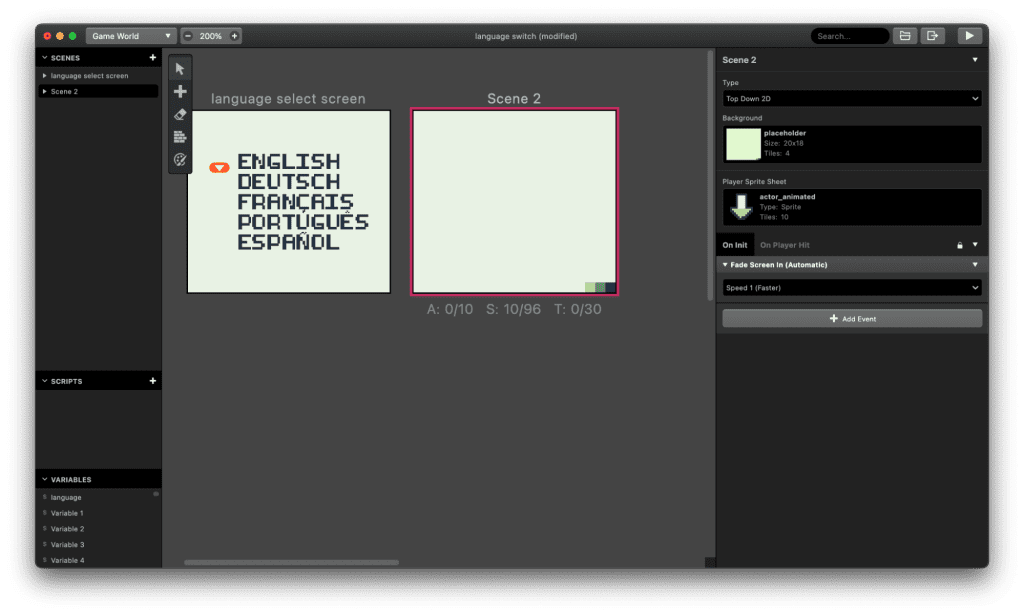
Now you can create a new scene, select your language-select background and your cursor actor.
The scene type can be “Point and Click,” but it should also work as Adventure or Top Down 2D type.
Step 2: Cursor movement
When we run the game, the cursor actor can move freely.
So we need some mechanics to restrict the movement to be inside of our list of selected languages.
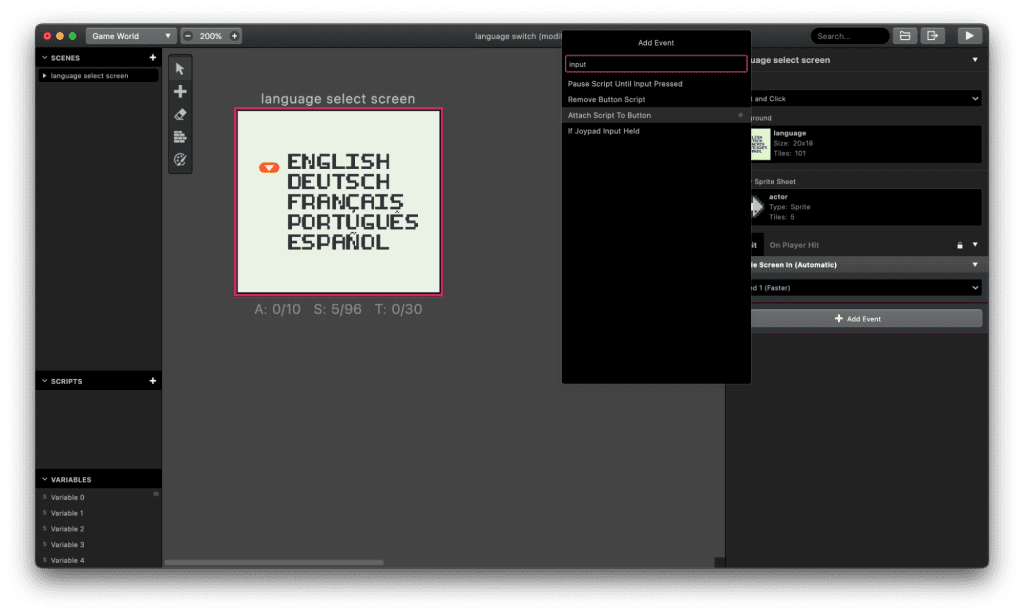
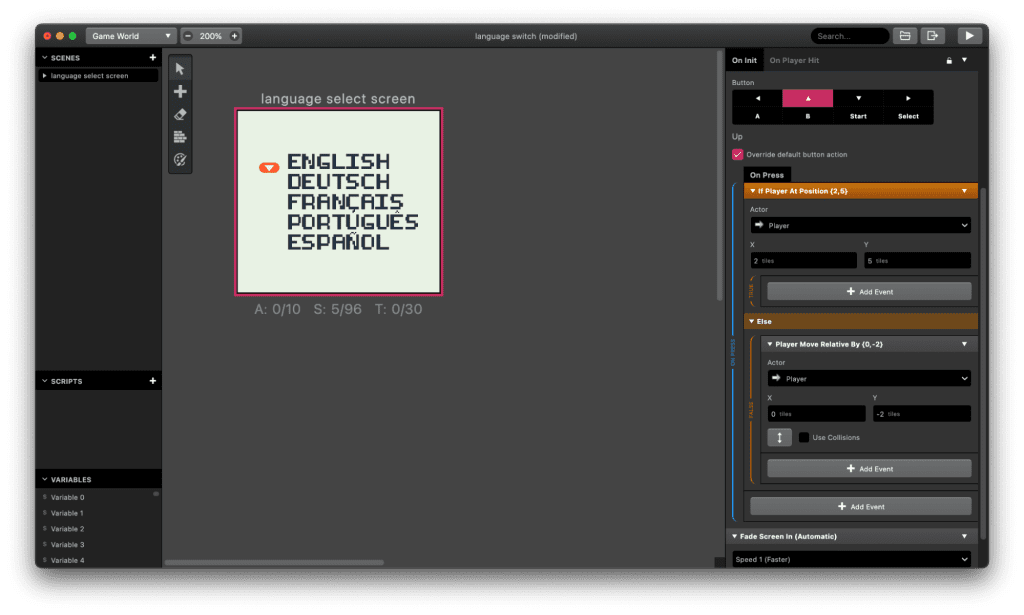
First, we add the UP movement mechanic.
Add “Attach script to button” to the scene and select the UP movement. Inside you’ll have to add an “Actor move relative” script and add -2 to the “Y” value.
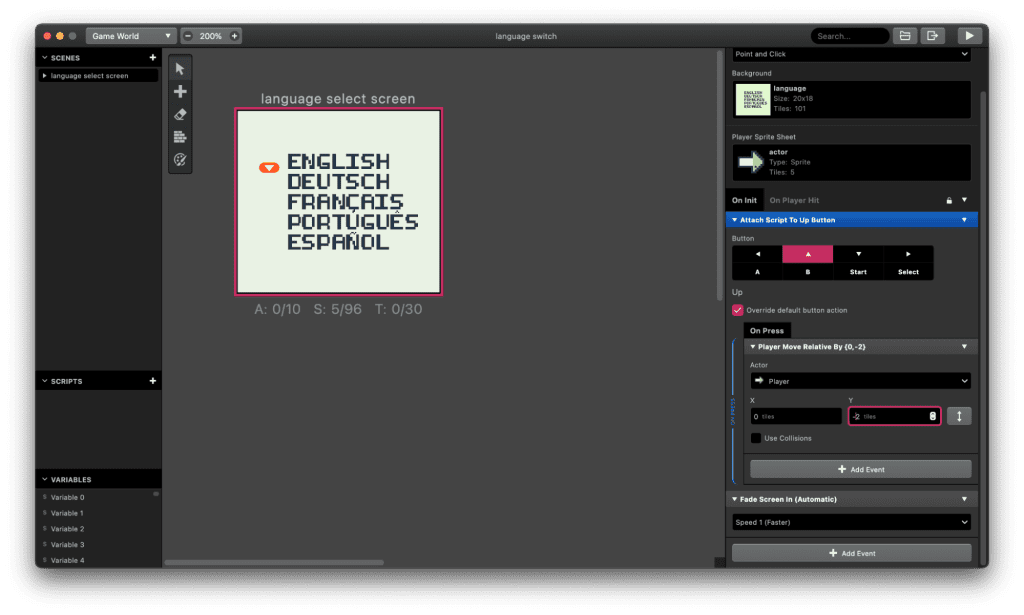
Now wrap the previously added “Actor move relative” inside the Else of an “If Actor at position” script, which you set to the highest place your cursor should be able to move up.
In the case of this example, that’s X:2 and Y:5.
You can use the red indicator while increasing or decreasing the values.
Why use the Else in this script? Because we only want the cursor to move 2 tiles up, if it’s not at the highest position already.
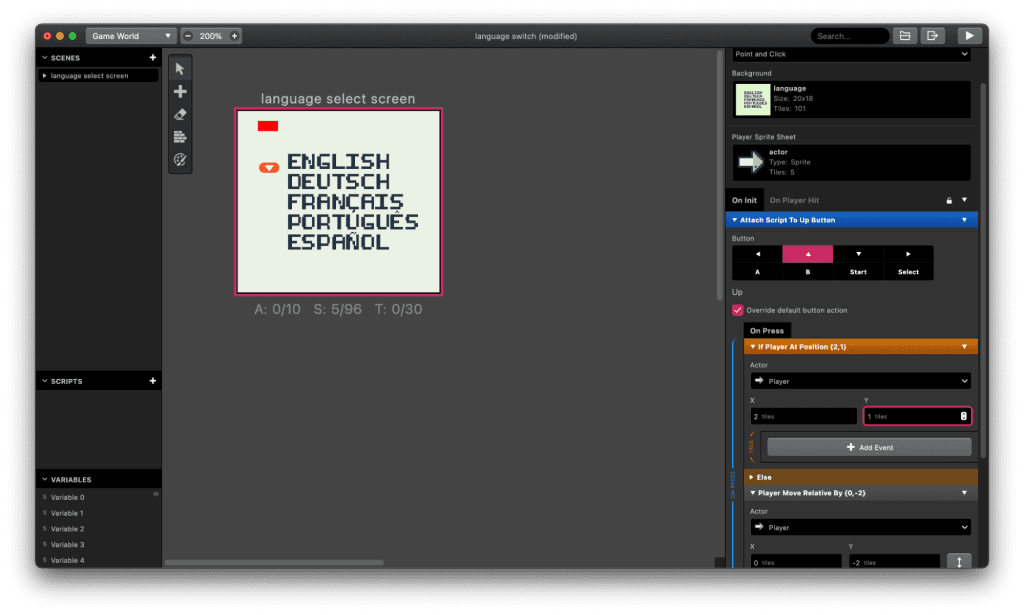
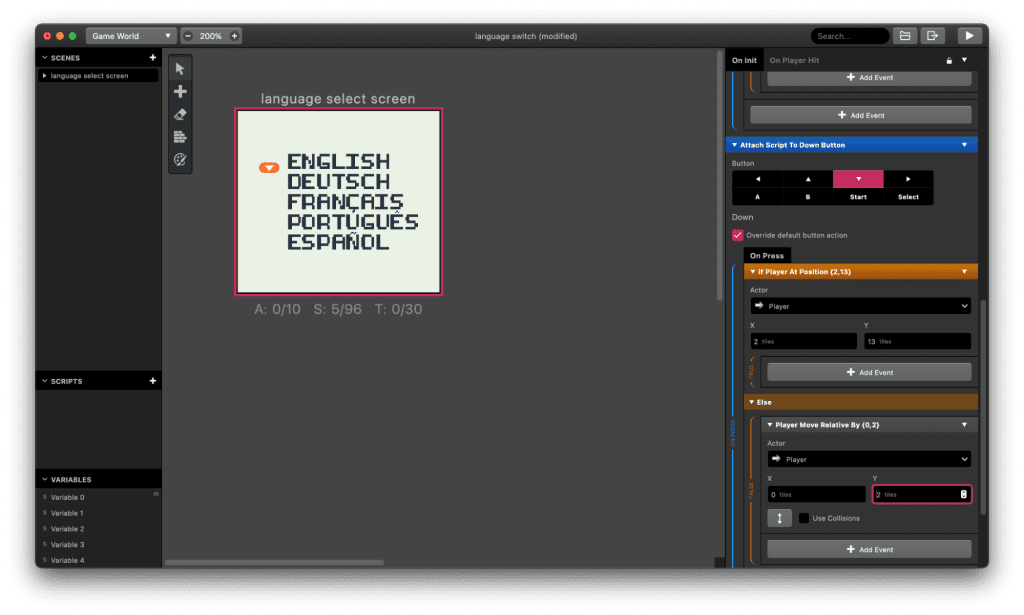
Now do the same for the Down input. You only have to edit the “Actor move relative” Y to 2 (instead of -2), and edit the Y value to represent the lowest point the cursor should be able to move to. In this case it’s Y:13.
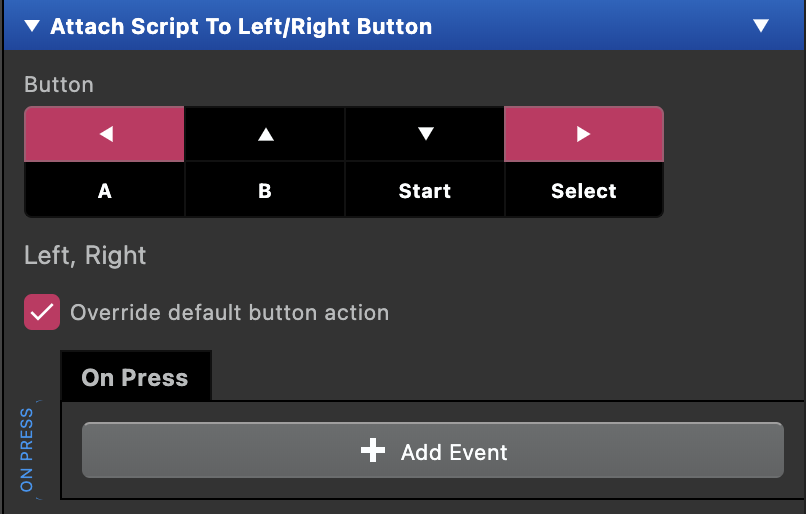
And as the last step for the cursor movement, we need to restrict the cursor in moving left and right.
Add another “Attach script to button” script to the scene and select Left and Right. Also make sure to tick that “Override default button action” checkbox.
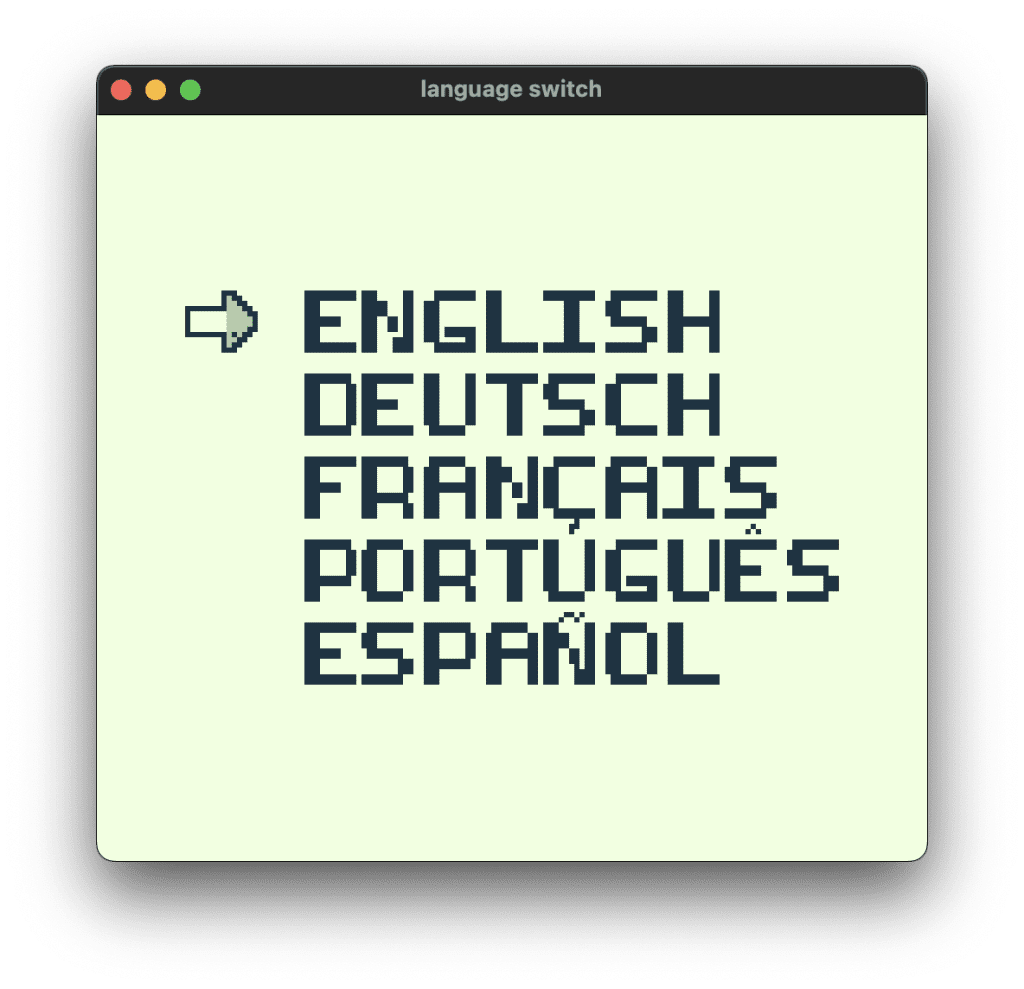
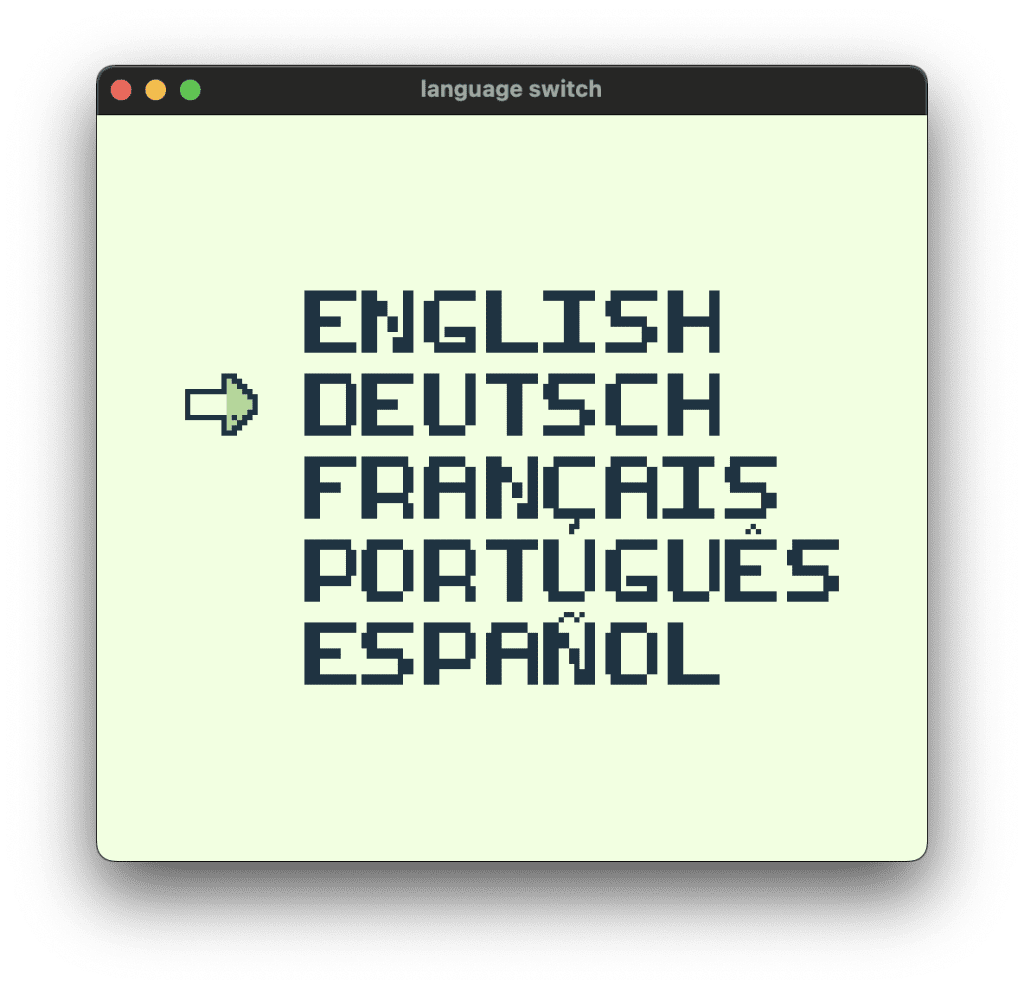
Now your cursor should only be able to move from line to line in a vertical manner, without going above or below the list.
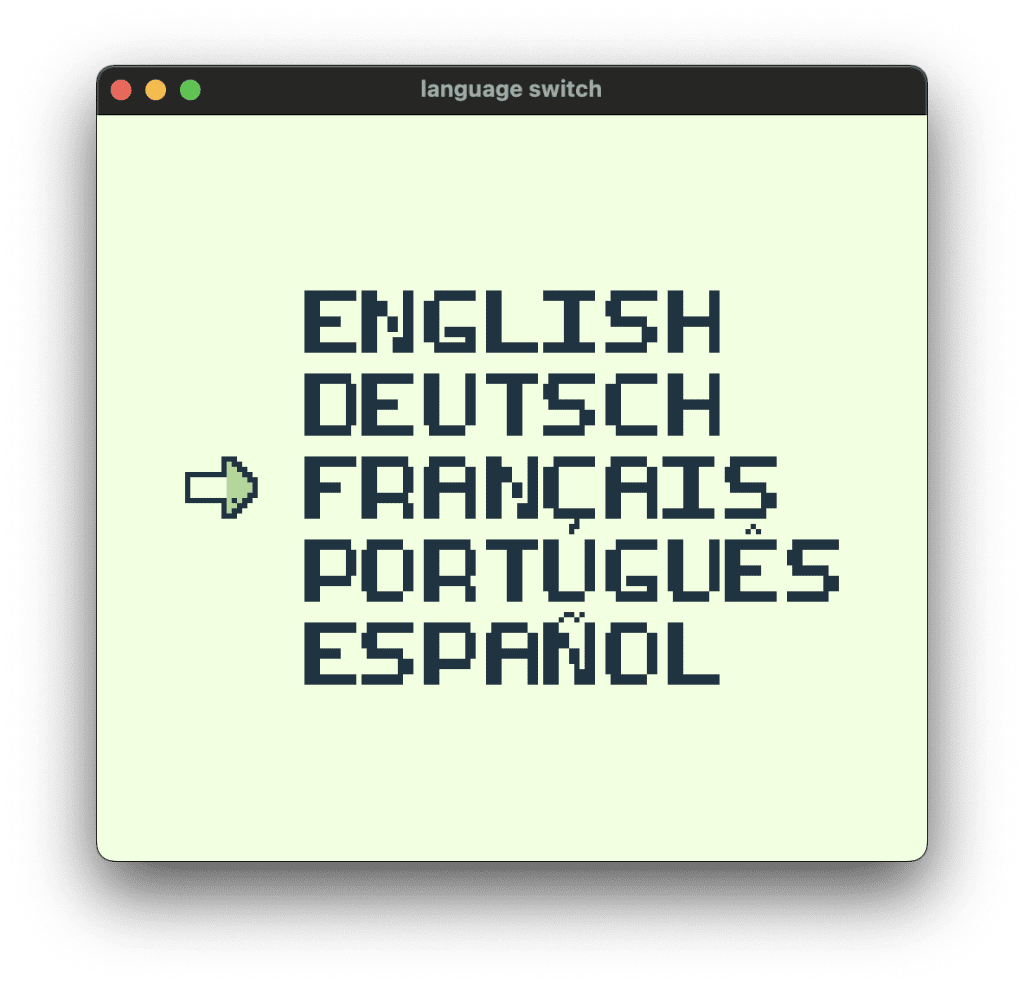
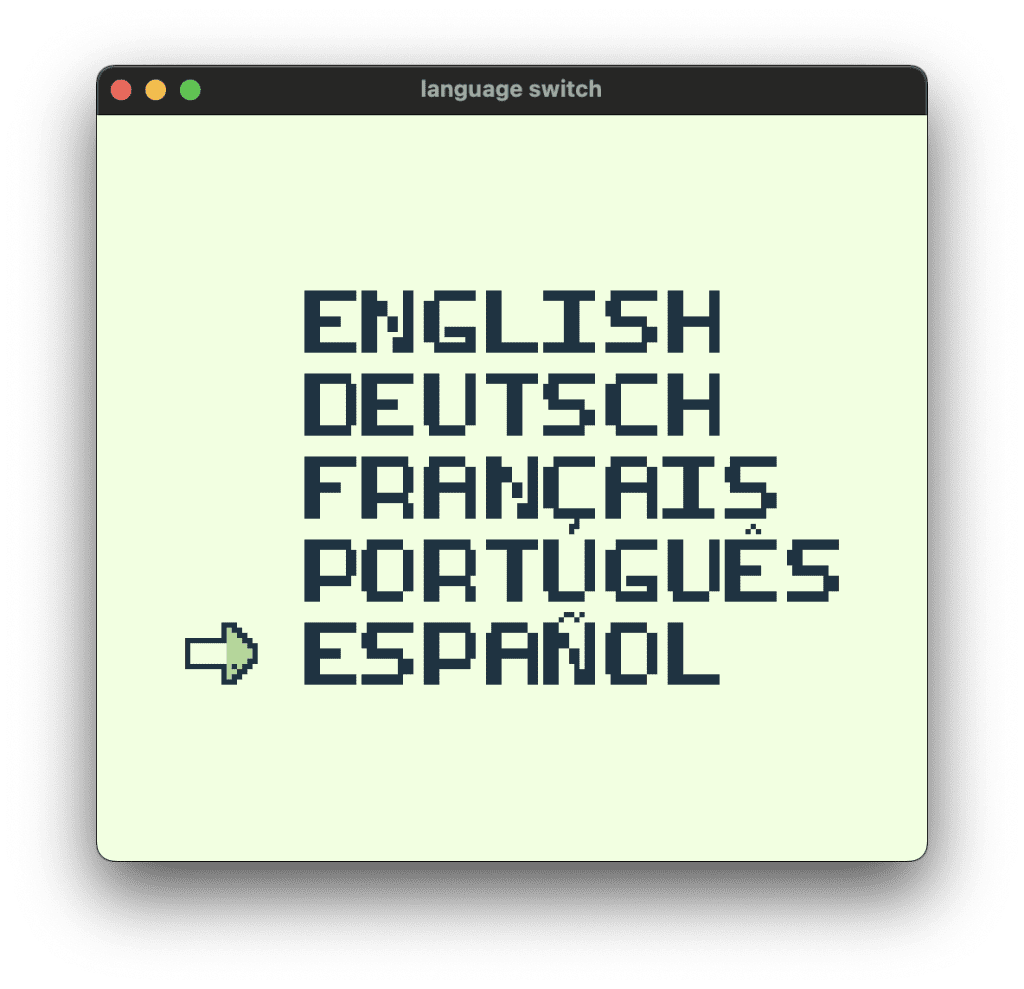
Step 3: Language selection mechanic
We now need a variable to store which language was selected.
Create one and name it accordingly. In this case I named it “language.”

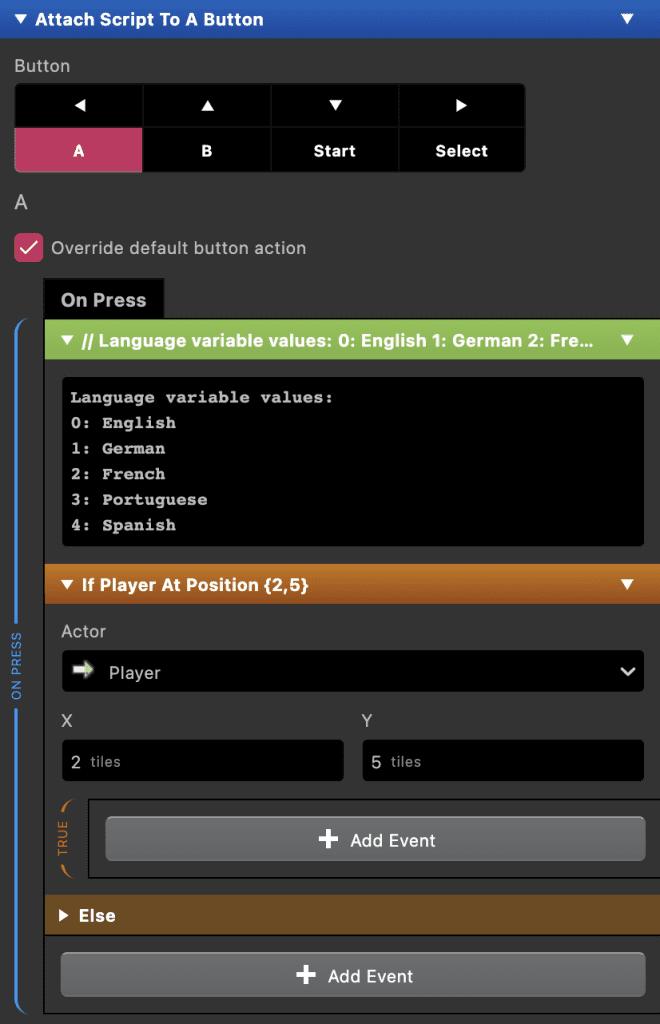
Add yet another “Attach script to button” script and select A as your selection button. You can of course also use another button, like B or Start, or straight up all of them if you like.
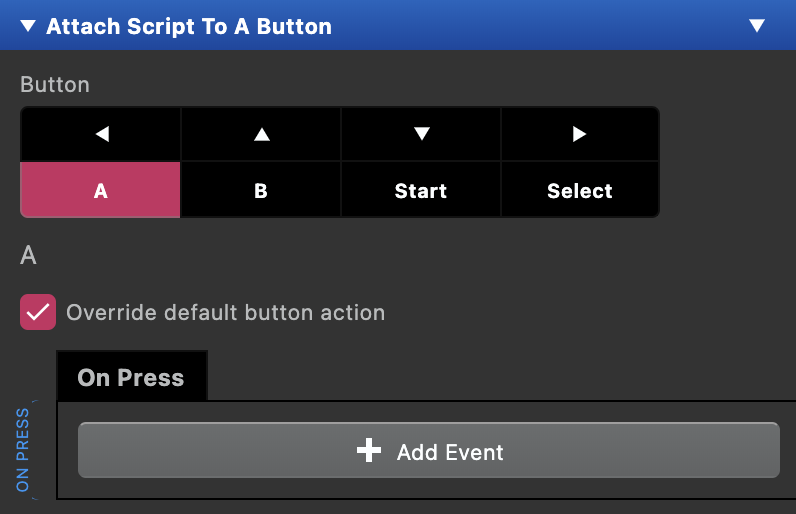
Now we’re again using the fixed positions of the cursor to determine which language is selected.
We’ll start with the first language, which in this case is “English” and would be selected if the cursor is at X:2 and Y:5.
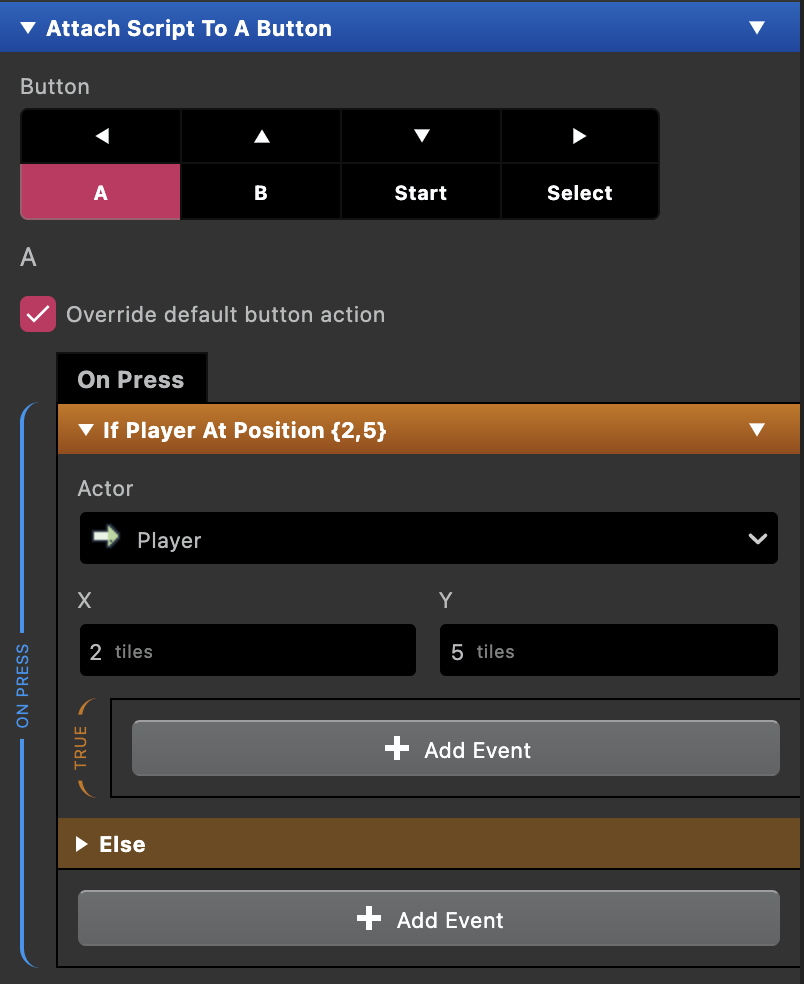
Add a comment field and write down which values represent which languages.
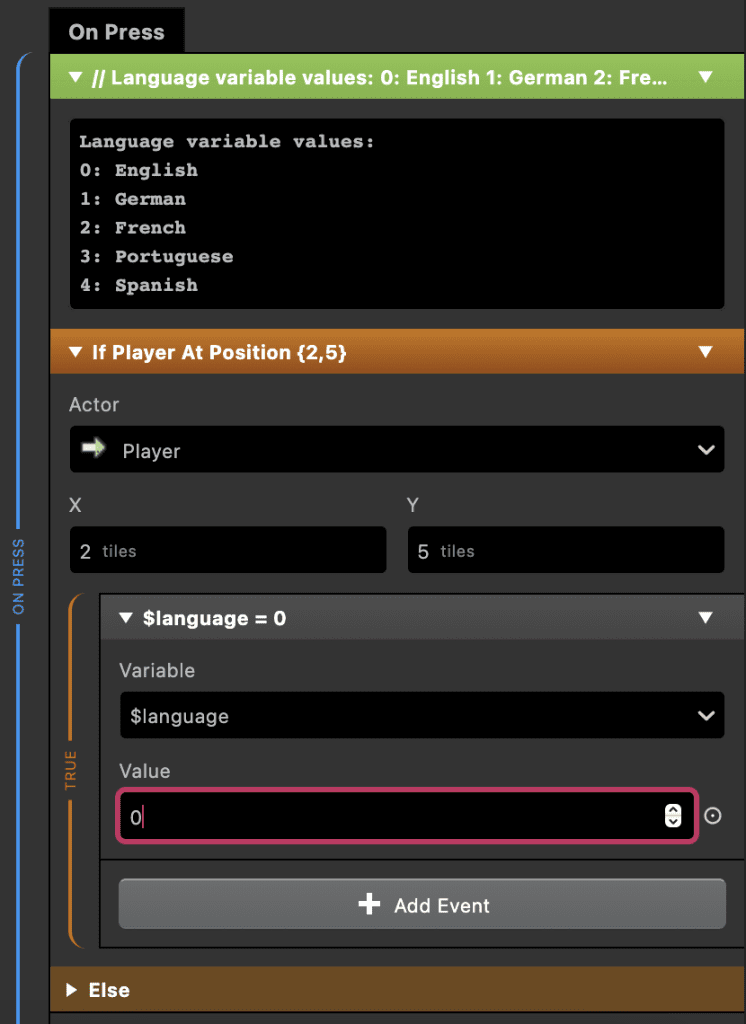
Add a “Variable set to value” script, set the variable to your language variable (again, in this case I’ve called it “language”) and set the respective value.
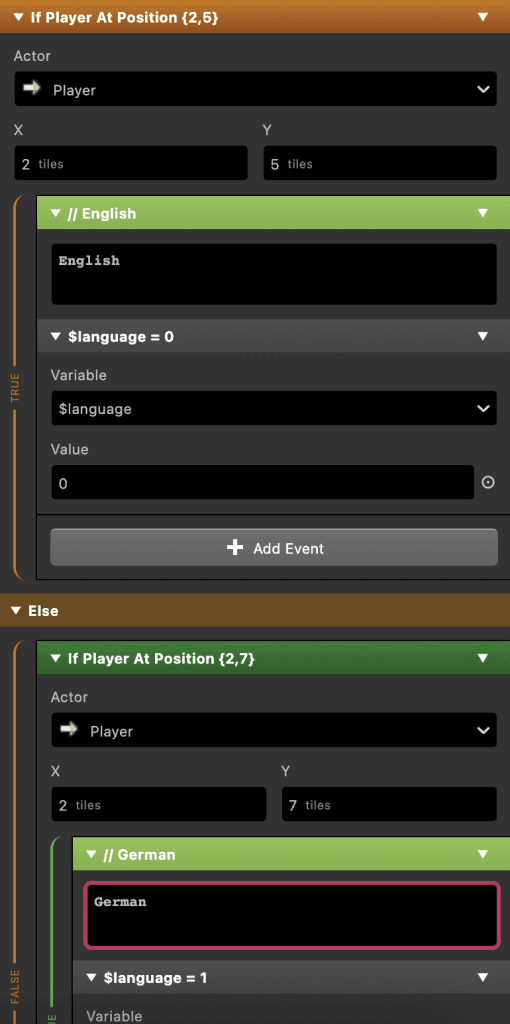
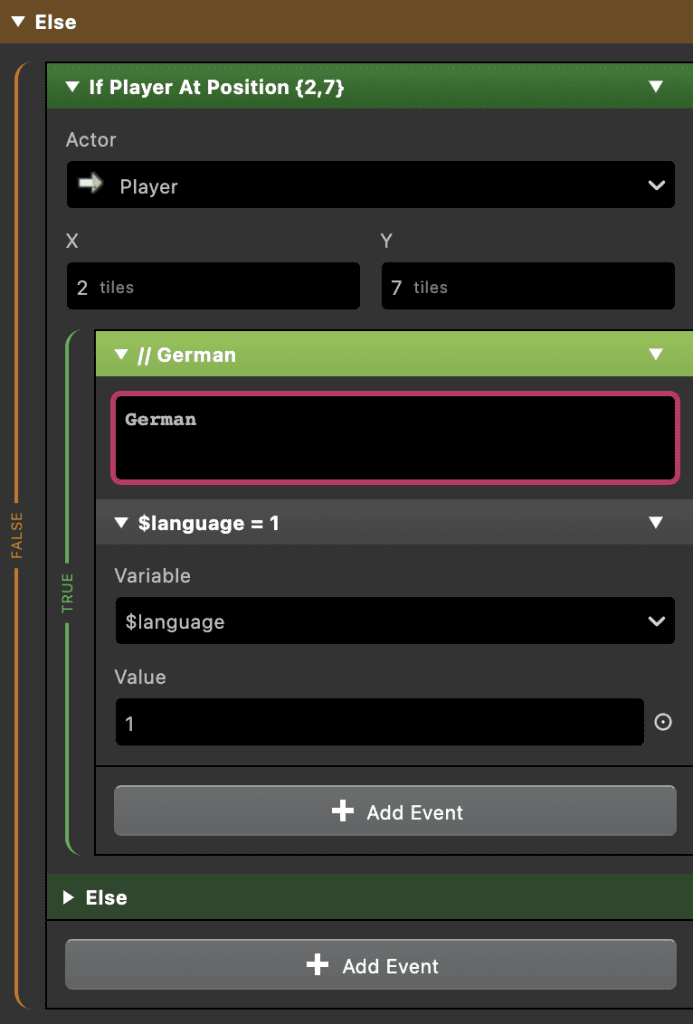
Now do the same for all other languages. Copy the “If player at position {2,5}” script, place it inside the previous ELSE state and change the X and Y, as well as the language variable values accordingly.
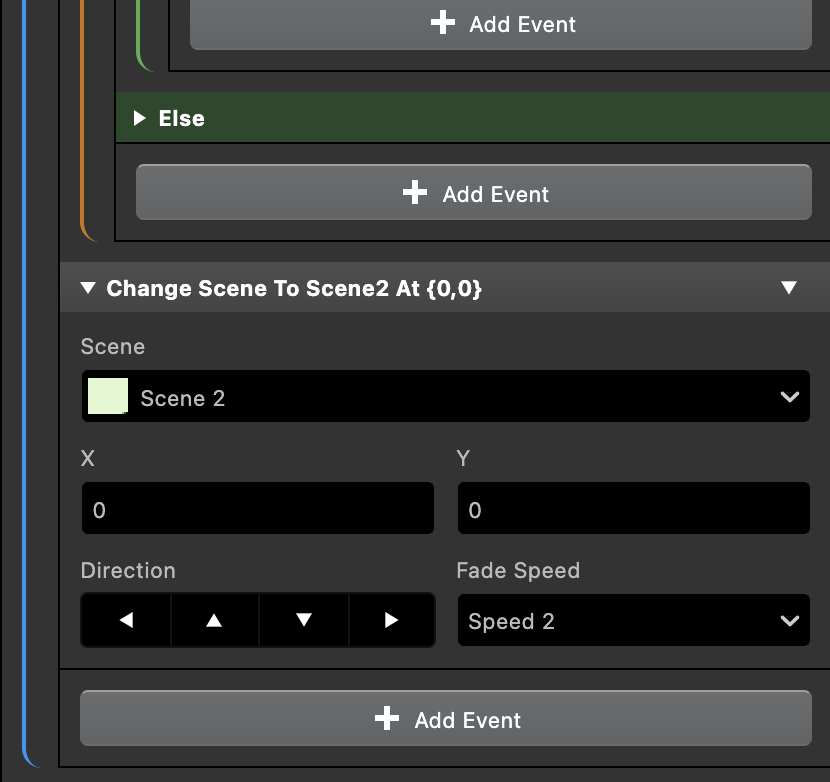
Now place a change scene event at the end of the “Attach script to button” for the language select button so it changes the scene when the player has selected a language.
Step 4: Showing the right dialog
Now add a new scene, or go to the scene in your game where you want to show a dialog.
Add a “Switch” script, change the “Number of options” to 5, and let the numbers start with 0 instead of 1.
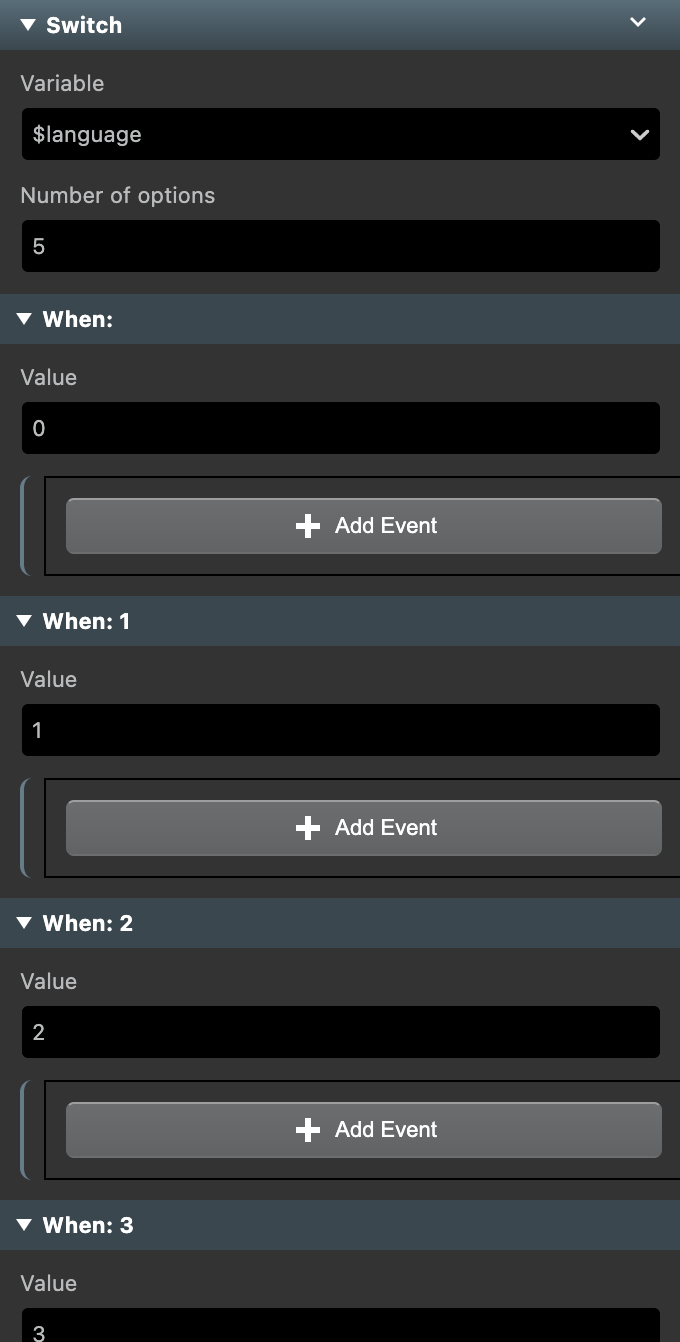
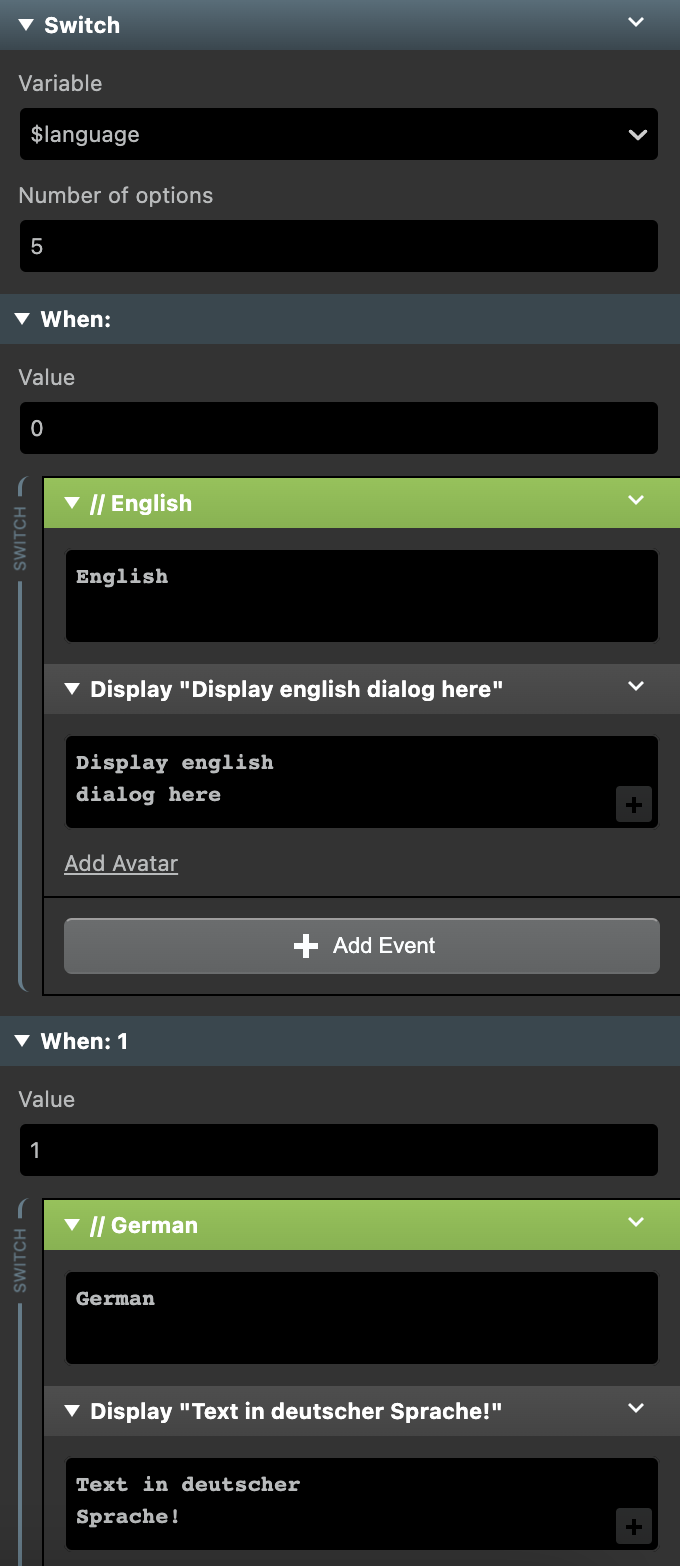
In this example, 0 is used for English, 1 for German, and so on.
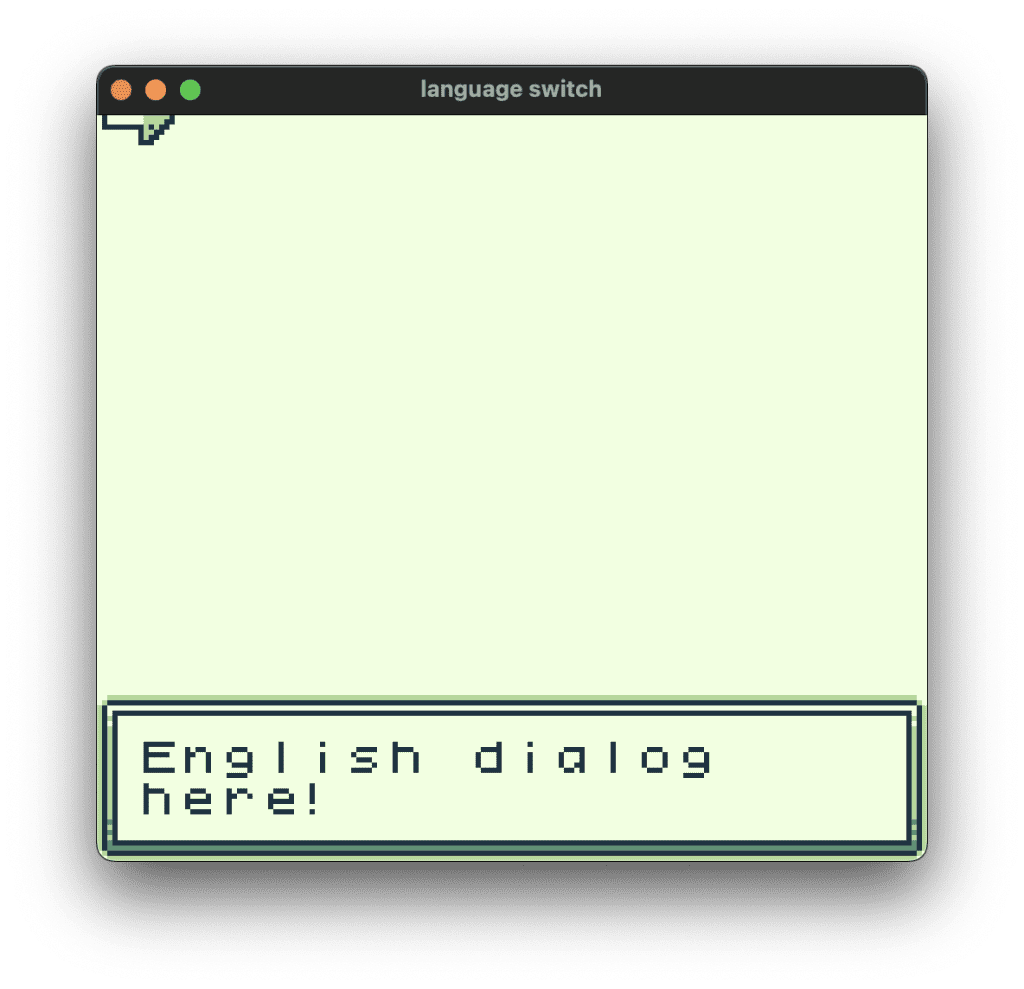
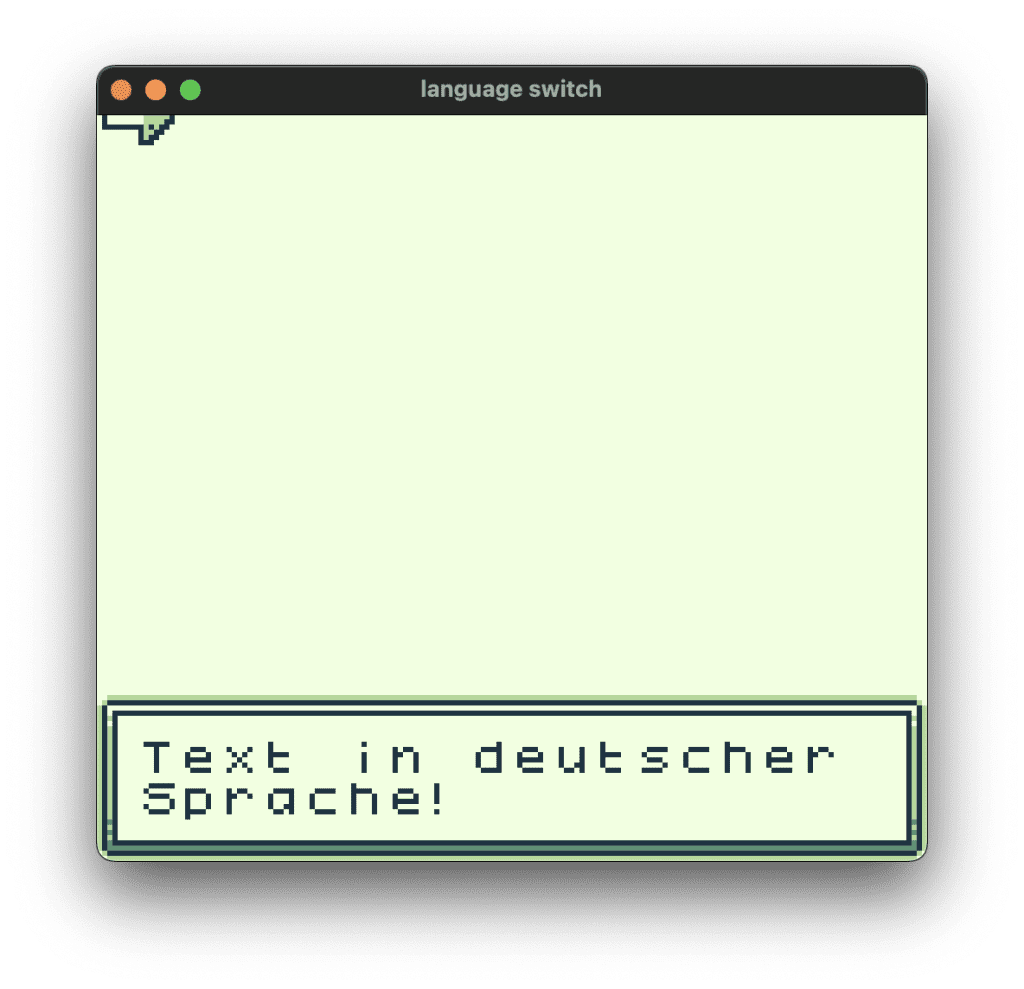
So if the language variable has the value 0, it should show an English dialog. If it’s 1, it should show German, and so on.
And that’s it, you now have a language select within your game!

Martin first went into making GB Studio games with his playable portfolio of his own personal website. He is generally interested in a very broad band of topics, and adds new things to the skill list all the time. Being born in the late 80s, the original Game Boy DMG-01 was his first gaming console, and so he kind of has a nostalgic romance with everything around it.
