
With today’s modern gaming conventions, the original Game Boy can be a mysterious and confusing device for today’s player. That’s why we’ve created this guide to make sure you’re able to get the most out of your Game Boy.
Step 1: Get a Game Boy
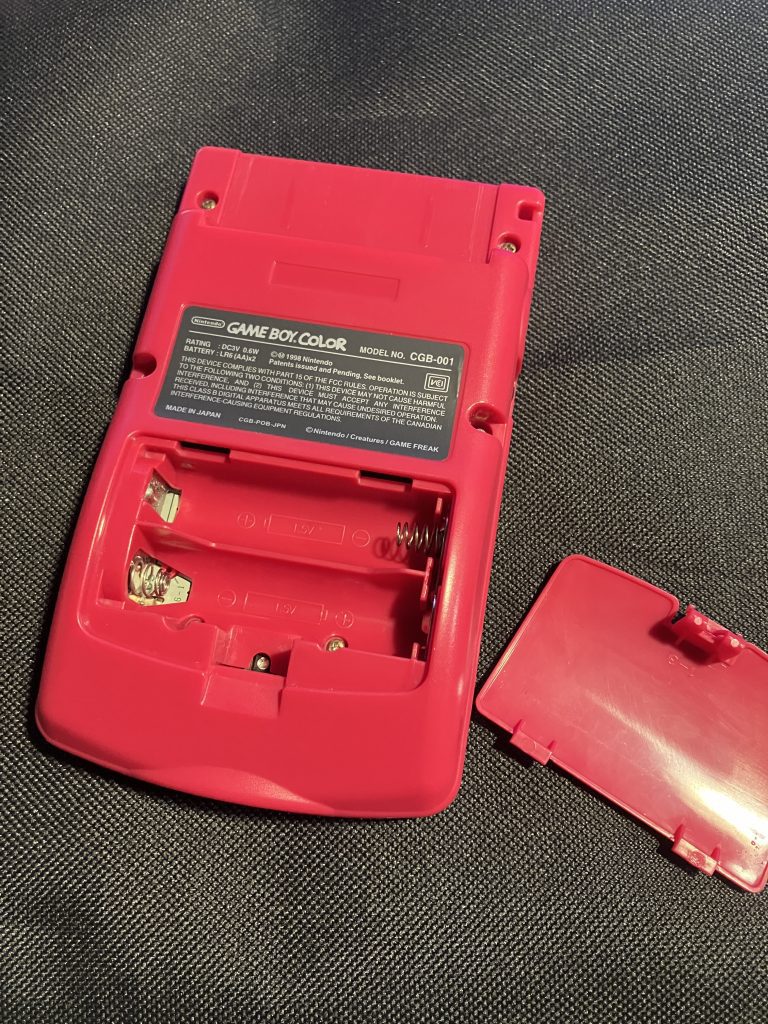
Here you can see my modded Game Boy. It’s awesome. Feast on it’s glory.
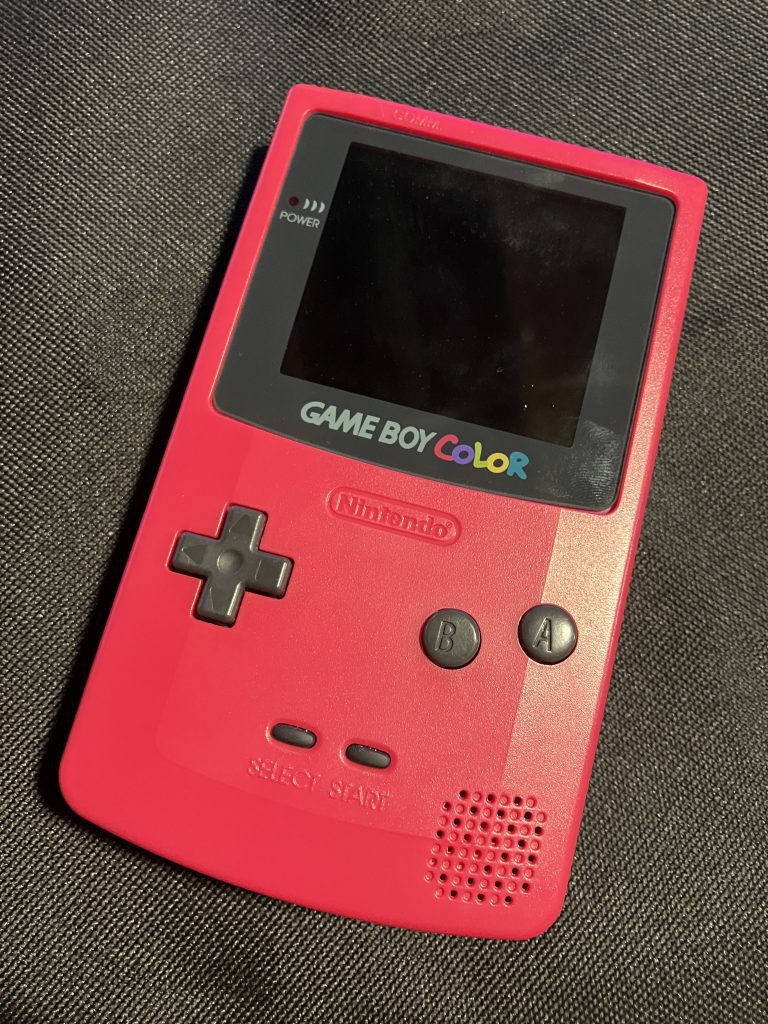
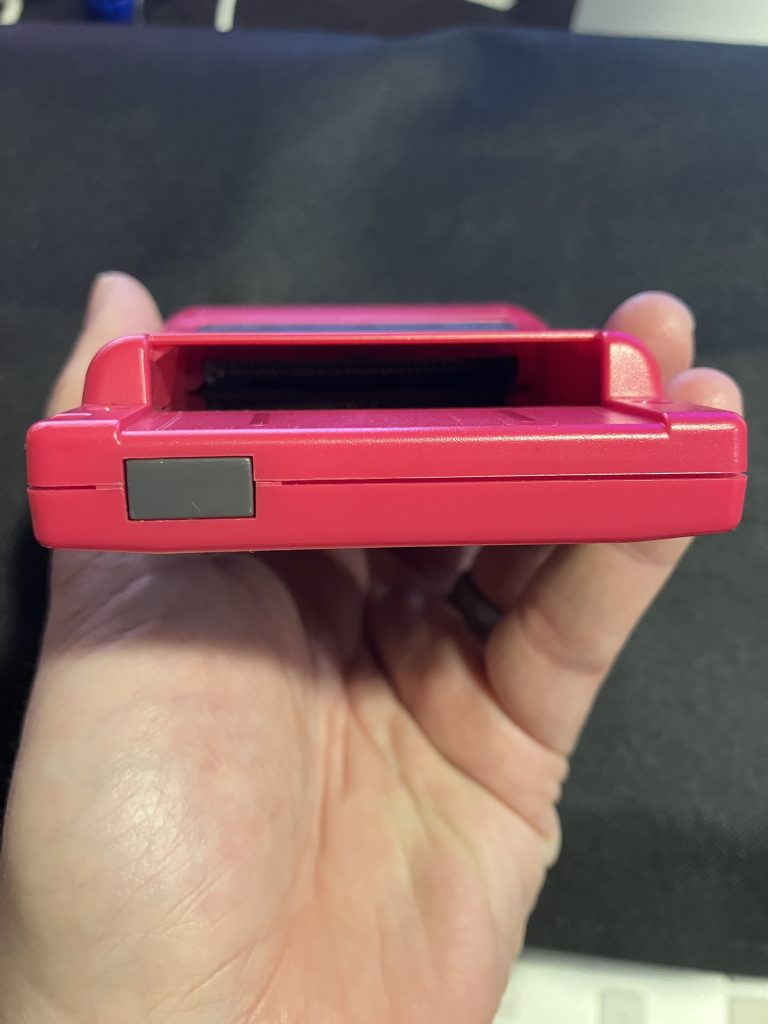
While this is technically a Game Boy Color (Cherry Model), older DMG and Pocket-style Game Boy’s are suitable. Different colored shells are also acceptable. On the back of the Game Boy, towards the top, you will see an empty void. This cut-out, known as the “cartridge slot”, is where you place your game.
Step 2: Get a Physical Game
While you are able to download games on modern consoles, the Game Boy was created before the Internet was available in most homes, leading Nintendo to decide to release games on physical cartridges (colloquially known as “carts”). You’ll need to get one of these. While there are plenty of secondhand markets, we suggest looking at recent homebrew games to support independent Game Boy developers.
Note: The Game Boy is only designed to work with Game Boy Games. You will not be able to use other games with your Game Boy. As you can see below, this PokéROM won’t work.
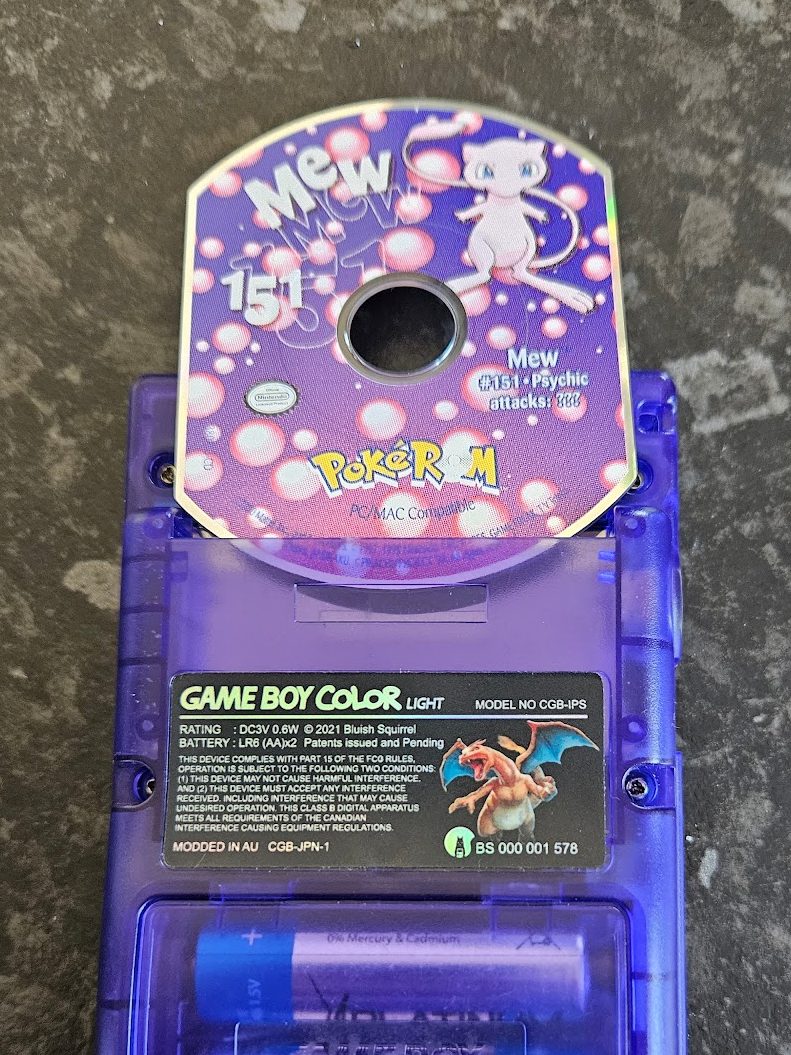
Photo courtesy of Veund
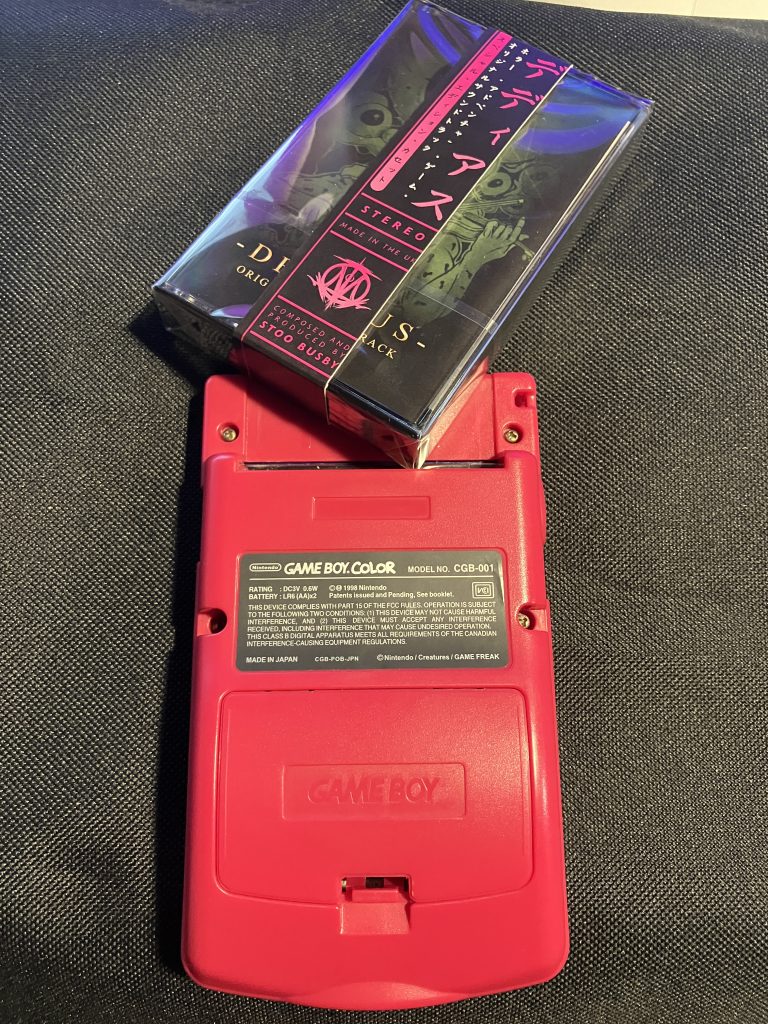
Here we have a signed copy of Deadeus (thanks ~IZMA~!) still sealed in its box. Unfortunately this game won’t work since the box won’t fit in the cartridge slot and opening the box would devalue it significantly.
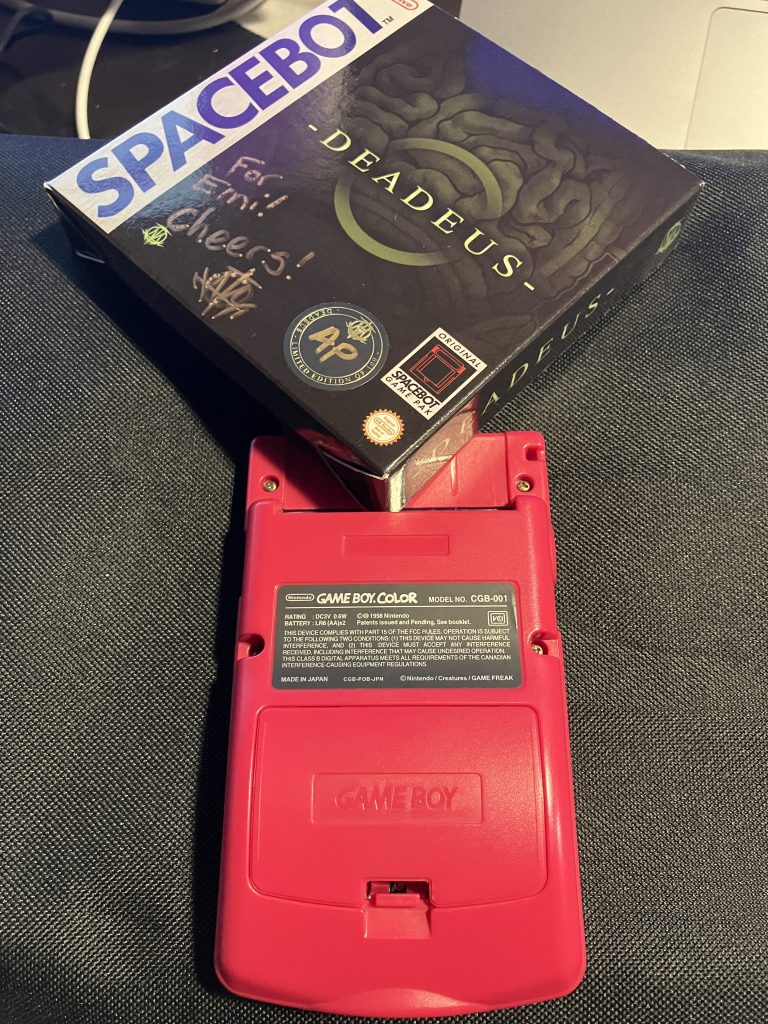
Note other included items with special editions also won’t work. As you can see here, the audio cassette OST included in the deluxe edition of Deadeus also doesn’t fit the cartridge slot.
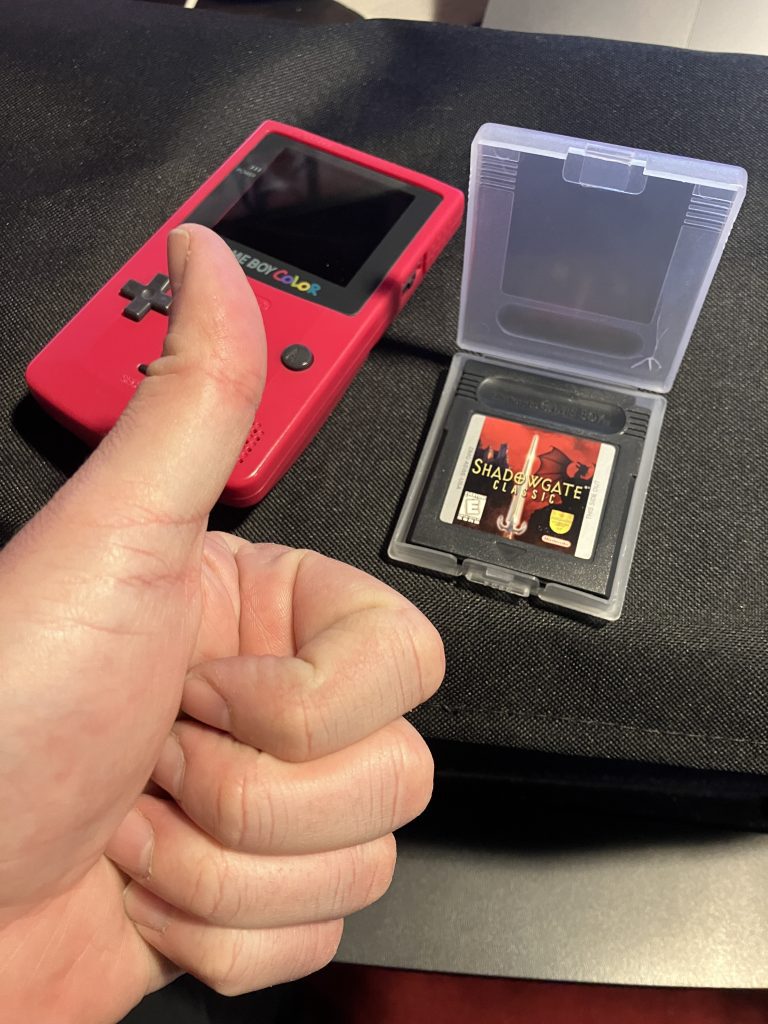
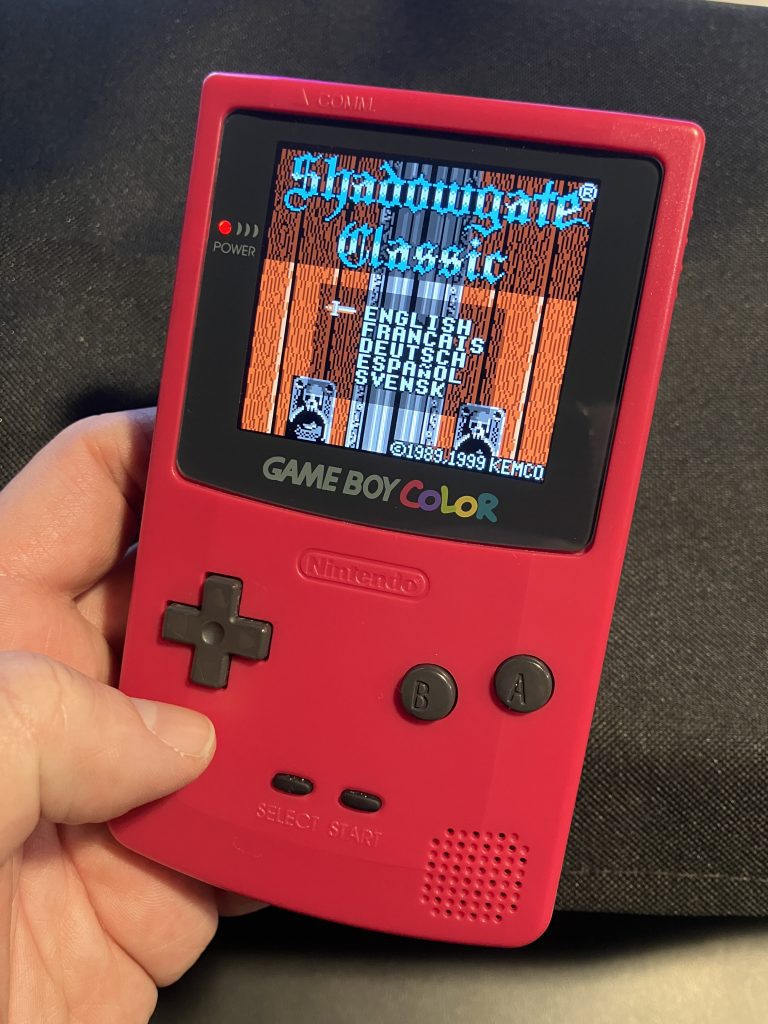
Luckily I kept my library of older Game Boy games from when I was younger, so I have an original release copy of Shadowgate Classic. I’m happy they published this one after the public backlash over the reformulated New Shadowgate.
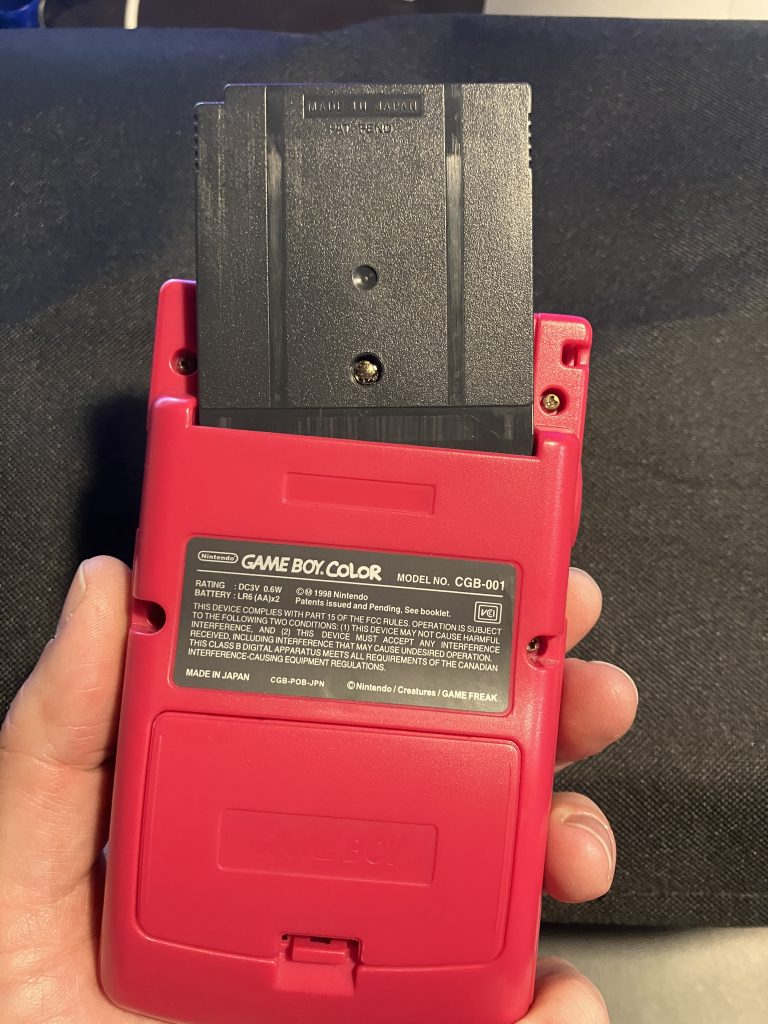
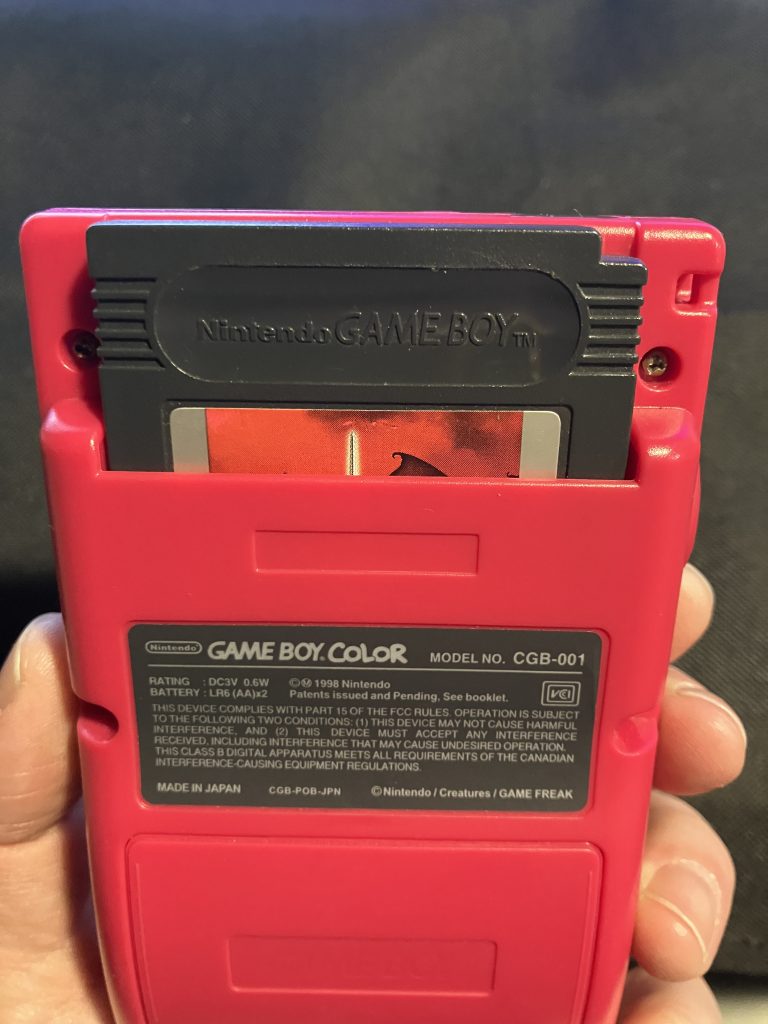
Step 3: Put the Game into the Cart Slot
The cart fits nicely in the cartridge slot, provided it is oriented correctly. The label should face out towards you as you look at the back of the Game Boy. The “teeth” at the bottom of the cart (these are officially known as “pins”) are designed to make contact with connectors in the Game Boy’s slot facilitating the transfer of data between the console and the chips contained within the cart. Luckily, the shape of both the cart and the slot are designed to prevent you from inserting the cart in the wrong orientation.
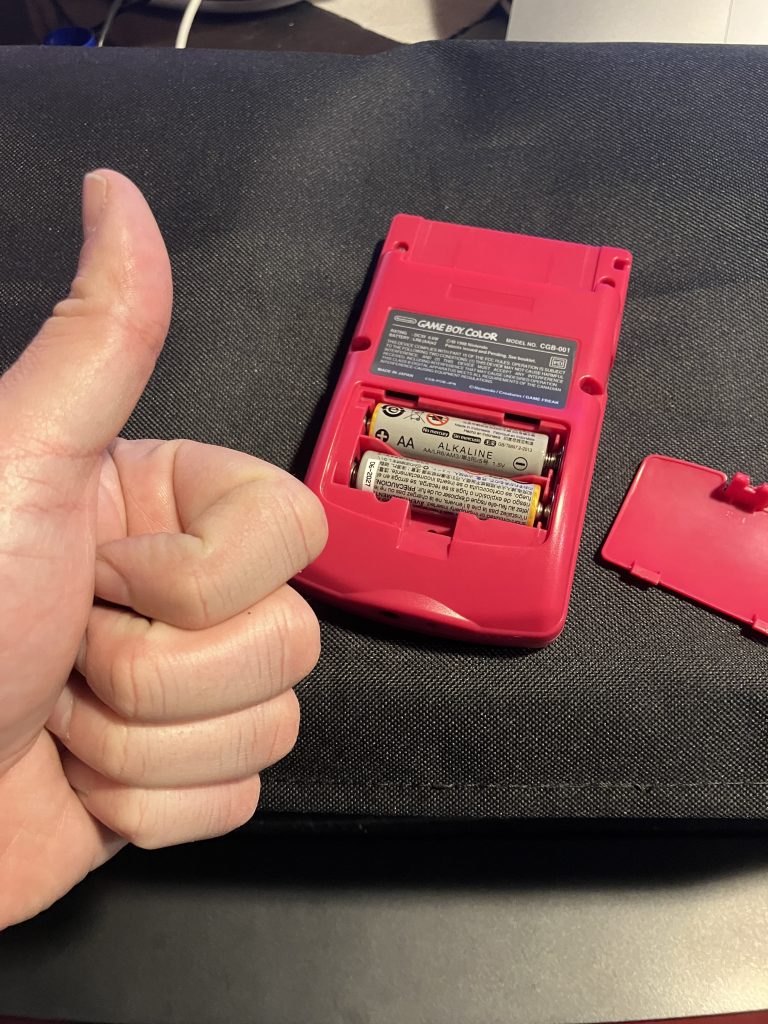
Step 4: Insert Batteries
Unlike modern handhelds that have fancy embedded rechargeable lithium-ion batteries, this old boy needs removable ones. If you turn on your Game Boy and nothing happens, the first thing to check is if you need fresh batteries (either newly purchased or fully charged if using rechargeables), or if you have any batteries installed at all. Different models of Game Boy will require different types and number of batteries. You can access the battery port by unclasping and opening the cover on the back. If your Game Boy is not modified or re-shelled, chances are it has no battery cover at all, and you can easily see whether batteries are installed. This Game Boy Color requires two AA batteries.
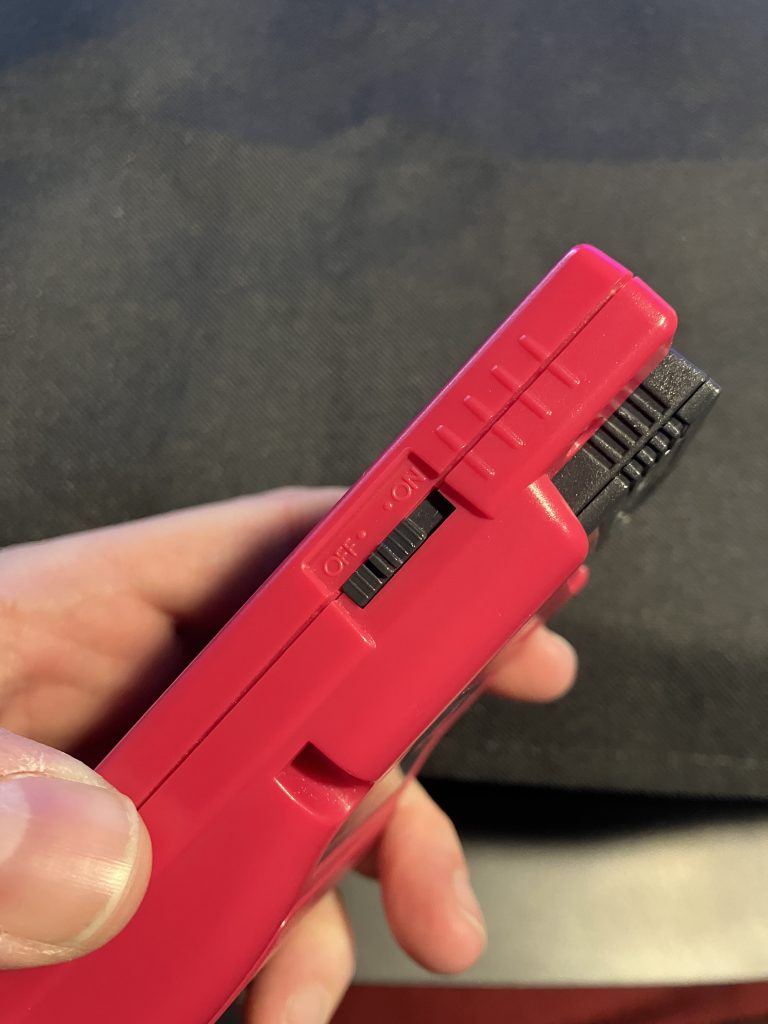
Step 5: Turn the Game Boy “On”
Modern consoles have “standby” features and buttons to wake the device, but the Game Boy will need you to physically move a switch into the “On” position. Think of it like a light switch supplying power to a light bulb. Depending on your model of Game Boy, you might find this switch on the top of the Game Boy. On my Game Boy Color, it’s located on the side.
Step 6: Enjoy Your Game
You now have everything in place to enjoy your Game Boy game. Play through and experience the glory that is this handheld 8-bit wonder.
While there’s nothing like playing a Game Boy game on hardware, you’re not out of luck if you don’t own one. Thanks to dedicated individuals in the homebrew and modding scene, you can play Game Boy games on a myriad of devices including the PS3, WiiU and Original XBox. Fortunately, we have the wonderful work of Veund that details how to get this done, check out the many articles he’s contributed to our site here: https://gbstudiocentral.com/author/veund/

Audio Engineer, Mac Technologist and Video Game Developer. Managing Editor of GBStudio Central. (he/him)
