
GB Studio 3.0 introduced many new features. One of the most noticeable features is the new Sprite Editor. Those who are familiar with previous versions know that users used to be relegated to following strict sprite sheet guidelines in order for the engine to determine if the sprite was stationary, able to point different directions, or move around. These limitations were good for beginners, as they were forced into a narrow workflow and having a limited scope helps ensure that first time devs would be more likely to successfully complete projects. It became quickly apparent that these limitations also limited what kind of sprites can be made, and by extension what games were possible to create. Some clever workarounds and tricks were figured out by the community to include things like large sprites or 3 frame walk cycles, but all that is a thing of the past with the Sprite Editor. Users are able to create complex animations, large sprites, and many different states that help define how a game looks and feels. Many devs have already dove in and figured out the nuances of the editor, but if you’re just starting out, or maybe you wanted to learn more about it from the ground up, it’s time we properly introduced you to the features of the sprite editor and how to use it.
Before Starting
It’s important to note that while the Sprite Editor is a great tool and can really unlock some awesome game development tools, it’s not required to make a game. If you are a fan of GB Studio’s default sprite behavior, you can keep using it without any detriment to your development. If this is your first game, it’s probably best to stick to the default sprite settings too. For a refresher, read the official GB Studio Docs to learn about “Simple Sprites” and the four types you can create.
You can also read on in the documentation for how the Sprite Editor handles more complex sprites, otherwise continue reading our tutorial here. We’ll be using the sample project, which is a great way to learn what’s possible.
Sprite Sheets
The first thing to understand is how the sprite assets are determined by GB Studio. Users who are familiar with previous versions of GB Studio or other development tools might assume that the best way to manage different actions like running, jumping, and attacks would be created in different sprite sheets to keep things organized. In GBS 3 however, this is handled by animation states (more on that later). Ideally all the different poses, actions and variations of a sprite should be included on one large sheet. Think of each sheet like the pieces of a doll or action figure that you will be putting together. You can really break things down into small sections to build within the editor, or you can create whole sprites and animation frames. GB Studio will try to optimize the tiles used by each sprite, so duplicate or empty tiles and frames shouldn’t take up more resources.
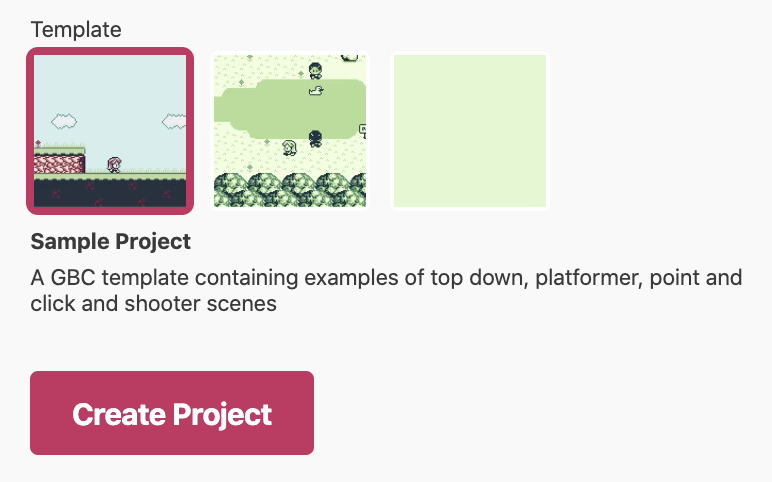
Let’s start our understanding of the Sprite Editor by looking at the Sample Project. You can create one in GB Studio by going to the File Menu and Selecting “New Project” (this dashboard also shows up when you launch GB Studio), then make sure the “Sample Project” is selected in the Template section.
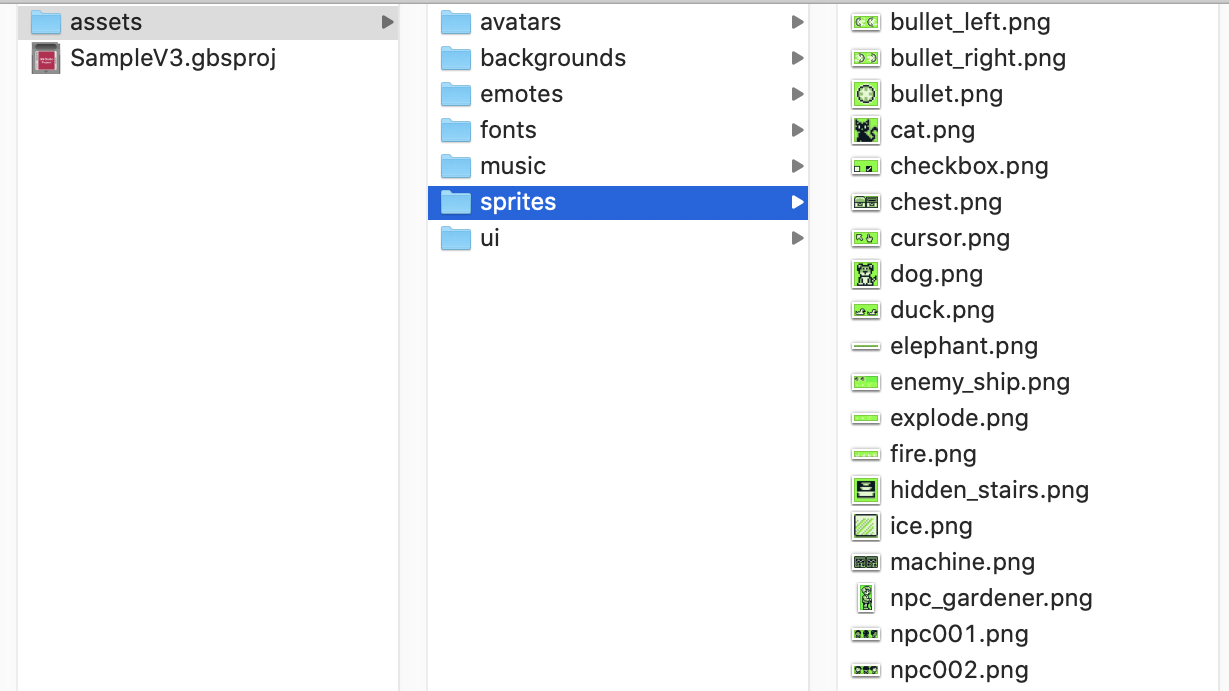
Now head to the View Menu at the top of the screen and select “Sprites“. On the top left side of the screen, you’ll see a whole bunch of sprites listed in the Sprite Navigator. Each one of these corresponds to a PNG file that is stored in the project’s /assets/sprites folder. If you want to create a new sprite, you will need to create a whole new sprite sheet PNG file or duplicate an existing one. You cannot simply add a reference to an existing sheet, which is contrary to how scenes and other assets work in the Game World view.
It’s important to still work within the parameters of how GB Studio handles sprites, so make sure any sprite sheets you create use the correct colors, are at least 16 x 16 pixels in size and that the sprite sheet’s height and width is divisible by a value of 8 to line up with the 8 x 8 tiles.
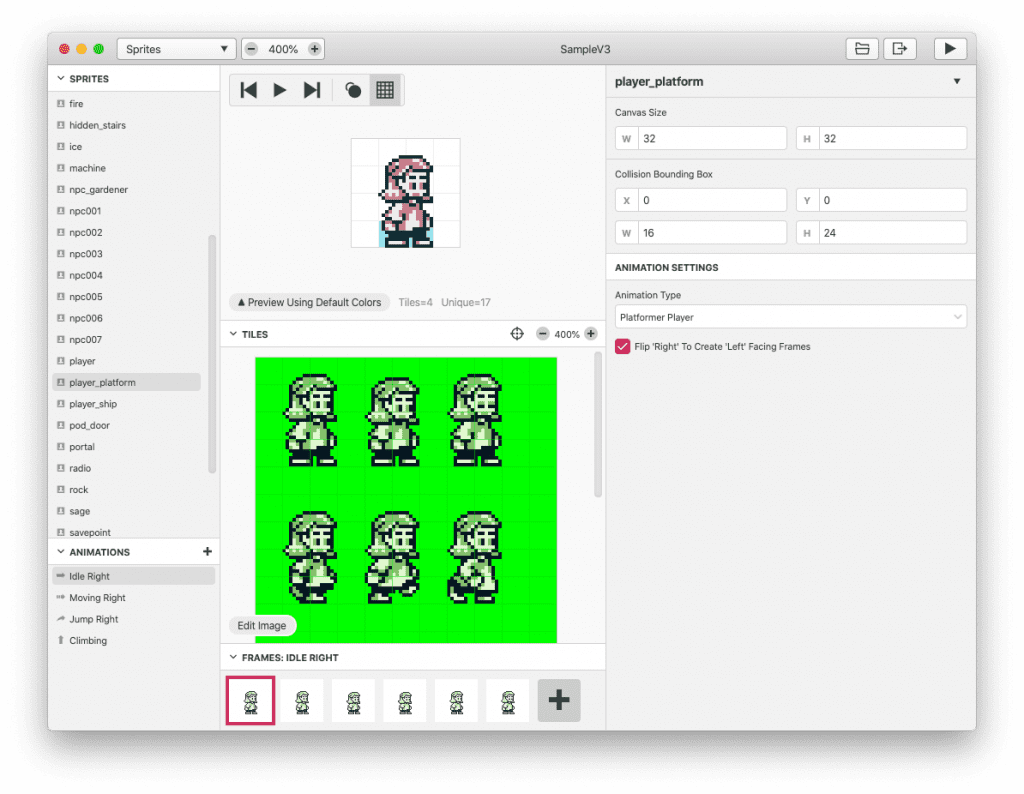
Let’s take a look at the player_platform sprite in the sprite list on the left. Clicking on it will bring up the Animation Navigator on the bottom left, the Canvas, Tile Selector and Frame Timeline in the middle, and a context sensitive details window on the right known as the Editor Sidebar. The panes in this window can be stretched and moved around to best suit what mode you are working in.
Animation States
You can start navigating around and see how things work, but I find learning the tools are best understood by building something new, so let’s try that now.
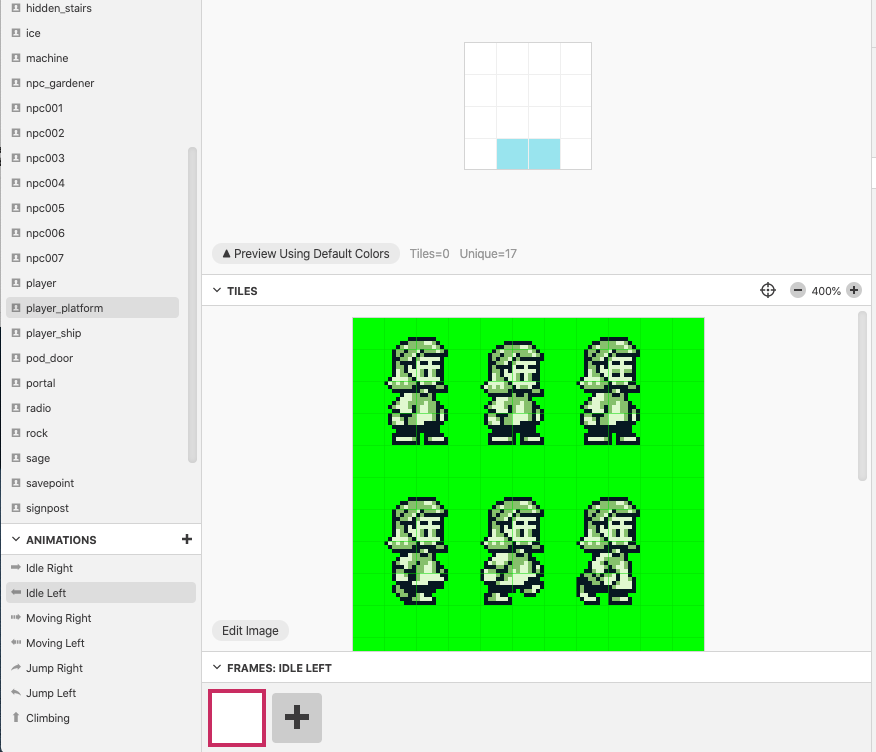
We’re going to change the way animation states are handled, so we can build some new states from scratch. Notice the Animations Sidebar on the left. It has only Animation states for the Right Direction. These specific states are the default for the Platformer game style, and we can see that is the Animation Type selected on the right sidebar. There’s a checkbox under the Animation Type that says “Flip ‘Right” To Create ‘Left’ Facing Frames”, uncheck that box and you will see the Animations Navigator suddenly includes three new states: Idle Left, Moving Left and Jump Left. The default behavior is to simply flip these frames in game to save resources, and that’s perfectly fine for most games. There are some games, however, that require separate sprites for facing left and right, so by disabling that checkbox you can now create your own.
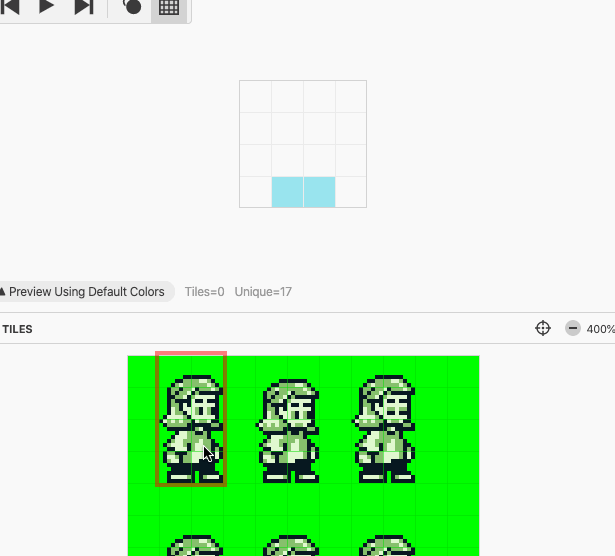
Select the newly created “Idle Left” Animation State from the navigator on the left and notice that both the Canvas and Frames Timeline are empty.
The Sprite Canvas
It’s time to populate those areas. The Canvas is a preview of what the player will see in game, while the Tiles Selector shows what tiles are available to place in that Canvas. You can manipulate the size of the canvas on the top right along with the collision box, but this will remain consistent across all animation states. Move your mouse around the Tile Selector, and you will notice that a shadow appears on it, always two tiles high. This is important to understand. While the Game Boy works with 8×8 tiles, sprites themselves can be 8×8 or 8×16. For both simplicity and to save on resources, GB Studio only allows 8×16 sprites, so anytime you select from the Tiles area, it will have to be a multiple of that. Let’s do this now. Click and Drag around the first animation frame to highlight it in a red box. Make sure you start on the top left of the first sprite image and drag to down to the bottom right. Once that area is selected in the Tiles, move your mouse on top of the Canvas and you will notice the selection appears allowing you to position it. Click on the canvas to set it.
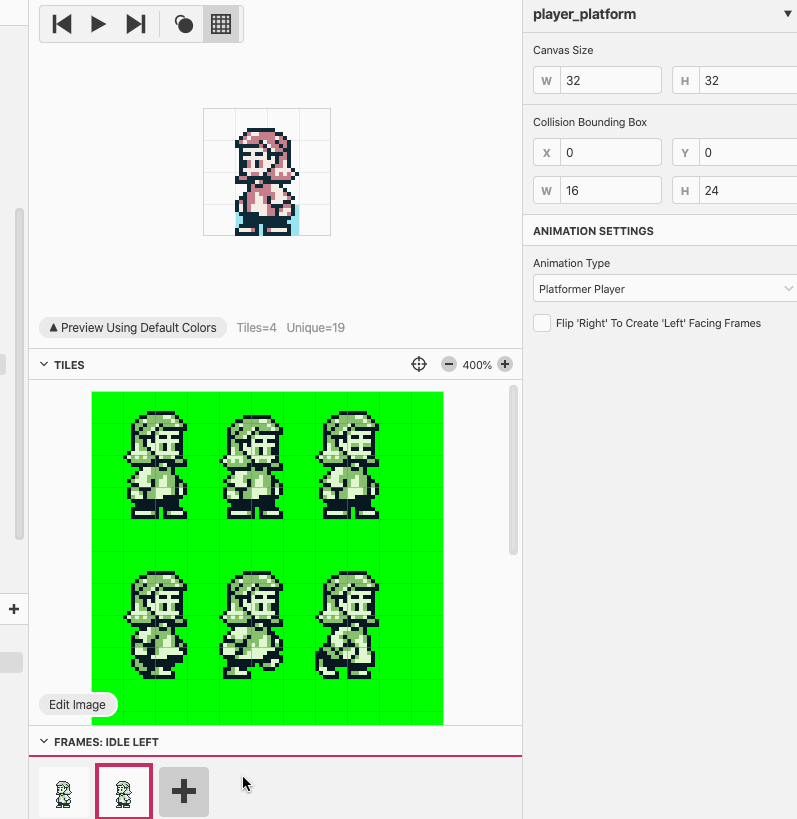
Notice how the Canvas displays the sprite as four separate boxes? This is actually what’s happening. You’ve selected 4 8×16 sprite tiles from the Tile Selector and placed them adjacent to each other on the canvas. You’ve just set your first frame!
Now we have one problem. The sprite is supposed to be facing left. You could open an image editor, flip the frame, and append the sprite sheet with it, but GB Studio already has this built into the Sprite Editor. If you clicked off the canvas (like I did above) you’ll want to re-select all four sprites in the canvas first. Notice if you try to click and drag like you did in the Tile Selector, it won’t work as expected, you will instead move one of the 8×16 tiles in the canvas. Instead, hold Shift on your keyboard and click on the four different sprites to select them all. After you click the first one, you’ll notice the Sidebar to the right changes, and new buttons appear. One of the buttons looks like a paper airplane pointing up, that button will mirror the sprites on the Y axis. Click that to flip the sprite.
Frames Timeline
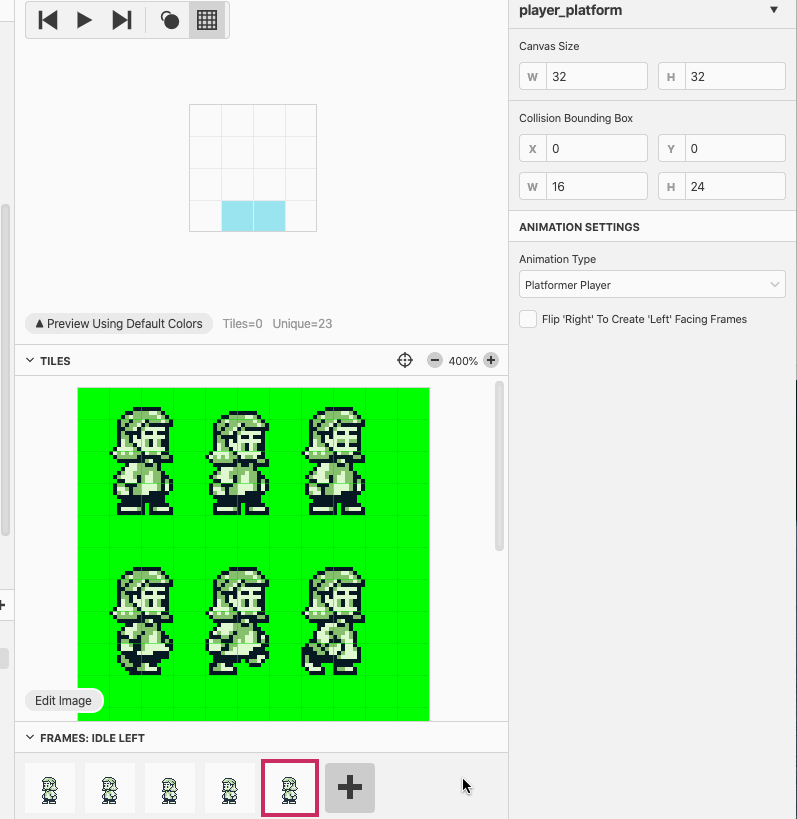
You should now know how to pull frames into the canvas and manipulate them. There are many more buttons and features of the sidebar, but we’ll have to save those for another time. For now, let’s continue building this Idle Left animation using the Frame Timeline on the bottom. If we examine the Idle Right Animation State, we can see that the Idle Animation is actually 6 frames in length. If we number the first three poses in the “player_platform” sprite sheet from left to right, then the order of the frames in the timeline are 1, 1, 2, 2, 1, 3 – the player stays still for 2 frames, drops their head slightly for 2 frames, returns to the first pose for 1 frame, then blinks their eyes for 1 frame. It is possible to speed up and slow down animation within the GB Studio game world with an event, but there is a limit to how slow things can animate, and if you have uneven animation (like above where the pattern is not evenly spread) then duplicating frames is necessary.
Rather than doing all the work of adding another frame and placing the same sprite sheet pose as before, you can simply copy and paste the first frame in the Frame Timeline. Click on the first frame to highlight it. Then either go to the Edit menu and select Copy then Paste, or use the keyboard shortcuts Ctrl-C, Ctrl-V (Command-C, Command-V on Mac) to duplicate the frame. You now have a perfect copy of that first frame. For the next frame, you’ll want a blank canvas to start with, so press the “+” button in the Frame Timeline. Follow the steps as above, but this time select the second pose where the player’s head is slightly lower. Then go ahead and copy and paste that frame too.
You can also copy and paste frames out of order. So select the first frame (which is needed for the fifth frame now), copy and paste it – it will automatically go to the last frame position, which is where we need it. If you needed a pasted frame somewhere else, you can simply drag and drop it in the timeline. You can also delete unwanted frames as well using the “Delete” key on your keyboard.
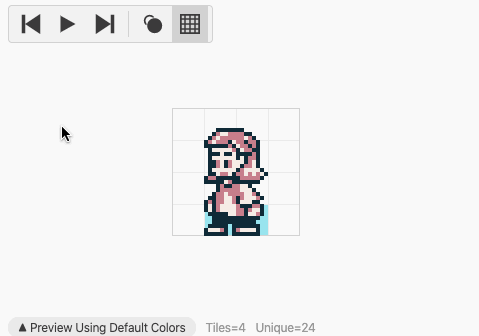
The last frame we need is the blink, so go ahead and create a new empty frame with the “+” button again and add the appropriate pose to the canvas.
You can now preview your work using the play button in the top left of the canvas viewer.
We’ve only scratched the surface of what is possible with the Sprite Editor, but at this point you should have a basic understanding of what the workflow is like to create large and complex sprites in your game.
- Create a Sprite Sheet and add it to the assets folder.
- Go to the Sprite Editor and select the sprite.
- Select the type of animation in the sidebar to set the default animation states.
- Build your animations in the canvas using the tile selector.
In the future, we’ll go over some of the more advanced features like creating custom animation states and calling them in the game, as well as creating multi color sprites and layering sprites. For now, go to town and have fun thinking about how you can use this powerful tool!
Audio Engineer, Mac Technologist and Video Game Developer. Managing Editor of GBStudio Central. (he/him)
