Now that you have conducted research and spent some time brainstorming various ideas, it’s time to move on to the next step in the development cycle. You may be thinking ‘Finally! It’s time to start making my game!’ But there is still one more very important thing to take care of…
A prototype!
Prototyping a game allows you to solidify your initial ideas and concepts by quickly building something that can be experienced, tested and changed with ease. In the end you will have a playable representation of your game and a decent understanding of what that game will feel like.
Pretty much everyone skips this step when they first start developing games because the allure and excitement of drawing sprites for the player character or writing elaborate game world lore for example, is just too hard to resist. I know I’m guilty of doing just this in those first years as a starry eyed budding game developer. It was devastating to find, later down the track, that my first few games just weren’t that fun or engaging to begin with. In cases such as these, I would end up losing interest and scrapping the whole project in its entirety, having wasted many hours making sprites, backgrounds, music, sound effects, dialogue, story elements and lines of code for a game that will never be played by anyone at all.
It’s very understandable to want to sprint to the finish line at the outset when all those ideas in your head seem like the coolest thing in the world and we just want to see our game in its final glorious form as soon as possible. It took discipline to slow down and stop myself from tackling aspects of my games that are better off finalized when the game is more fully formed. There will be a time to start making all the really cool looking and sounding stuff for your game at some point, but that time will come later.
It might seem like the art, story, music and even the coding are equally important to gameplay at times, but the core gameplay is the foundation upon which all those other elements rest. This is why a prototype is so necessary. Without it, the foundations of your game may be broken long before you are even aware of it.
So, let’s get into it!
Strategy 1: Creating a Playground Scene
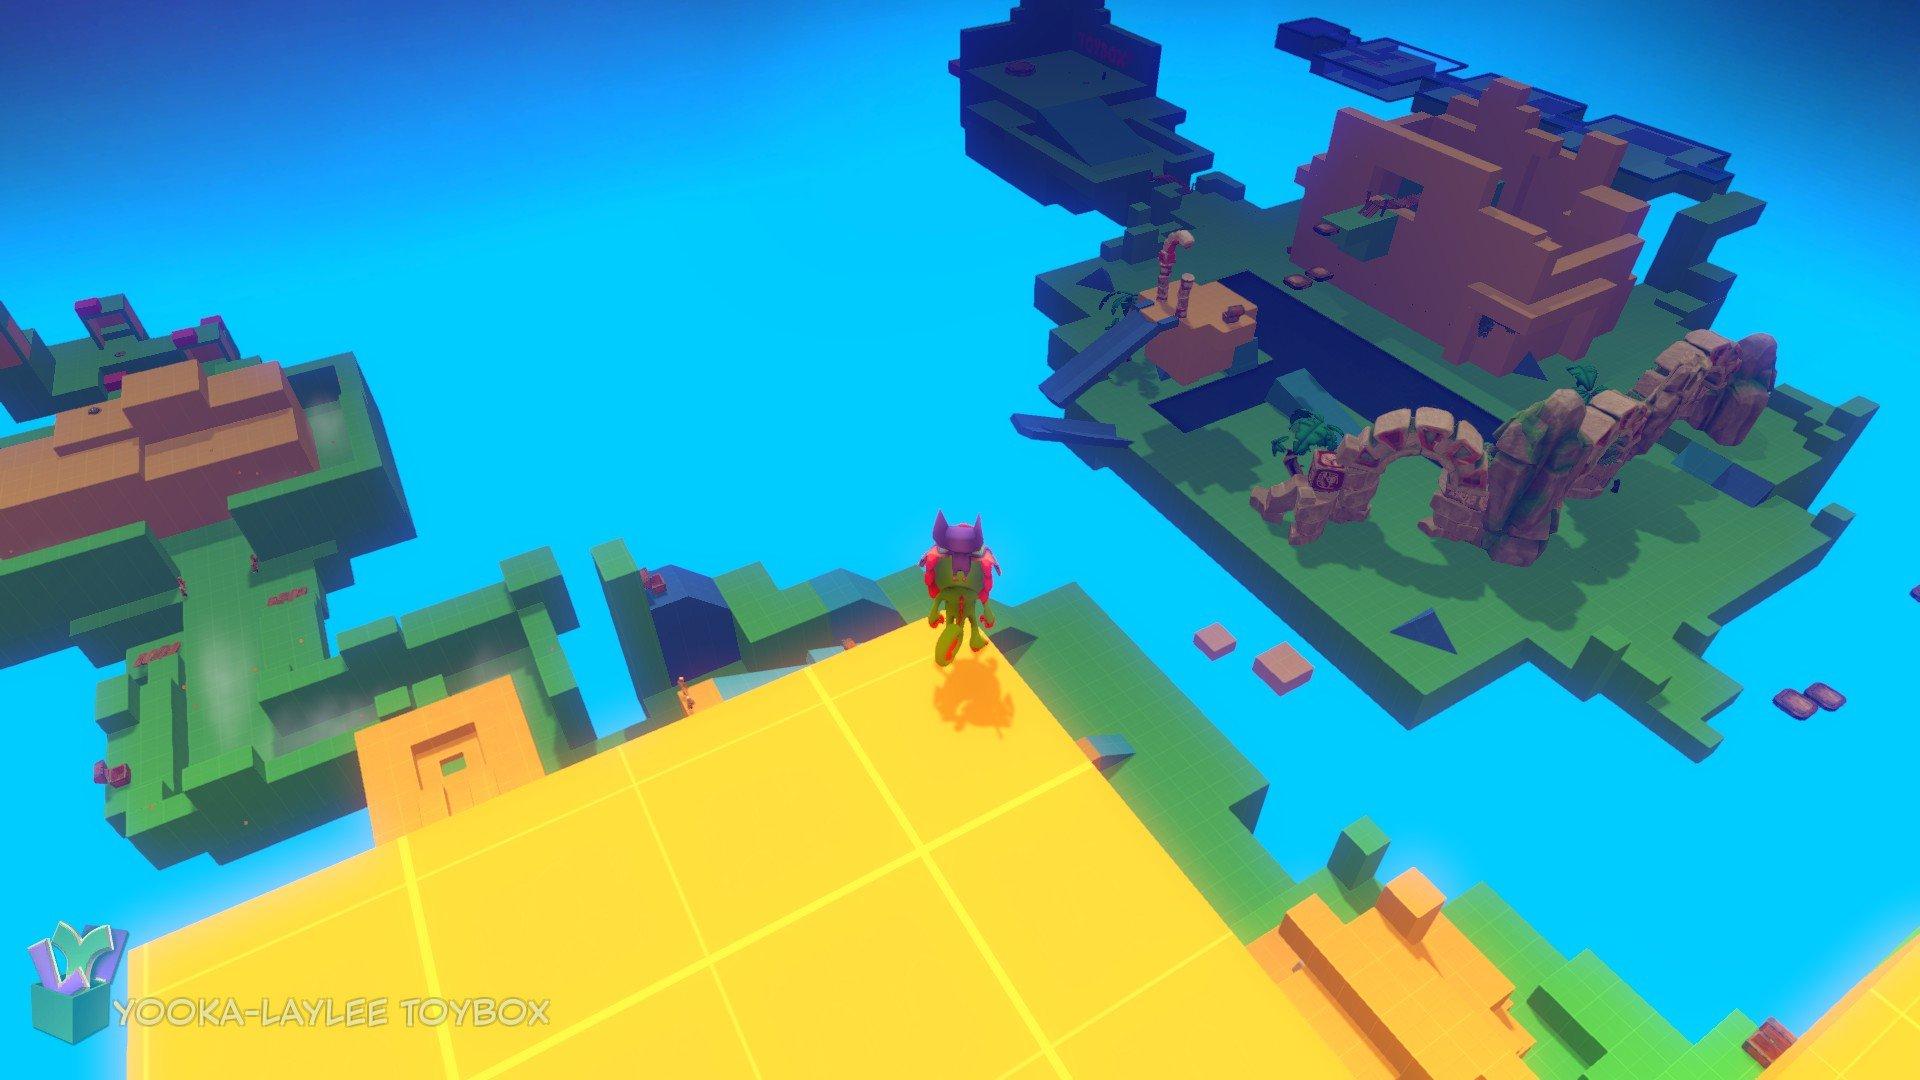
The most direct and fastest way to build a prototype to see if your gameplay ideas hold water is to create a scene within GB Studio that can act as a kind of sandbox for you to play in. This ‘Playground Scene’ is populated with as many ideas as you can fit into that one scene but may also spill out over multiple scenes if actor limits or similar limitations become an issue.
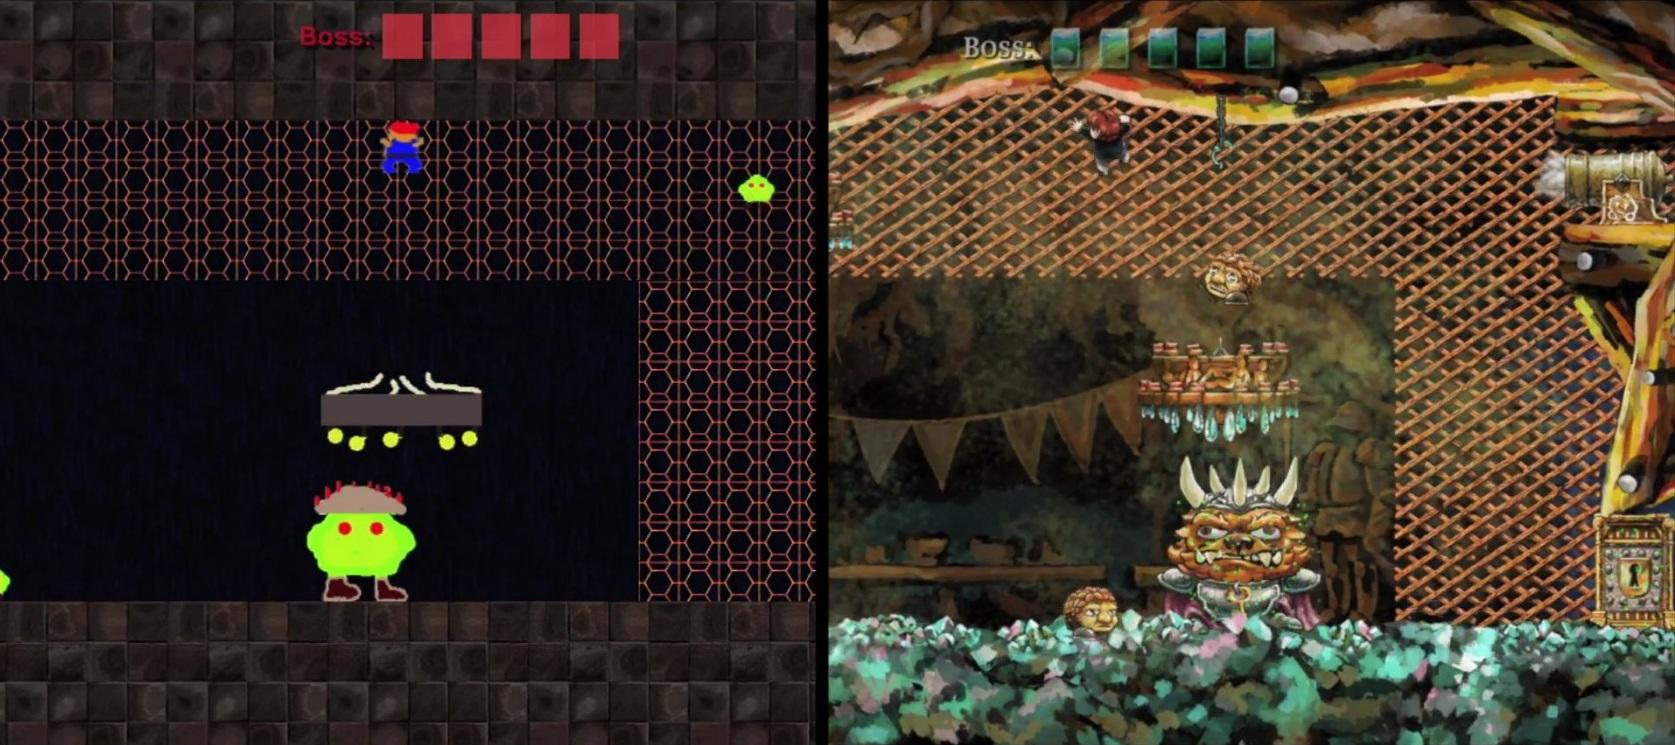
The idea here is to do as little work as humanly possible. You want to reach a state in which your ideas are only realized in a functional sense just enough to represent what may be the final product. This means throwing together loose representative sprites when putting an enemy or player character together or even taking temporary placeholder artwork from another game entirely – even a commercial release.
If we are making a platformer for example, you could be placing a bunch of more or less random platforms around, some pits, some enemies, obstacles such as moving platforms and, most importantly, whatever mechanics make your particular game unique. This is where all your research and brainstorming will pay off, but remember; you’re not building levels here, just exploring gameplay. There is no need to worry too much about level design, just enough to explore the scenarios that can emerge from the game mechanics you have prototyped.
You can then run our Playground Scene and start figuring out what about your prototype is engaging and what is not! Some ideas will need to be tweaked and some may need to be scrapped completely. It’s not uncommon to find that what sounded great on paper, turned out to be bland and uninteresting once in a playable state.
On the flipside, you may find ideas that emerge as a direct result of building the prototype that hadn’t popped into your brain during the brainstorming stage. A classic example of this is when Crypt of the Necrodancer was in its prototyping stage, the impetus to move was a simple timer countdown. It wasn’t until the developers built a playable prototype, that they realised it would be great if the player had to move to the beat of a music track.

Strategy 2: Building a Skeleton
In some cases, a playground scene may not be the best way to partially realize your game as a prototype. If you were making an action platformer that is a boss rush (like Cuphead for example) or an RPG with a unique twist, then a sandbox just wouldn’t really apply.
In this case a ‘Skeleton Build’ may be more suitable. These are more detailed than a sandbox in a design sense, are more focused in their direction and are closer to the final product relative to the Playground Scene discussed above. But the main idea is basically the same, the meat is left off the skeleton – use placeholder art, leave out sound effects, code the bare minimum and so on – so that all your energy is focused towards determining what about the core gameplay needs to be changed or added to or removed and ultimately, what is worthy of your time going forward.

Strategy 3: Game Jams and Vertical Slices
Another option is to enter a game jam and spend however long making as polished a game as possible within a brief period of time. Whether it’s a couple of days, a week or a month, the time limit will help keep ideas concise and forces you to cut out all but the best mechanics, features and systems you can come up with. In other words, you trim the fat and put as much meat on the bones as you can, given the small amount of time available to you. In this regard it shares similarities with the bare bones prototypes above.
Of course, a game jam means the final product will need to be polished beyond that of a typical prototype so that it can be played by the public or judges. So it’s therefore technically going above and beyond as art and code will need to be finalized to a large degree.
As a result, if the developer chooses to continue development, a jam game ends up looking and feeling more like a ‘Vertical Slice’ – a proof of concept that is a small, self-contained version of a game. It’s like a single slice of the whole cake, or the pilot TV show of the whole series. In any case, all the questions that would need to be answered and problems that needed to be solved during prototyping would also make themselves apparent here.
Where a prototype is typically a single system (such as the Playground Scene), a Vertical Slice will be built of many related systems working together as a whole, with fully realized art, story, sound effects, menus and music, delivering a full, albeit bite-sized experience. There have been many commercial and critical successes that started out as the humble jam game. These include The Binding of Isaac, Superhot, Thomas was Alone and Celeste to name a few. But be careful not to fall into the same familiar traps if you decide to spend the extra energy on going beyond a prototype and building a vertical slice. Keep the slice small in scope and focus on the gameplay first and foremost. Don’t lose sight of the whole purpose of prototyping in the first place.

Whether you end up building a Playground Scene, a Skeleton, enter a game jam or make a Vertical Slice will depend on what time constraints you have set for yourself and what kind of game you are making. All of these options however, will allow you to find out whether your game idea is worth pouring hundreds or thousands of hours into it and, with all things going well, you will finally be ready to move beyond pre-development!
In the next Chapter, we move on to full fledged development, discussing strategies regarding the content creation of a game, otherwise known as level design.

Independent Games Designer, Artist, Film Enthusiast and Full-time Dad (he/him). Check out my games here!
