
Waterfalls. Flickering stars. Crashing waves. Windy grass. Environmental effects like these can really spice up your scenery, but with actor and frame limitations in GB Studio, they have been challenging to implement – until now! With the [Set Background Palette] event introduced in GB Studio’s 2.0 Beta, we can simulate simple animations in our backgrounds without using actors or frames.
What is Palette Swapping?
Palette Swapping is a nickname given to the [Set Background Palette] event. This event controls which 6 palettes are used in a scene, and it’s only available if Color Mode is Enabled. It allows you to access more than the 6 palettes you have set in a scene, but you’re still limited to using 6 at a time. Using this event allows you to replace one of your set palettes with another, changing the colors you’ve set up for a scene.
Painting a Scene
Let’s take a basic scene as an example. Below, we have a title screen. This scene has 6 palettes set, and by default the entire scene is painted with the first palette.
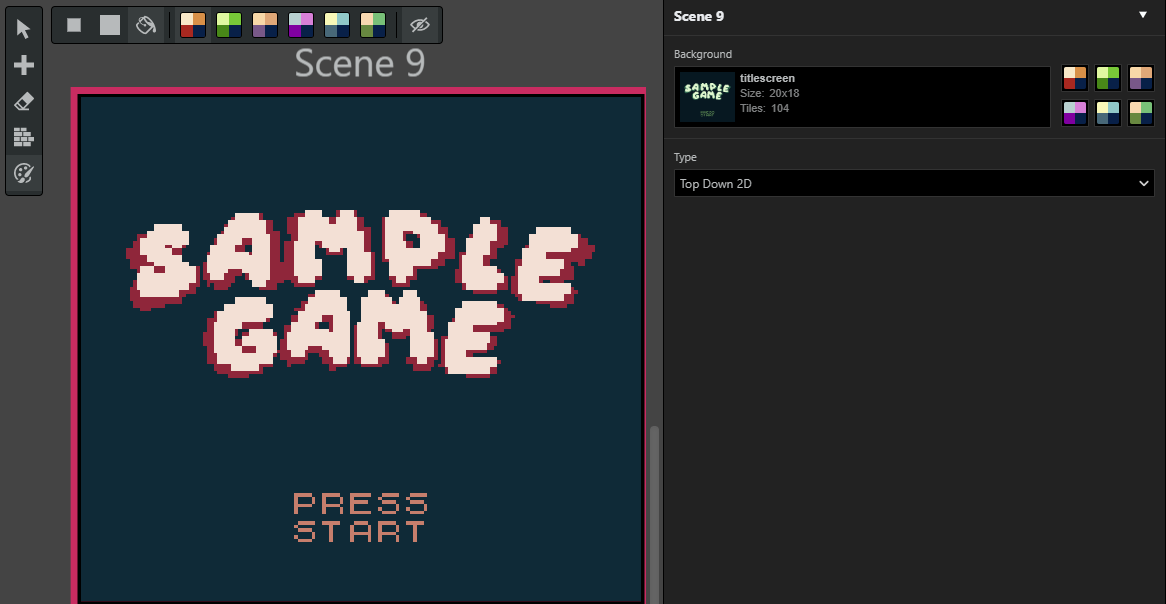
We can use the paint tool to add some color to the game, so let’s turn the “Sample Game” text green with the second palette.
These tiles have now been painted with the second palette – which is key for the next trick.
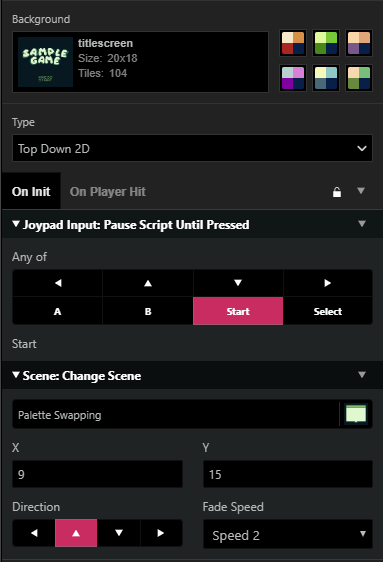
Create a title screen script. On the scene’s “On Init” tab, start with two events: A [Joypad Input: Pause Script Until Pressed] and a [Scene Change]. With these, the title screen will wait until the player presses the Start button, and then the script will proceed and change the scene.
Since we’ve painted our scene, we can use the [Set Background Palette] event to change the background colors and give the player visual feedback that they’ve pressed start.
Getting to know [Palette: Set Background Palette]
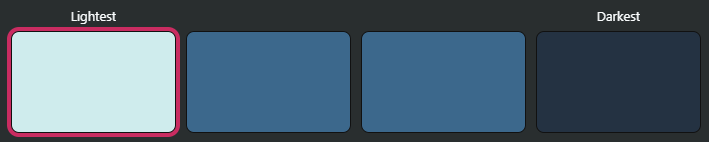
When you add this event to a script, you’ll see the 6 palettes assigned to your scene. By using this event, you are telling the script to modify the palettes are being used. For each palette, you can assign one of three possible actions:

Global Default: This will select the palette to your game’s defaults. This will replace the current palette with the default option for that slot, and repaint any tiles in that selection.
Don’t Modify: This option tells the script to not adjust the palette’s current setting. This is useful for when you are frequently changing palettes, so you can avoid accidentally changing colors when you don’t want to.
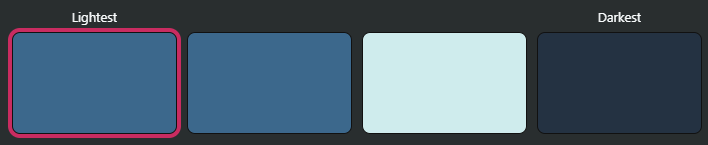
Selecting a New Palette: After the Don’t Modify option, you’ll see the complete list of palettes that you have created for your game. Selecting one of those palettes replaces that palette slot with the new palette. This will repaint all the tiles that have been painted with that slot’s palette to the new colors selected.
With those concepts in mind. Let’s return to our script and add a palette swap to change the game’s logo from Green to Blue.
After the [Joypad Input: Pause Script Until Pressed] event, insert a [Palette: Set Background Palette] event. Since the logo was painted with the scene’s second palette, that’s the one that will need modifying. In the second palette slot, select a new palette (we’re using Global Default 5 in this example).
We don’t want to change any of the other colors in this scene, so make sure to select the “Don’t Modify” option for the other palettes.
Reminder: Global Default is the game’s default palettes, not the scenes! In this example, the scene is using default palettes. If you’ve customized the palettes, you’ll want to make sure you’re always replacing these palettes with “Don’t Modify” or the same palette; not global default. You may risk changing your colors by accident.
After we’ve set up the palette, add a [Wait] event so that the player will see the change before leaving the scene.
Here’s how that looks:
You can take this further, too. With simple palette swaps like the one on the title screen, you can have Actors change palettes when you interact with them, or change palettes when stepping on triggers too.
But wait – these are all basic swaps; not animations. How can palette swapping be used to create animations?
Animating with Palette Swaps
To use palette swapping for animations, you’ll need to be familiar with what goes into creating the backgrounds and how the scenes are actually painted. As you may recall, a background in GB Studio can use 4 colors:
When a scene is painted, the background remains untouched and still determines which color is used, we are just indicating what to replace each color with. The lightest color will always use the lightest color slot. This seems limiting at first, but if we keep this in mind when drawing backgrounds, we can use it to our advantage.
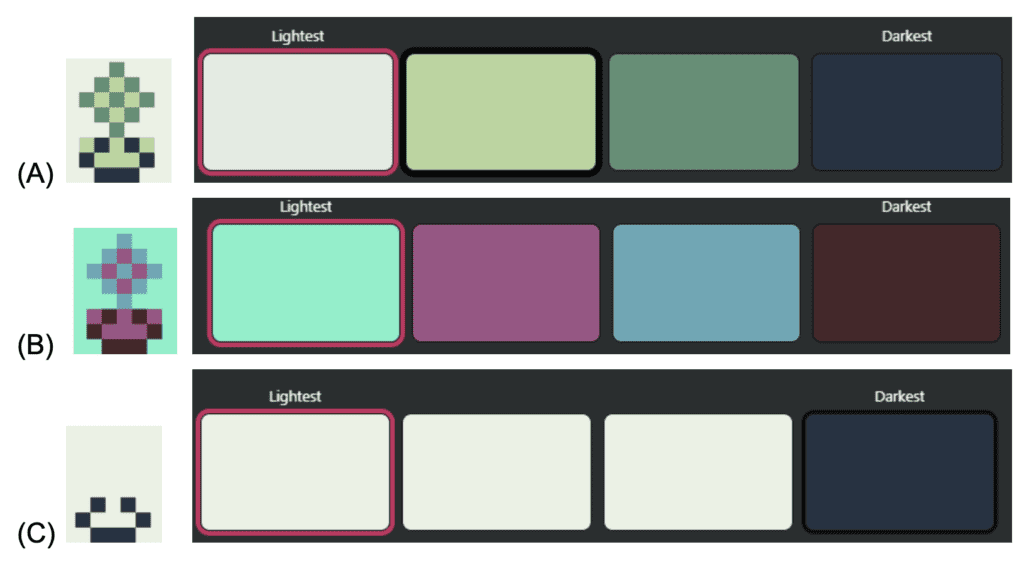
By having a background tile use all 4 colors, we can create palettes that manipulate what we see. Painting this tile with a different palette could change its colors entirely (B) or even hide specific sections (C).
Knowing this, we can manipulate which colors are displayed to give the appearance of motion, and we’ll demonstrate this by making a “wave” in our water.
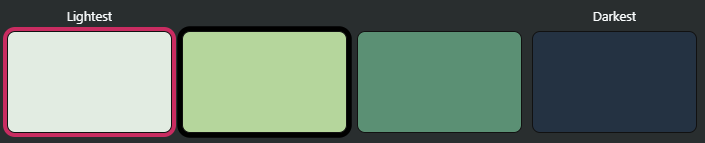
This tile uses 3 colors: the lightest, the normal green, and the dark green. When painted with a water palette, the greens change to blues.


Since we have set both colour 2 and 3 as the same shade of blue, the line that used to be “Darker Green” has disappeared.
By creating an alternate water palette and swapping the 1st and 3rd color, the position of the line appears to move upward:

Here is an example of this effect being painted. This will lay the groundwork for creating an animation.
Cycling Palettes
Now that you’ve seen how palettes can change what the tiles display by changing what colors they use, we can set up a scene to rotate through multiple palettes. You can use this scene here or draw your own. Create two palettes to color the water, similar to the examples above: Palette (A) should have [Light Blue, Blue, Blue, Black] set, and Palette (B) should have [Blue, Blue, Light Blue, Black].
Paint the scene so that the water spaces use the (A) palette. I’ve also added another palette to color the tiles where the water meets the grass. This is optional, but it helps separate the water from blending into the grass.
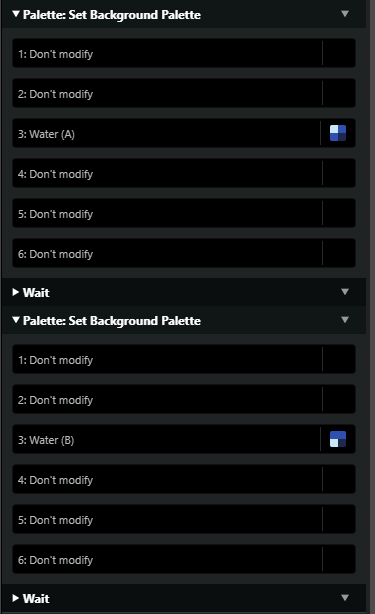
Next, add an actor to the scene. In 2.0, Actors have an “On Update” tab, which runs scripts on every frame that the game updates. Since these scripts are essentially always running, they can be used to rapidly change the palettes. In the Actor’s “On Update” tab, add a [Set Background Palette] event and set all the slots to “Do not Modify” except for Palette (A). Next, add a [Wait] event. The palette shouldn’t cycle too rapidly, so 1 second should work well. After that, add another [Set Background Palette] event. Replace Palette (A)’s slot with Palette (B), and set the remaining slots to “Do Not Modify”. Finally, add one more [Wait] event so that it doesn’t flicker back to the first palette too quickly.
The Actor’s script should look like this:
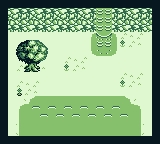
When the game runs, you should see the waves and waterfall gently moving back and forth!
Wrapping Up
This is just the surface of palette swapping. By using more colors (or having better drawn waves) you can make your motion more seamless. You could even extend this concept to other ideas like raindrops or grass blowing in the wind. You can use simple palette swaps to make dark caves light up or hide secrets. You can even combine your knowledge of variables with palette swapping to create day & night cycles.

Friendly Neighborhood Game Designer (he/him)
GB Studio Games | Tabletop Games
