Video Game sound, just like any of the medium’s other parts, is very much important to having a coherent and enjoyable experience, even if through the years (especially on the Game Boy’s case), sound has been left as a last moment feature, leading to games that don’t really shine in the sound department. One of the main parts of this department is sound effects, which tend to be even more overlooked than music. Sure, a few beeps and boops can make for a good sounding game, but today we’ll look at how to make your game sound even better and how to make those sound effects play nicely with your music.
A Quick GB Sound Recap
The Game Boy’s sound hardware (which is actually part of its CPU) is fairly similar to its predecessor, the NES, with some differences.
At its heart there’s 4 channels, which go by many names, but they’re commonly labeled as Duty 1, Duty 2, Wave and Noise. These are monophonic sound channels, meaning that, unlike MIDI channels, you can only play one tone per channel, each channel has a separate and specific purpose.
The first and second channel can generate four different square-like tones, the first channel has the extra feature of having hardware sweeping, meaning you can quickly sweep the pitch upwards or downwards, you’ve probably heard this being used for sound effects such as jumps or falls.
Then comes the Wave channel, it can play fully customizable 32×16 wave tables, you might’ve heard this used for cool synthesis-like effects in LSDJ or for sample playback in GB Studio (We’ll get to that, don’t worry).
Finally there’s the noise channel, it can generate two types of noise, commonly labeled as 15-bit noise and 7-bit noise, the former is commonly used for percussion, explosions and the like, with a sound similar to CRT static, the latter can make much more tone-like sounds, although pretty limited, you’ll probably recognize it’s distinct beep-like sound from here.
Keep in mind the different use cases for these channels, since they all have different strengths and weaknesses.
Chiptune Music
Yes, this article is focused on sound effects, but music deserves a mention due to the problem mentioned before, no matter where you get your music from (made by yourself, from a free-to-use library, made by another composer, etc), if you wanna integrate that music in your game with your sound effects, you must be aware of how it uses each channel. It may depend on the type of song and the composer’s style among other things, but keeping an eye on that is always good. Using some channels only for non essential sounds such as background noises or extra chords, or even avoiding using some channels altogether. There’s a lot of resources on small tricks and tips for making Game Boy / Chiptune music that makes good use of each channel:
- NES Audio Explained by Explod2A03
- Deconstructing NES Music in FamiTracker by Chris Plays Games
- How to use FamiTracker by Ben Burnes
- RGA Podcast #11: The Game Boy and Game Boy Color by Retro Game Audio
- hUGETracker (Supported in GB Studio 3 and above) by Nick ‘SuperDisk’ Faro
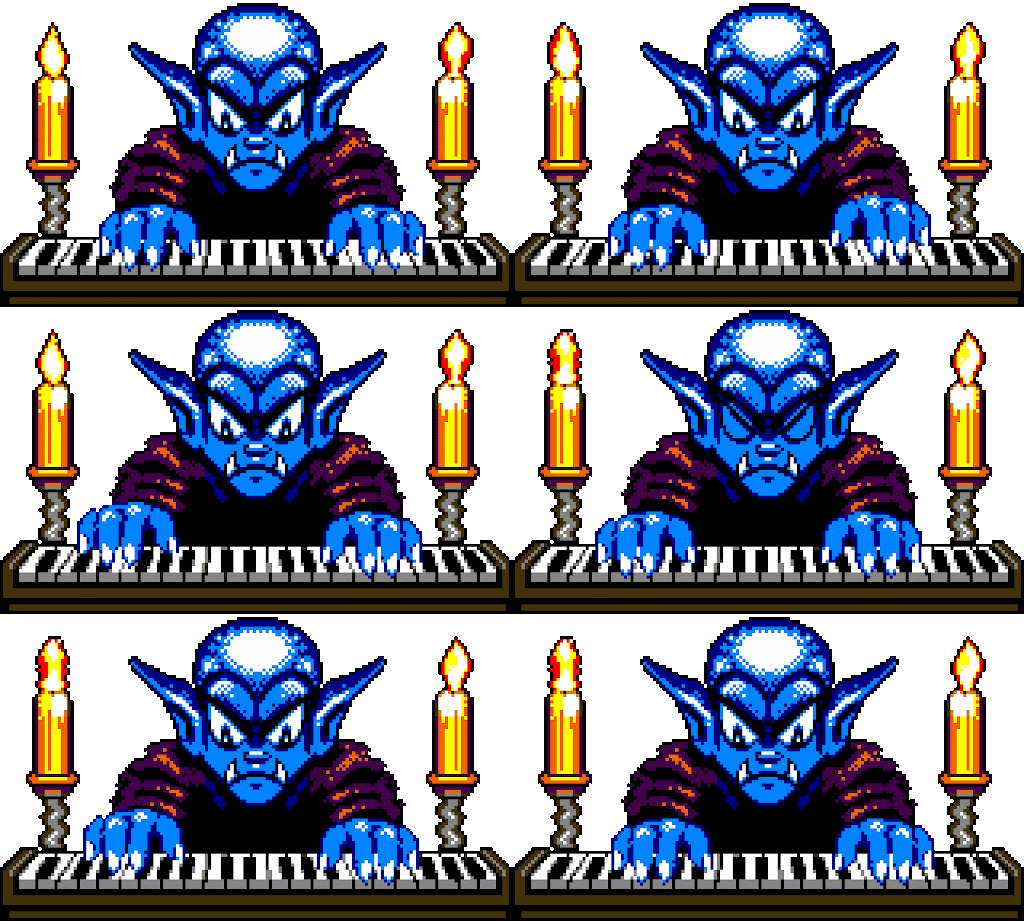
A good example of reserving channels for sound effects is Jeroen Tel’s Game Boy Magnum opus, Warlocked, for which all the in-game songs only use the second Duty channel and the Wave channel, give it a listen!
Sourcing and Implementing Sound Effects
So, now that you’re up to date on how the Game Boy’s hardware and it’s music work, let’s go through your options for making sound effects. Currently, since GB Studio 3.1, many formats were added for implementing them, each with its ups and downs:
- Audio samples (.WAV):
These are probably the easiest to implement, they’re played by chopping the sample into data the Wave channel can read and update a lot faster than the music to give the illusion of samples with a maximum length of 4 seconds. The cost of this is not only the data size (With some quick math, each second of audio can take up some ~4 KB of ROM [17 bytes x 256 times per second]), but also that it means the Wave channel will constantly be cut for the samples to play. Make sure that if you use these, you make them as short as possible and as best mixed as possible, leveling them out without distorting them. Tronimal has made a much more in-depth tutorial on how to mix them.
- .VGM Dumps:
These are the most versatile, being able to be extracted from .GBS music rips, created with Deflemask or Furnace. It has a few caveats though, as the .VGM file only tells the driver which values to write when, most of the time it will write values outside of the channels your sound effects you wrote for. Deflemask .VGM files specially are noticeable for making pretty pointless writes to the sound memory. Furnace seems to not have as many of these writes, but still cuts all the other channels off for a split second.
- FX-Hammer Save Files (.SAV):
These are made using FX-Hammer, a sound effect editor from the 2000’s that runs on the Game Boy itself, it only uses the second Duty channel and the Noise channel. Although limiting, this lets you have total control of where your sounds will play. Just like trackers, it is very hard to master, but very rewarding. Check out this video by Tronimal that goes deeper into it.
If you’ve chosen your preferred way of making sound effects, all you gotta do to put them in your game project is put the files you’re gonna use in your project’s assets folder. You’ll find it in Project Folder > assets > sounds. After that, add a [Music & Sound Effects > Play Sound Effect] event, pick the file you wanna play, and you’re done!
Priorities
If you wanna go a step further, on the right side of the sound effect event you’ll see a tab labeled Priority, this lets you handle which sounds play over which. Highest will be the preferred one by the driver, with Low only being played if the currently playing sound effect is also low priority. This is good if you say, don’t want your beautifully crafted explosion effect to be ignored for a little shooting effect.
The sound effect driver should take care of turning off whichever channel the sound effect uses from the music driver so that the music doesn’t play over your sound effect (except for .VGM Dumps as previously stated) and then on again once the sound effect is done. If you’re wondering if you have to stick to one of these options for a whole project, the answer is no, as the data is translated behind the scenes to GB Studio’s own sound effect driver format (See VGM2GBSFX for details on that).
If you’re using a version of GB Studio prior to 3.1, you’re out of luck. Although prior versions lack a dedicated sound effect driver, there are ways of playing some sound effects alongside your music. This includes .WAV playback, some very simple sound effects via Maximum SFX and of course GB Studio’s built in Beep, Tone and Crash sound types. These aren’t as complex or developed as the ones featured in 3.1, but if you’re not able to upgrade for some reason, they might be your only option. Just keep the same concepts that have been addressed through this article in mind.
Final Thoughts
Another approach worth mentioning is just… Avoiding music all together! You can of course create your sound effects as music tracks and use them as sound effects, although of course this means no music at the same time as these. If you don’t want music in your game for some reason, this is worth giving a shot.
Hopefully by the time you’ve finished reading this article, you’ve not only learnt how to make your game sound great, but also gained new appreciation of what goes behind a game’s beeps and boops. Even the smallest of things such as nicely blending sounds can enrich a game’s experience by a long mile.

Chiptune goblin, programmer, freelancing composer and #1 Game Boy enthusiast.
(She/Her/They)
