
If you’ve followed these tutorials up until now, you’ve created an awesome “boing!” sound in Furnace Tracker. Now it’s time to move it into GB Studio! It’s not as straightforward as you might imagine. And we will take the time to demonstrate why. If you’ve mastered using Furnace, you’re already through the hardest part.
Export to VGM
Save your .fur file somewhere that you can retrieve it later. Once you export to .vgm, you cannot reload it into Furnace Tracker (it only opens .fur files, not .vgm). Many developers like to make a /src file in their GB Studio folder to keep files like .fur in. They aren’t part of the build, but they are part of the project’s DNA you might say.
In furnace go to File > Export VGM
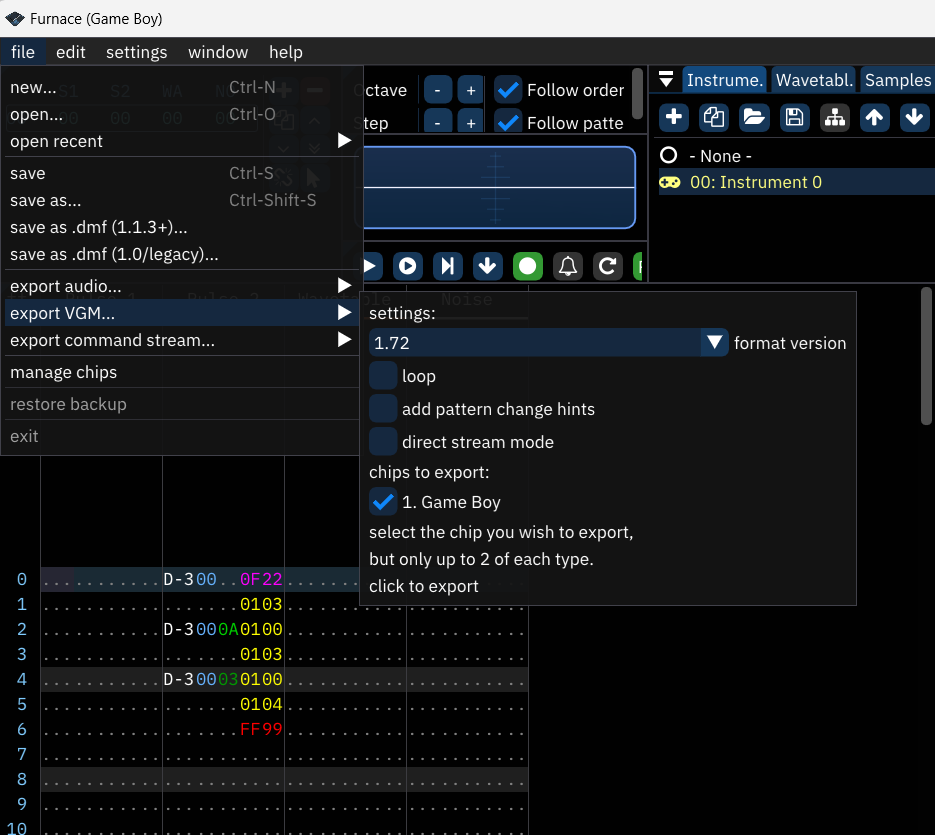
Make sure you uncheck Loop and are using Format version 1.72. Then click “Click to Export.” Save the file wherever you want but keep in mind it’s not in its final format. You probably don’t want to put it into /sounds/ in your project just yet!
Removing Channel Kill Codes With VgmGBSTudionator
If you were to drop the .vgm we just made into /sounds and use it in your GB Studio project, it would work, however it would kill the duty and noise channels everytime it plays, resulting in quite a jarring feeling. Our sound only uses duty2 and therefore should only need to interrupt duty 2 (which most Gameboy composers expect and make sure duty2 doesn’t contain the songs main melody or bass).
To fix this, we have to remove some hex values from the .vgm file. This is a tedious process and if you have 20 sounds, you need to do it perfectly 20 times. Fortunately, PotatoTeto has made VgmGbStudionator – a handy tool which you should have already installed in Lesson 1.
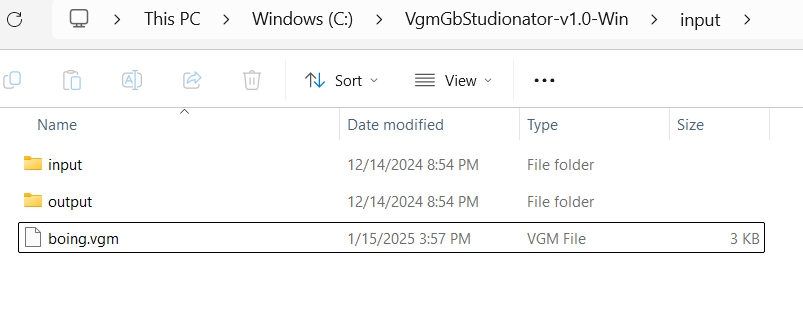
Copy your .vgm to the clipboard and open VgmGbStudionator wherever you installed it. Inside you’ll find an input folder, past the .vgm inside the input folder. It works in batches, so if you have other .vgm throw them in there too.
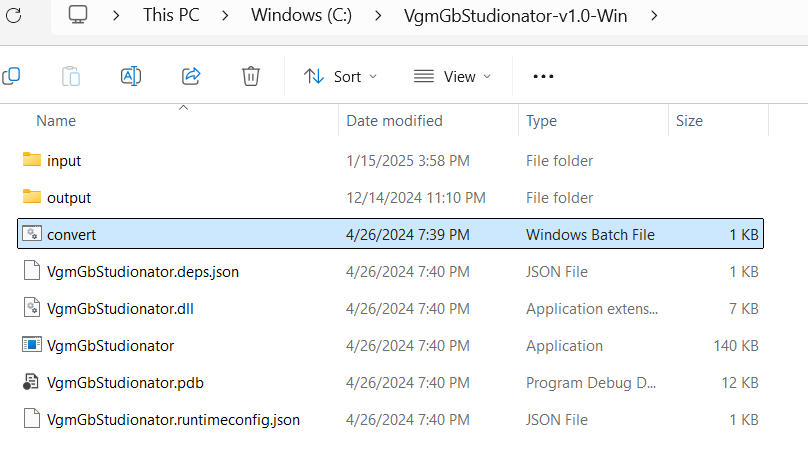
Now in the main VgmGbStudionator folder, double-click the convert.bat to run it.
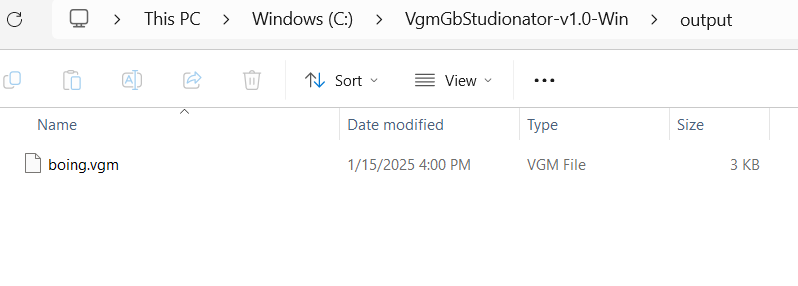
Press any key. Now go to the /output sub folder
Importing into GB Studio
Copy the .vgm file(s) from the /output folder. Now go to your GB Studio project. Newer versions will already have a /assets/sounds/ sub folder. If you don’t see one, don’t worry, just make a sounds sub folder.
Paste the .vgms inside the sounds subfolder.
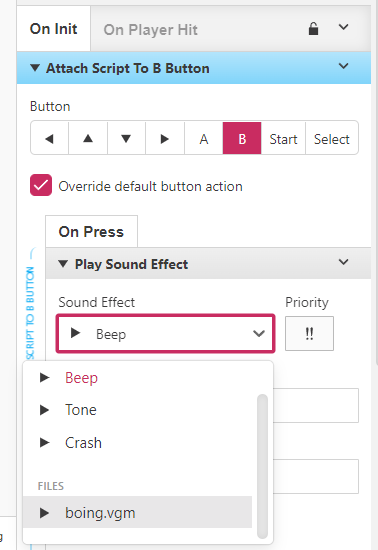
Now open your project. You can trigger a sound using a Play Sound Effect command In this example I put one under an Attach Script to Button event so the “boing” plays when you press B.
That’s it! Now you can use .vgm sounds in your game! Remember if you didn’t make the template right or made too long of a sound, it’ll play too fast or play infinitely.
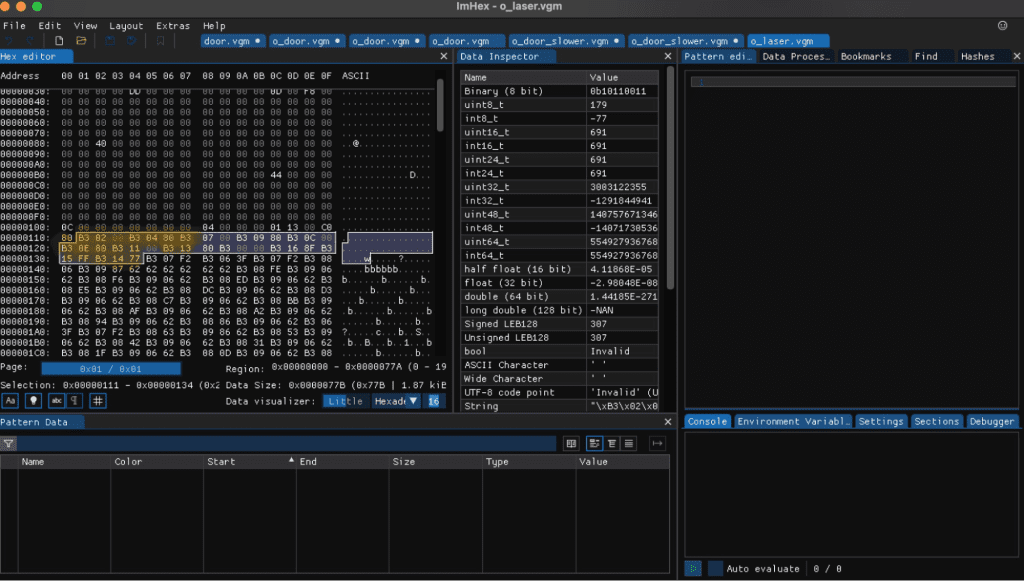
Manually Removing Hex Kill Codes
If you couldn’t use VgmGbStudionator, you can manually remove the Hex Codes using a program like ImHex. Here’s the hex chunk you need to remove. Just remove and save the file again as a .vgm (this is basically what VgmGbStudionator is doing).
That’s really all there is to it. If you can’t get VgmGbStudionator going, I’d almost recommend asking a friend with a PC to do this for you as it’s less hassle.
VGM Sound effects are very powerful and I’m really glad you can use them in GB Studio. Hopefully this series has helped you to get the basics down and you can start making some crazy sounds.

Beatscribe has composed and produced soundtracks for games on Nintendo DS, Nintendo Switch, PS4, Xbox1, Sega Genesis and numerous iOs and Android games for over a decade, but his true passion is creating epic moods on ancient hardware like the Game Boy and NES.