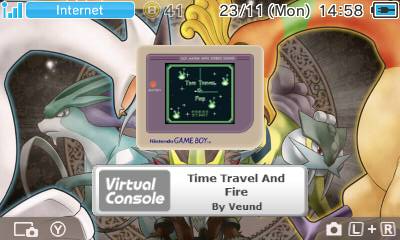
There are plenty of ways out there to play GB Studio ROMs, but what if I told you there was a way to add your games to the home screen of your 3DS? And using the Nintendo Virtual Console to boot!
This guide will only cover the process of getting your GB Studio ROMs injected into the 3DS Virtual Console. In order for this to work, you will have to install Custom Firmware (CFW) on your 3DS, but that is outside the scope of this guide.
Where To Begin?
First, we need to download the New Super Ultimate Injector for 3DS. This will allow you to make Virtual Console injects for a number of different consoles, but we are going to focus on the Game Boy and GameBoy Color. You can get it here: https://digiex.net/threads/new-super-ultimate-injector-3ds-inject-nes-snes-gb-gbc-gba-smd-gamegear-turbigrafx-16-roms.15394/
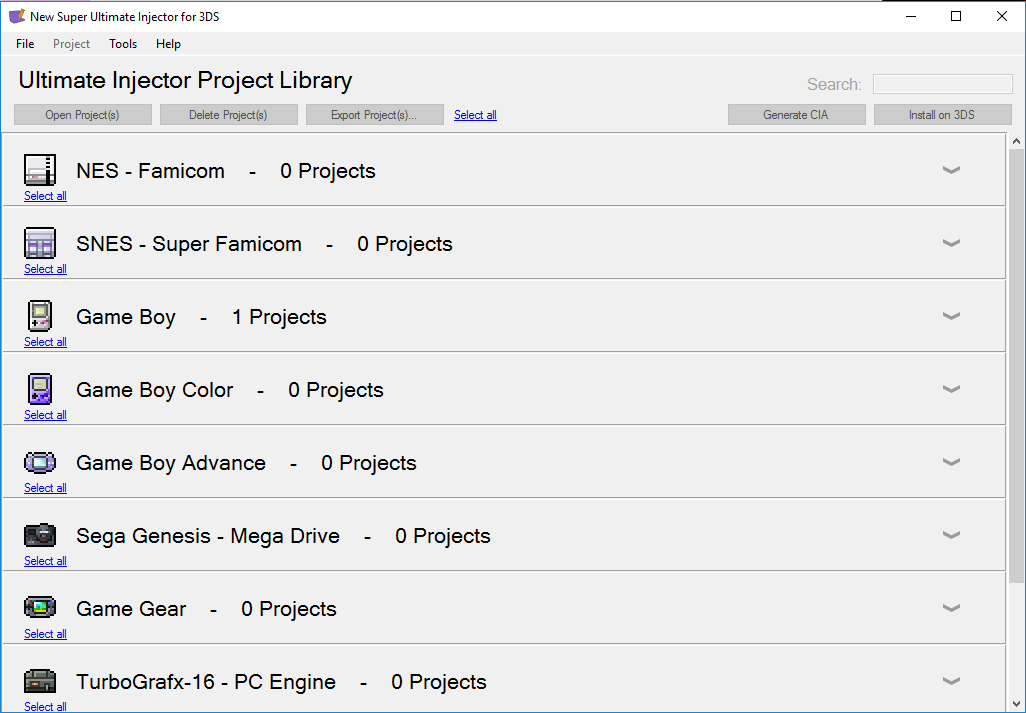
Open the app and go to File > New > Game Boy CIA, or File > New > Game Boy Color CIA for GB Studio 2.0 compatible games.
This will create a CIA file which is installable onto a 3DS. If you have CFW on your 3DS, you may already be familiar with this file type.
Next up, we need to load our ROM into the CIA file. To do that, click on the tab that currently says “Untitled Game Boy CIA” then select Load ROM…
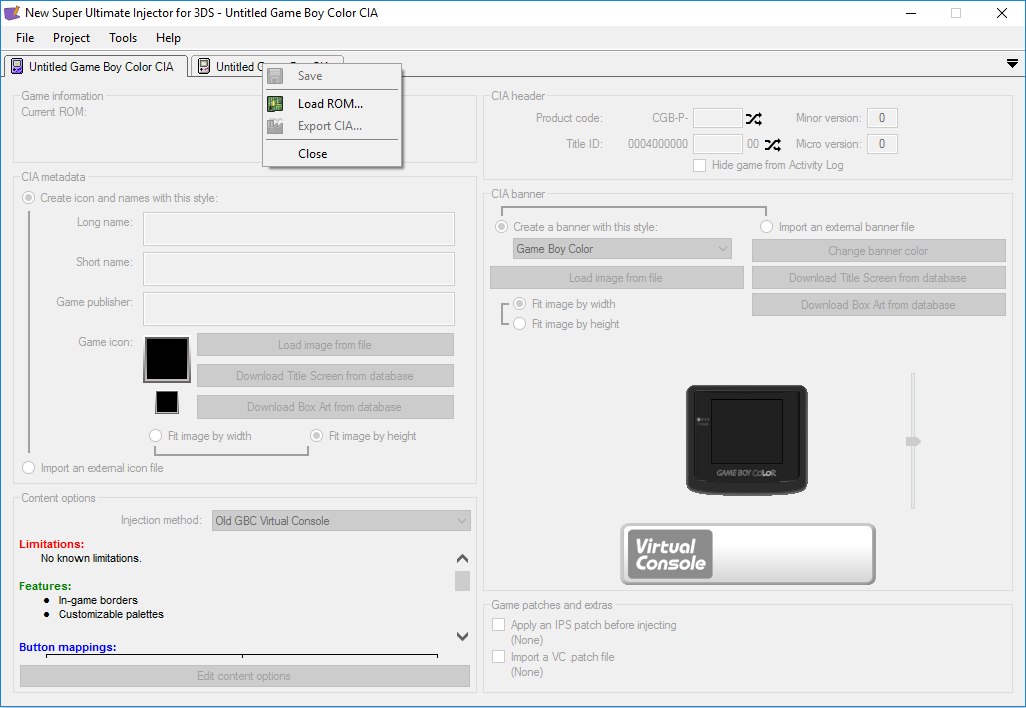
You will get an error that says, “Unable to find the chosen ROM in any database”. Click OK, this is expected as your GB Studio ROM shouldn’t exist in any database.
Now we need to start populating the information the 3DS is going to use. First, navigate to the CIA header information. It’s good to note the Product code and Title ID down as these will differentiate your file from other files on the 3DS. If you end up releasing an update, you will want them to be the same so you don’t have multiple copies of your game on the 3DS home screen.

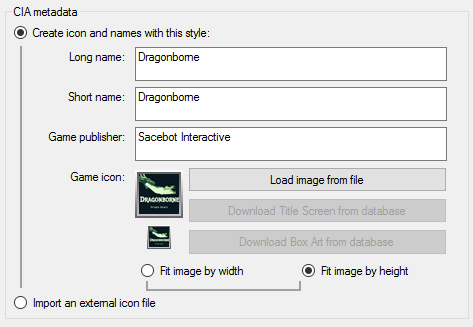
Next up is the CIA metadata. This is just internal information that will be important later. In this case I’m using Dragonborne by Spacebot Interactive. The Long Name and Short Name can both be Dragonborne – the Short Name doesn’t actually need to be short. For the game publisher, I used Spacebot Interactive. Finally, I used a screenshot of the title screen for the icon.
For content options, I would recommend changing the injection method to New GB Virtual Console as this will keep link cable functionality. While GB Studio doesn’t support that feature right now, it might in the future and it’s easier to do it now rather than later.
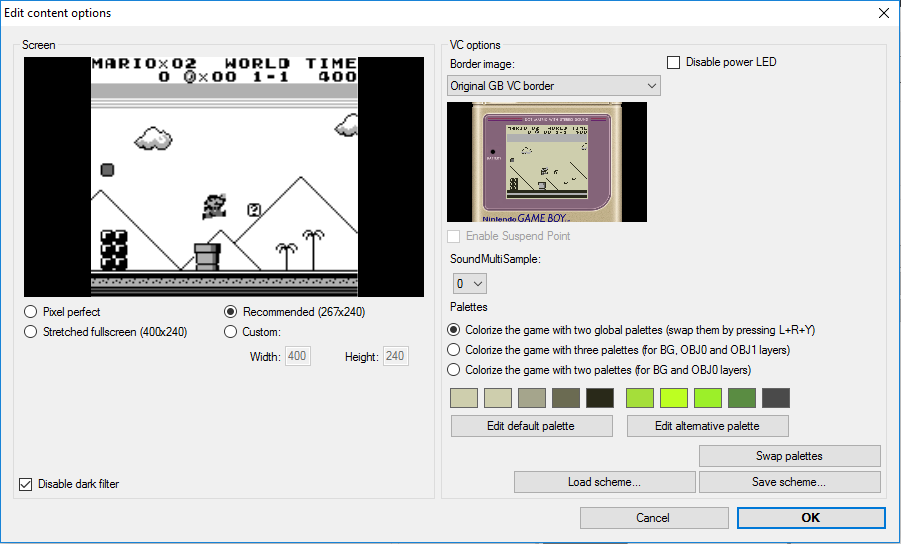
Next, click on “Edit content options“. Here you have some choices that are 100% based on your own personal preferences. Play around with it to your liking, I’m going to make mine as close to the official Virtual Console as possible.
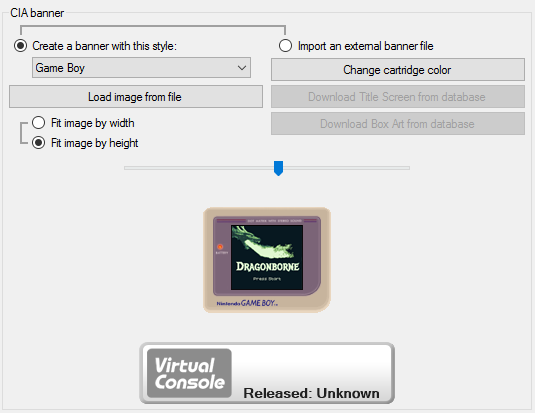
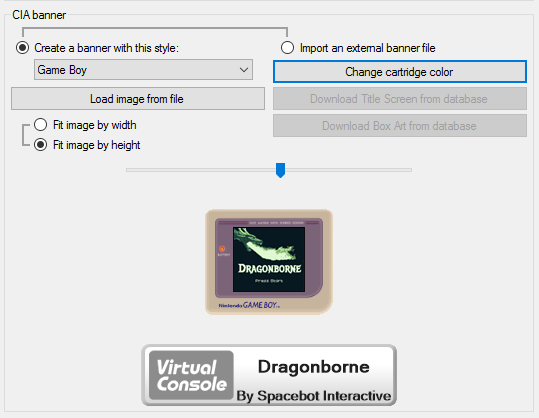
You can change the CIA banner, but I’m going to leave this stock except for changing the cartridge colour to more closely represent Dragonborne’s physical release. If you went with the Game Boy Color CIA you can also change the colour of the Game Boy.
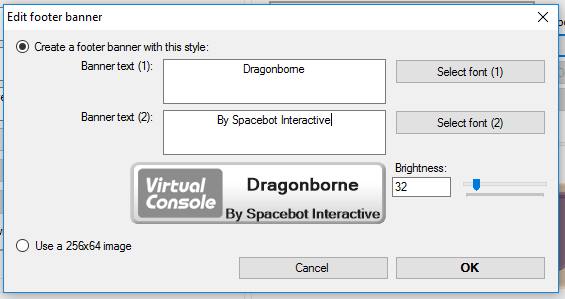
Next, click on the Virtual Console banner to edit it. There are 2 textboxes, the first has your game name and the second your game publisher. Fill this out as you like, then hit OK.
We won’t have any IPS patches so can you ignore that, then save to make sure we can edit this again if we need to. Next, go up to Project > Export CIA and save to where you want it on your PC.
You can now move the CIA to your 3DS and install it. There’s a few ways to do this. I prefer to use filezilla and transfer it over the network, but you can always just eject your SD card and copy it that way.
Now install the CIA file via your favorite CIA installer. Mine is FBI.
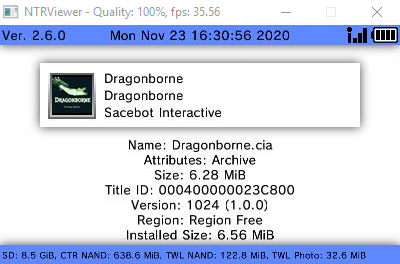
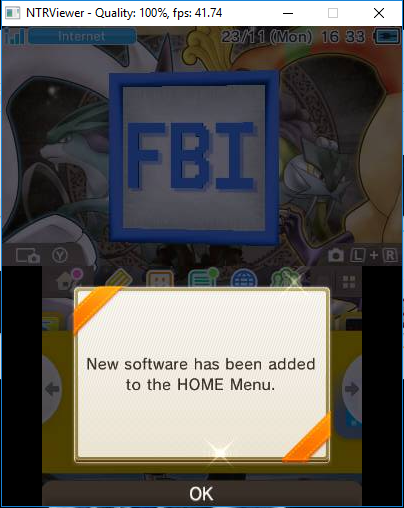
Press A twice and it will install the file. You can close FBI to get the prompt “New software has been added to your HOME menu”.
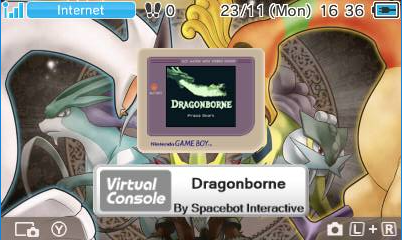
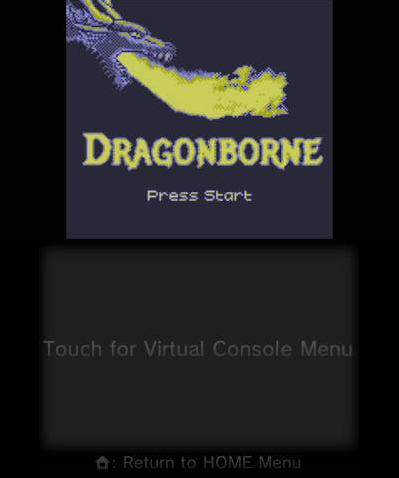
That’s it, we are done! You can now run our GB Studio ROMs inside the 3DS Virtual Console.

Game Boy Enthusiast, Hardware Fanatic, Mad Man. (he/him)
