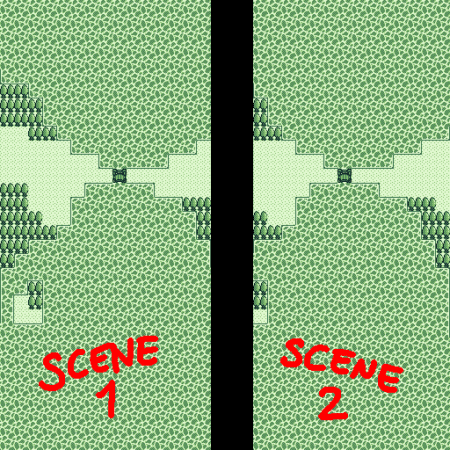
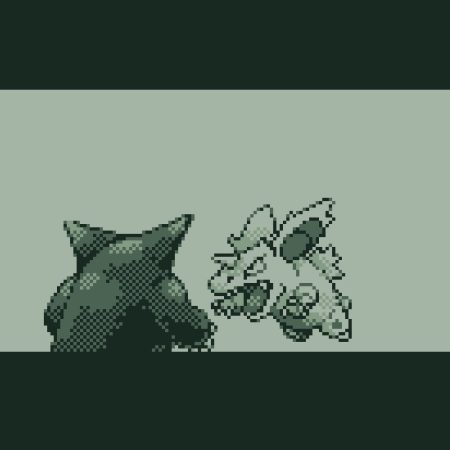
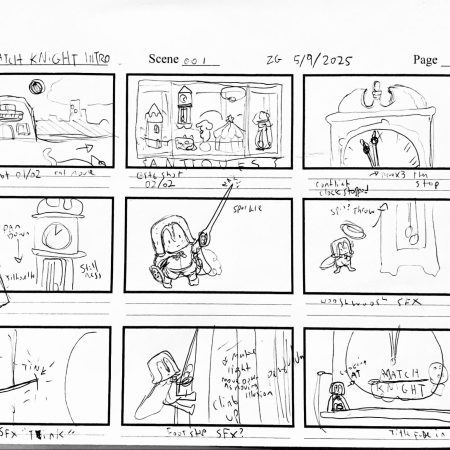
When GB Studio 2 was announced, one of the special features that everyone was waiting for was the bigger scenes. Now they can be huge (1,048,320 pixels or less in total) with a maximum height or width of 2040 pixels! Definitely an improvement over the previous 256×256 limit. However, for some developers, this was still not enough. I’m one of them.
Thankfully, I managed to find a solution and I wanted to share it with a little guide on how to do it without lighting your computer on fire accidentally. Keep in mind that this is a guide for slightly more advanced users, as it involves touching the engine. You will need the following:
- GB Studio 2 (Obviously)
- Your game (This too)
- The no fade engine mod by Rulz
- A background too big to use
Alright, let’s look at the background we’re going to use for this guide!
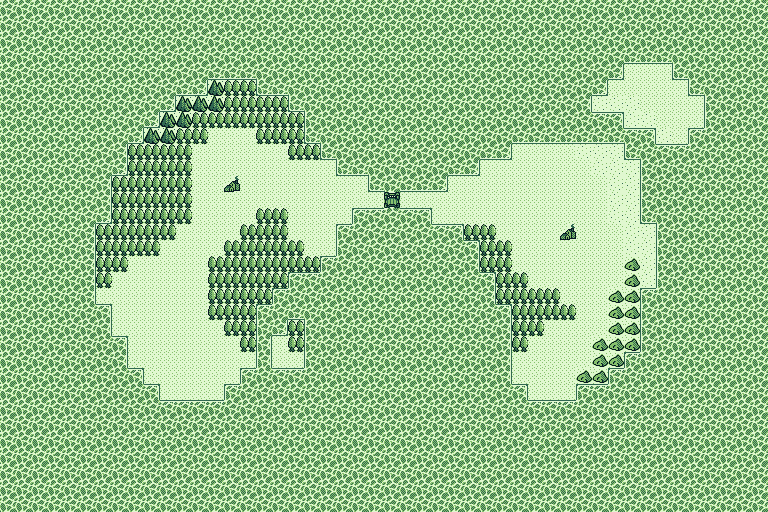
This background will actually work just fine in GB Studio, but let’s pretend it doesn’t, it’s too big. As you can see, there’s a bridge right in the middle of the map. Let’s divide our map in two, and add about 12 tiles of the other map on the side facing the center, like this:
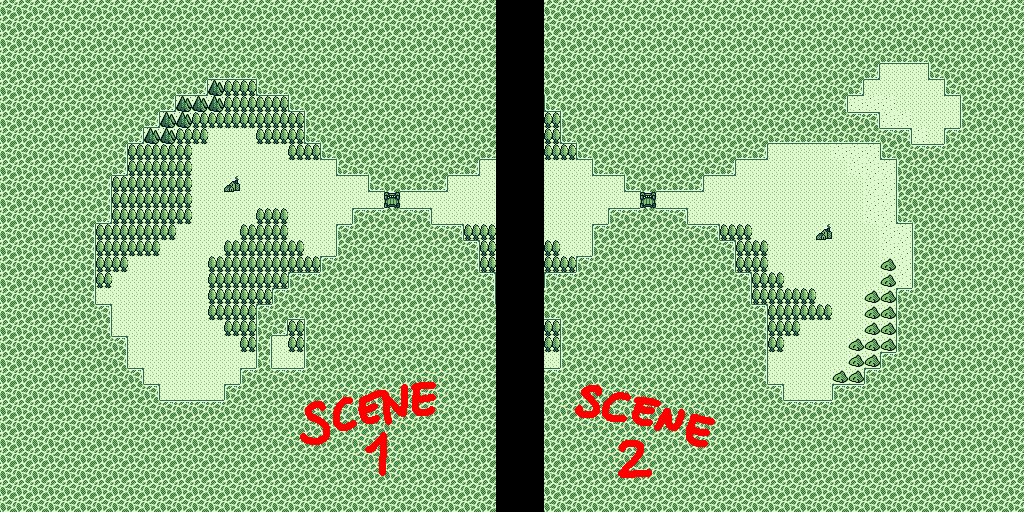
These will be two different scenes. After doing this, let’s take a look at the tiles both backgrounds use. This is the part where it might get weird. Here’s all the tiles I used:

You want to put them in a horizontal line at the top left of both backgrounds, so that they’ll always be loaded the same in video memory across both scenes. Try to make the camera limit lower to hide this line to the player.
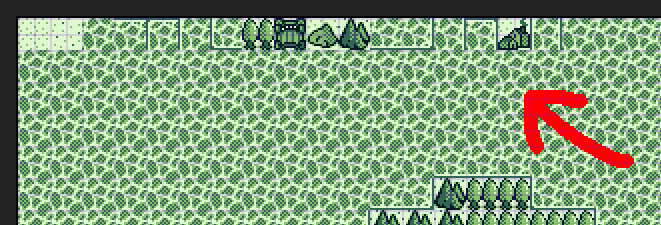
Now that the backgrounds are done, let’s install the no fade engine mod! Installing engine mods is pretty straightforward. Eject the engine and replace the files. You might also need to manually add the modifications from the files you downloaded with a text editor like Notepad++, since it’s a little old. After the install, there will be a third option in the fade field, in the engine settings; “No Fade Glitchy”. This will remove the fade but add glitches on screen. We’ll remove the glitches in a bit.
Make a trigger where the transition tile is in both scenes. For me, it’s one for the bridge and another before/after the bridge. Set both to do the following:
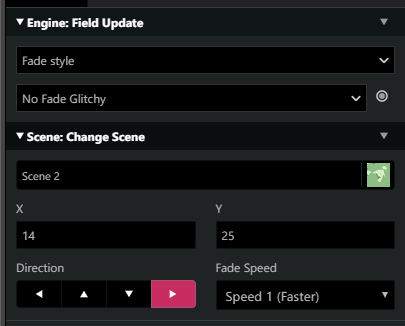
You might also want to add a trigger to change the fade style back to white (or black) for when you transition to the next scene.

After that’s done, export your game. It might work. Yes, might, because it’s technically an experimental tool.
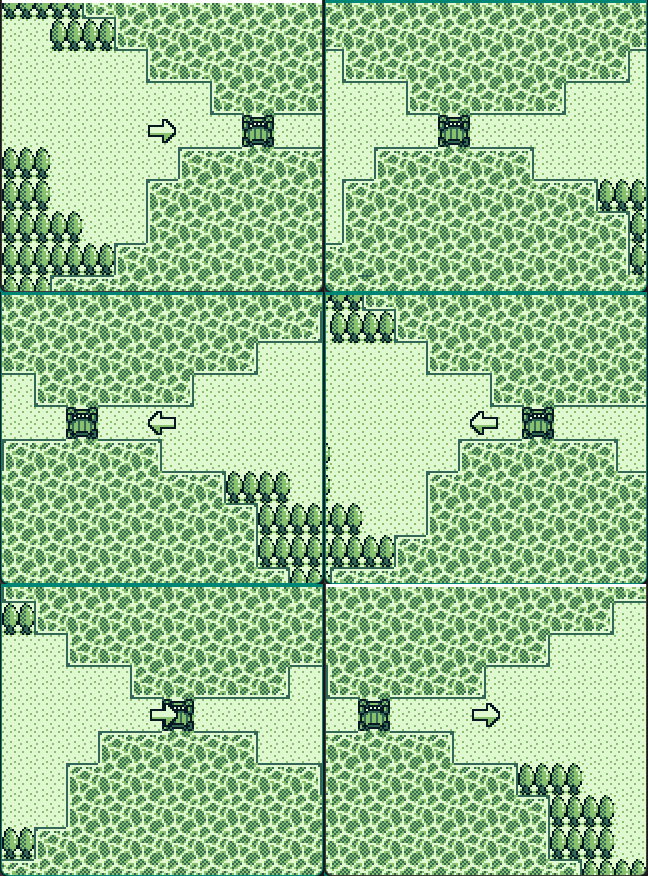
Alright, what now? There are glitches, it’s not as smooth as I promised. Hey, don’t raise the torches and pitchforks just yet! We can fix it. Let’s check the debugging tools included with the BGB emulator.
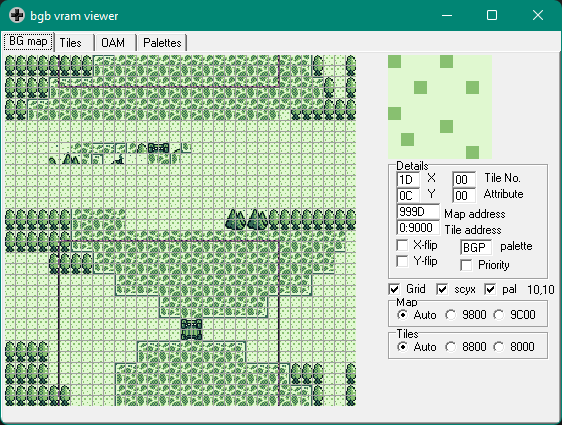
This is the BG map section in the VRAM viewer. Here, you can see how the camera scrolls in the map (and how it loads too). This is going to be useful for the next step. To clean the transition, you will need shift the background image left, right, up or down (depending on your specific background setup), off-setting the image until the transition aligns properly and looks perfect. It’s trial and error but it’s the only way to fix it. The VRAM viewer can show you how the jump between scenes looks and where the camera is moving, it’s really helpful. After that’s fixed, you should have something slightly more natural:
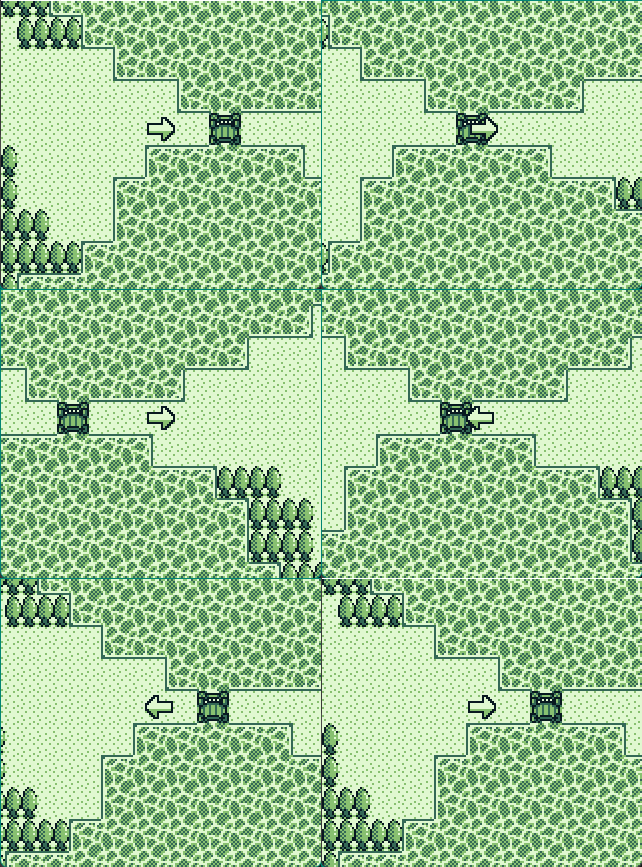
Ah, doesn’t that look beautiful? We managed to increase the background size limit with workarounds! Of course it’s not perfect, the player sprite blinks when you enter the new zone, but hey, it works well, and it’s not too hard to do.
What will you do with this forbidden knowledge?
Note: This guide was made with GB Studio 2 in mind, but it should also work with GB Studio 3, as long as you can hide the fade officially or with an appropriate engine mod, that’s the only version specific part.

a/k/a “Anima” – Game Developer Wannabe, Average Internet Enjoyer, Human Being. (he/him)
